The Surface Patch feature is used to fill gaps in Surface bodies in DesignModeler. Typically these will be holes in the body that can be closed by selecting the edges of that hole. However, in some cases the hole may be too complex to fill in a single operation, or may be a gap in the side of the model that does not form a closed loop of edges. In those cases, edges from other bodies may be selected that help to close the gap. In these cases, it is important to select an edge from the surface body to be patched before selecting an edge from any other surface body to use for this patch. Essentially, the feature looks for closed loops with which to patch surface bodies. For each loop, the first edge selected from a surface body determines which surface body is modified. This logic allows for the selection of multiple patch operations in a single feature, even if some of those patches are on different surface bodies. Also, while Line Body edges are useful for closing gaps, do not select Line Body edges that are coincident with existing edges of the surface being patched. Doing so will cause the feature to fail.
The Patch Method option is very similar to the Healing Methods for Face Delete. The Automatic option will try a robust combination of patch healing and natural healing to best complete the operation.
Note that sometimes it is impossible to generate a single face that will span the patch area. In these cases, as in Surfaces from Edges and Face Delete–Patch Healing, DesignModeler may generate multiple faces. When this happens, the faces that get generated are not guaranteed to remain persistent. By modifying the source edges used in the feature, there is no guarantee that the same number of faces will be created or stay in the same location during the next Generate. Because of this, you should not use those faces or edges directly in the creation of other features. Doing so may cause those other features to fail if model changes result in the multiple faces being generated differently.
Here is an example with two holes selected for patching:
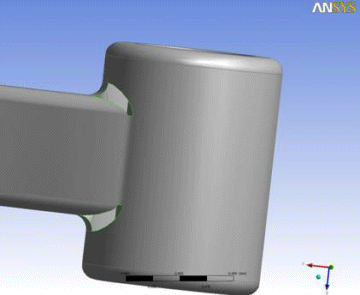
Here are the faces Surface Patch created to close those two areas. Note that in this example one hole was patched with 4 faces and the other with 6 faces. Even though these areas appear symmetric, the difference in patching is probably due to minor differences in their edge definitions.
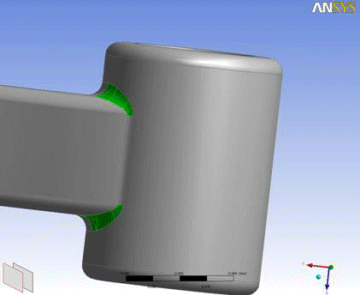
Here is another example, this time as a side notch:
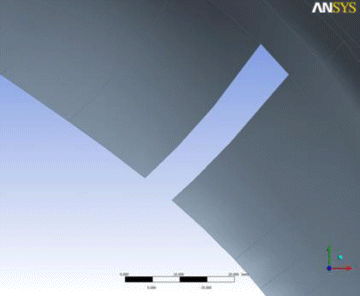
Here you see a Line from two points added to close the notch:
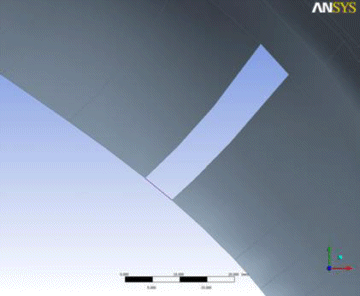
Here is the final patch:
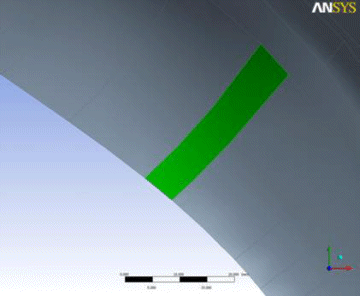
Here is an extremely complex example:
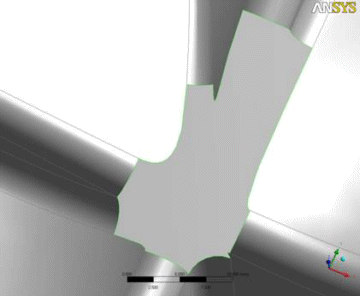
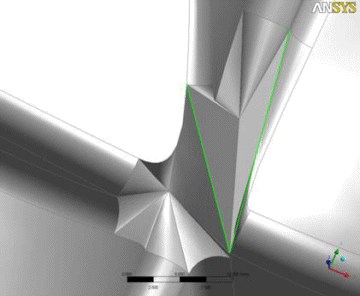
In this case Surface Patch was not able to directly patch the opening. However, by adding a couple of Line Body edges between vertices, and creating three separate patches, it was patched. While not necessarily smooth in this case, at least being able to create a patch was very beneficial.
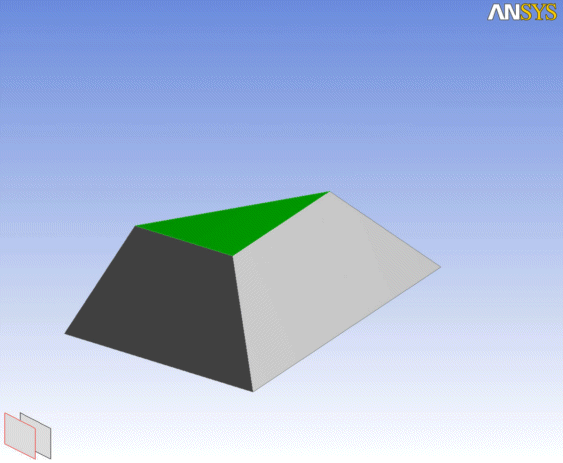
The following examples show the difference between Automatic/Natural Healing and Patch Healing.
First Automatic or Natural Healing
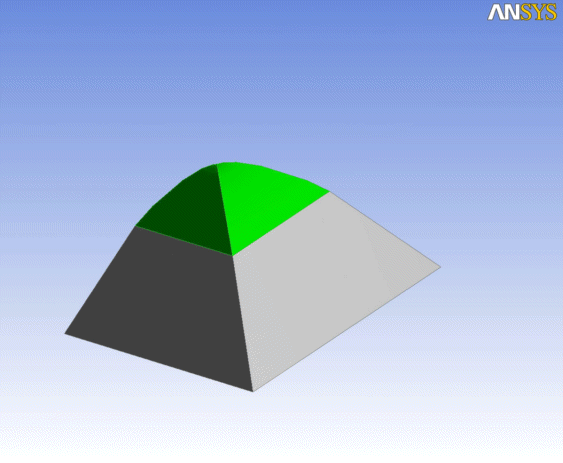
Patch Healing of the same model
Other Advanced Tools:


