


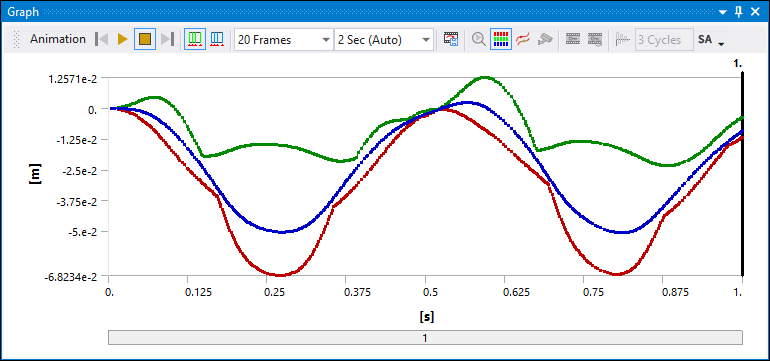
The Animation feature displays in the Graph window when you select a result object in the Mechanical application. Here is an example of the Graph window with a result object selected.
The specific animation features are presented below.
| Option/Control | Description | ||
|---|---|---|---|
|

|
Play: Initiates a new animation.
Note: Additionally, for the Standard Animation (SA) setting, you can change the default display behavior by setting the Animation Draw Option of the Graphics category of the Options dialog to . Using this optional display behavior, the application produces the animation in its entirety before presenting it. With this option active, the application does not support the abort action ([ESC] key). | ||
|
 (same toolbar location as Play) |
Pause: Pauses an existing animation. Choosing Play after Pause does not generate new animation frames. When the animation is paused, as you move the cursor across the graph, the cursor's appearance changes to a double horizontal arrow when you hover over the current frame indicator. With the cursor in this state, you can drag the frame indicator to define a new current frame. The result graphic will update accordingly. | ||
|

|
Stop: Halts a result animation. Choosing Play after Stop generates new animation frames. | ||
|

|
Previous Frame and Next Frame: These two buttons reverse or advance the animation frame by frame. | ||
|

|
Distributed: For static analyses, frames display linearly interpolated results. Frame 1 represents the initial state of the model and the final frame represents the final results calculated by the solver. For stepped and transient analyses, the frames in Distributed mode are distributed over a time range selected in the graph.[a] | ||
|

|
Result Sets: (available only for stepped and transient simulations) Frames represent the actual result sets that were generated by the solver.[a] | ||
|

|
Frames: Select the number of frames in the animation. This setting applies the display of your animation and to any exported animations, except the GIF file format. | ||
|

| Time: Select the desired amount of time for the entire animation. This setting applies the display of your animation and to any exported animations, except the GIF file format. | ||
|

|
Export Video File: This option enables you to save your animation. Supported video file types include AVI, MP4, WMV, and GIF files. You
can specify a desired number of frames and time when exporting an animation using the Frames and Time options above. The
default settings for Frames and Time are Note:
| ||
|
|
Zoom to Fit Animation: When turned on, Mechanical loops through all the time steps to compute an auto scale factor that will accommodate the displacement for a full range of time steps and makes sure that the animation fits properly (is scaled) within the Geometry window. For more information on auto scale factors, see the Result Context Tab topic in the Context Tab section. When turned off, Mechanical uses the current result scale factor for animation. While this option results in increased animation speed, you may experience some distortion if the current display time has a displacement that is much smaller than the peak displacement through which the animation occurs. | ||
|

|
Update Contour Range at Each Animation Frame: By default, the animation feature displays the global range of result values over all of the available frames. When you select this option, you animate the result on a frame by frame basis. That is, the animation changes so that at each frame, the entire range of result values for that frame (only) is used. Therefore, for each frame, the application displays the minimum and maximum values for the result, at that frame, for the contour values of the legend and for the contour result. As a result, the legend dynamically changes from frame to frame and the result contours always display the full range of colors from blue (or the color representing the minimum value on the legend) to red (or the color representing the maximum value on the legend). | ||
|

|
This option is only available for 1) Total Deformation and Direction Deformation results that are 2) scoped to one more nodes during 3) either a Static Structural or a Transient structural analysis that includes at least two result sets. When enabled, your animation will include traces of the deformations based on the selected nodes.

| ||
|
|
Animation with Attached Camera: Visualization technique that makes a selected rigid body appear to be fixed during the animation with all other bodies moving relative to it. See the usage steps in the Animation with Attached Camera topic below. | ||
|
|
This Keyframe Animation option becomes available once you have opened the Keyframe Animation window using the option on the Graphics toolbar. When selected, your result animates according to the defined keyframes. The feature requires that you have defined at least two keyframes. Selecting the check box beside this option, which activates by default when the you select the keyframe option in Animation tool, synchronizes the frames of your original animation to your defined keyframes. | ||
|

|
Damped Modal Animation: This option turns on time decay animation of complex modes for a Modal analysis with applied damping. This button is not available (grayed out) for any of the following:
Set the number of cycles to be used in the time decay animation in the adjacent Cycles property. | ||
|
|
This option is for display only. It indicates the currently selected animation mode. Options include either SA for Standard Animation or AA for Accelerated Animation. See the Accelerated Animation section for more information. |


[a] For stepped and transient simulations, as you move the cursor across the graph, the cursor's appearance changes to a scope icon for solved solution points.
Beta Option: Currently, there is a beta capability available for exporting a video of a result animation.