
Assigning Materials
You can add, remove, and edit materials in two main ways:
- Using the Tools > Edit Libraries > Materials menu command.
- Under Definitions in the Project Manager, right-click Materials and select Edit Library.
Regardless of which of the preceding two methods you use to edit a library, any new material you create exists only in the current project. Similarly, if you edit an existing material, the edited version becomes a Project material and exists only within the current project. To make a new or modified material available for other projects, you must export it to a user library and choose that library (or select Show all libraries) within the Select Definition dialog box.
To assign a material to an object, follow this general procedure:
- Select the object to which you want to assign a material.
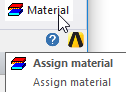
- Click Modeler > Assign Material
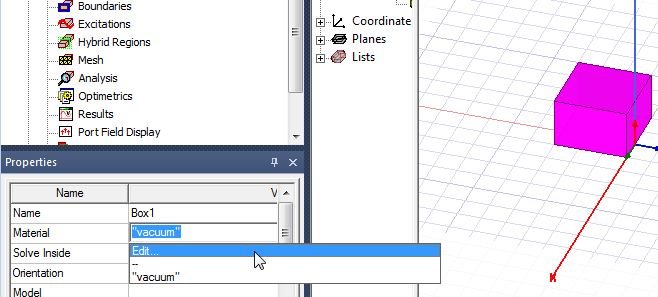
 or select the Material field in the Properties window for the selected object, and select Edit... from the drop-down menu:
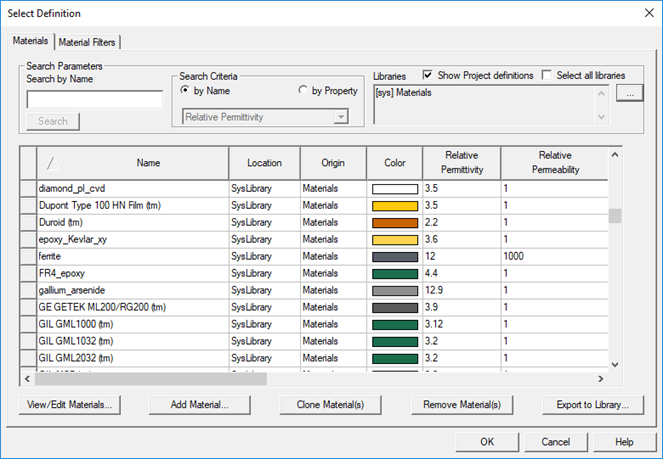
The Select Definition window appears. The current material is highlighted, with the Name, Location, Origin library, and parameter values shown.
Note: You can resize the dialog box to show more of the materials and/or material properties without having to use the scroll bars.Select Definition Dialog Box - Materials
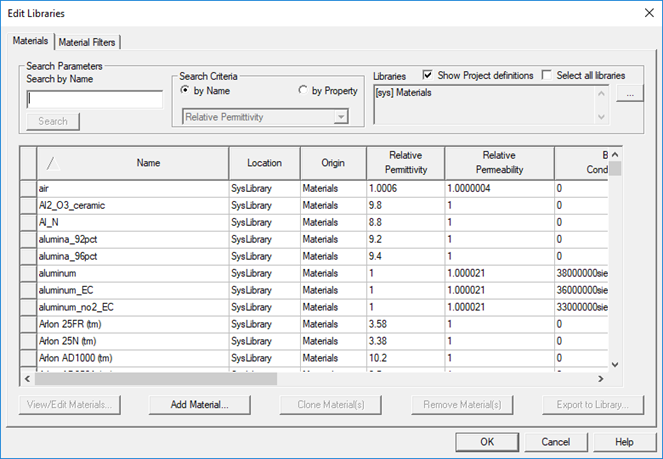
When the Select all libraries check box is selected, the window lists all of the materials in Ansys Electronics Desktop's global material library as well as the project’s local material library

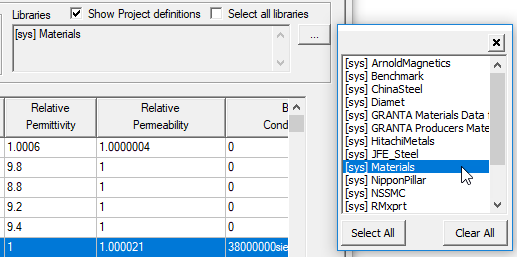
If you click the ellipsis button [...], you see a list of all available libraries. Any selected libraries are highlighted. Shift-Click allows you select a range. Ctrl-Click allows you to select any libraries.
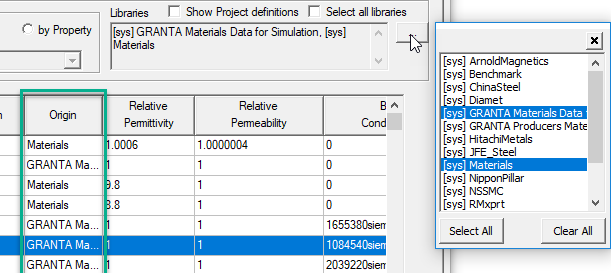
The Origin column shows the originating library for each material, whether the sys library, or one of the additional libraries listed in the Libraries pane.
For further information on the materials and their intended uses, you can refer to the published information on materials from those libraries. For example, the Schott materials are described in detail in the Wily Series in Materials for Electronic & Optoelectronic Applications, Microwave Dielectric Materials and Applications, edited by M. T. Sebastian, Rick Ubic, and Heli Jantunen, volumes 1 and 2.
GRANTA Materials Data for Simulation (MDS) is an optional, licensed feature, including more than 700 generic materials and over 2100 producer-specific magnetic materials and PCB materials. When you use or view the GRANTA licensing libraries, the GRANTA license is checked out and held for 30 minutes. Viewing the contents of a GRANTA library in the Materials dialog box or modifying an object to use a GRANTA material causes a license check out and hold. If the license is already checked out, the hold time is reset to 30 minutes.
You can also open the Select Definition window in one of the following ways:
- In the Properties dialog box for the object, click the material name under the Attributes tab. A drop-down menu shows an Edit... button that opens the Select Definition window.
- With an object selected in the Modeler window, on the Draw ribbon, select the Material icon.
The menu also lists materials included in the current project. Selecting one of these materials provides another way to assign materials to an object.
- Right-click Model in the project tree, and then click Assign Material on the shortcut menu.
- Right-click the object in the history tree, and then click Assign Material on the shortcut menu.
Select Definition Dialog Box - Materials
- With an object selected in the Modeler window, on the Draw ribbon, select the Material icon.
- Select a material from the list.
Note:
You can search the listed materials by name or property value.
If the material you want to assign is not listed, add a new material to the global or local material library, and then select it.
- Click OK.
The material you chose is assigned to the object.
For IE Regions:
- Problems with dielectrics will generally run more slowly, so a warning is issued in this case.
- Only isotropic materials are allowed.
- Frequency-dependent materials are allowed.
- No spatial-dependent materials are allowed.
- You cannot set a background material in the solver. The solver assumes vacuum as the background material.
In the History Tree, by default, objects are grouped by material. You can easily change the default grouping. Using the menu bar, click Modeler > History Tree Layout and clear Group Objects by Material along with any other listed option you may wish to disable. You can also perform this action from the Tree View drop-down menu on the View ribbon tab or from the shortcut menu that appears when you right-click most of the items in the History Tree.
If you check Show Material Colors on the Material Filters tab of the Select Definition or Edit Library dialog box, the Materials tab will include a Color column showing a color swatch for each listed material.
You can edit the color and transparency values for materials in the View/Edit Material dialog box.