A feature's definition consists of:
Feature Dimensions (for example, the depth of an Extrude feature)
Feature Options (for example, the operation or type of an Extrude feature)
Feature Selections (that is, selections referencing entities of the construction history, 2D sketches, or 3D model ; for example , the base object, sketch or plane, of an Extrude feature, the rotation axis, 2D or 3D edge, of a Revolve feature, but also, say, the edges and faces to be blended in the feature)
You can change certain Feature Selections where applicable. This functionality is provided by the means of the Apply/Cancel buttons in the Details View. By default, Feature Selections are read-only; however, editing Feature Selections is possible under two circumstances:
At feature creation (before initial generation)
Choosing Edit Selections from the right mouse button Context Menus for the appropriate feature will effectively roll the model back to its state prior to the feature being generated, enabling you to edit the Feature Selections.
Once editing of Feature Selections is enabled, you can "activate" the Apply/Cancel buttons by either double-clicking the corresponding property name (left column of Details View) or by single-clicking the corresponding property value fields (right column).

The Plane feature and the Revolve feature use a rotation axis selection. By selecting the axis row in the Details View, you can define the rotation axis, which must be a straight 2D or 3D edge. For the Revolve feature, you can also preselect the axis line before clicking the Revolve button.
The Sweep feature takes a profile sketch, the sweep profile, and sweeps it along a path sketch, the sweep path. You define the sweep profile by selecting the Sweep Profile row in the Details View and then selecting the desired sketch or plane in the Tree Outline, and finally clicking Apply to lock in your selection. Similarly, you define the sweep path by selecting the Sweep Path row in the Details View and then selecting the desired sketch or plane in the Tree Outline, and again click Apply to lock in your selection.
In the Body Operation feature, the planes are chosen by following the status bar instructions or by highlighting the source or destination plane property, then choosing a plane from the Tree Outline and clicking Apply.
Feature Selections Behavior
Pre-select (Note: this applies for feature creation only!)
Select geometry Click feature button RESULT: Selection is loaded into the object Post-select (Note: this is the most typical usage!)
Click feature button (at feature creation) or use the Edit Selections right mouse button option Bring up the Apply/Cancel buttons for the desired property Select geometry Click Apply/Cancel RESULT: Selection is loaded into the object (in case of Apply)
Example
Illustrated here is an example of using post-select to create a fixed-radius blend. Use the drop down menu from the toolbar, and select Blend.

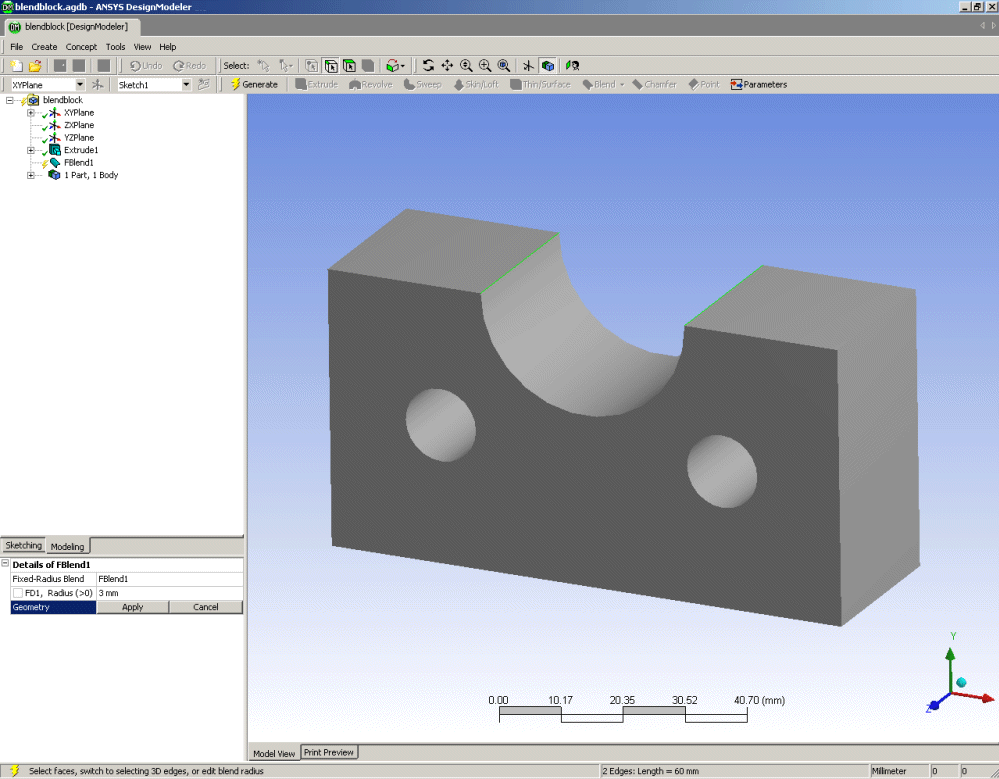
Specify the blend radius as desired, and start edge selection by double-clicking the Geometry property, thus bringing up the Apply/Cancel buttons, and perform your edge selection:

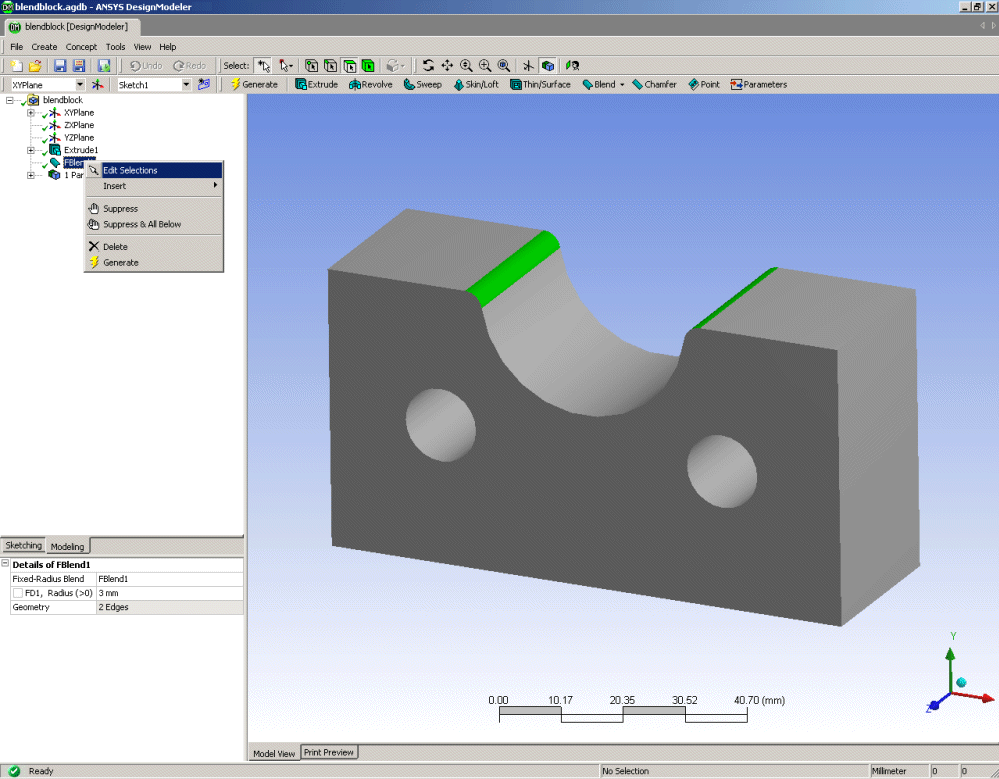
Click Apply, to accept your selection, and then Generate to create the Blend feature. Now, assume more modeling has been done, and after some other features have been created, you want to go back and edit the above edge selection. Use the right mouse button Context Menus over the Blend feature…

…and select the Edit Selections option. This will "roll back" the model to the state before the Blend feature.
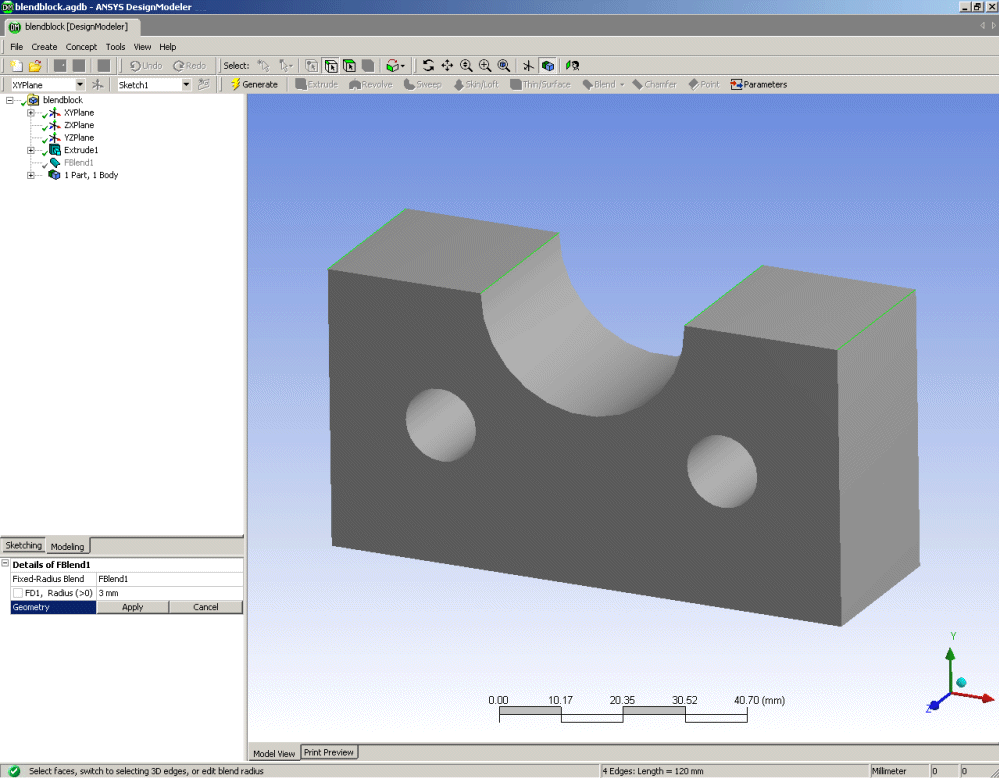
Upon selecting the Edit Selections option, the model will roll back to the state it was in when the feature was created. During selection editing, features that are inactive are shown in gray. If a feature was suppressed when Edit Selections is selected, the feature and any of its parent features will become unsuppressed.
At this point, you may edit, say, the Blend feature's edge selection by double-clicking the Geometry property, thus, again, bringing up the Apply/Cancel buttons, and perform your edge selection:
The current geometry selection of the feature is selected on screen. Now, say, add another edge to the selection by holding down the Ctrl key:

Click Apply to accept your changes, and click Generate to update the model.
The Edit Selections option is available for all features except Freeze. Additionally, Edit Selections may not be performed on any of the three absolute planes, nor is it allowed during feature creation.


