The application offers features that enable you to modify the content of the tabs and the toolbar, including:
Customizing Ribbon Content
The ribbon interface includes a Quick Access Toolbar that you can modify. It is located in the upper felt corner of the window, right beside the Save icon (which is an option of the Quick Access Toolbar). Selecting the drop-down menu option displays the following menu.
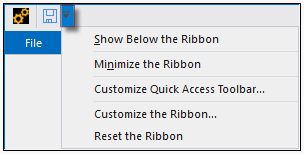
The options include:
(or ): Place the toolbar below the Tabs or return it to its default position.
: Hide/show the ribbon.
: This option displays the Customize dialog. This dialog enables you to add options to the Quick Access Toolbar. See below.
: modify the contents of the various tabs as well as create your own tabs and option groups. See below.
: Reset the interface contents to default display settings.
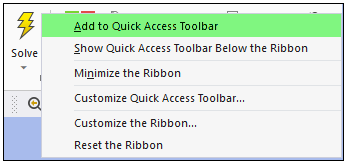
Also note that you can highlight an interface option, right-click, and a select to add the option.
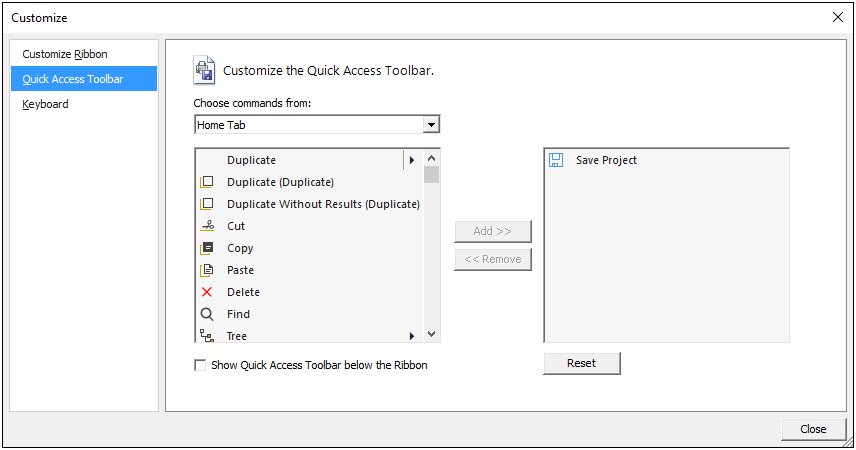
Customize Quick Access Toolbar
When you select the option, the following dialog appears. As you can see, the default Save option is already included. You select from the list of available commands to Add/Remove options to the Quick Access Toolbar. You can select options from all available tabs using the drop-down menu.
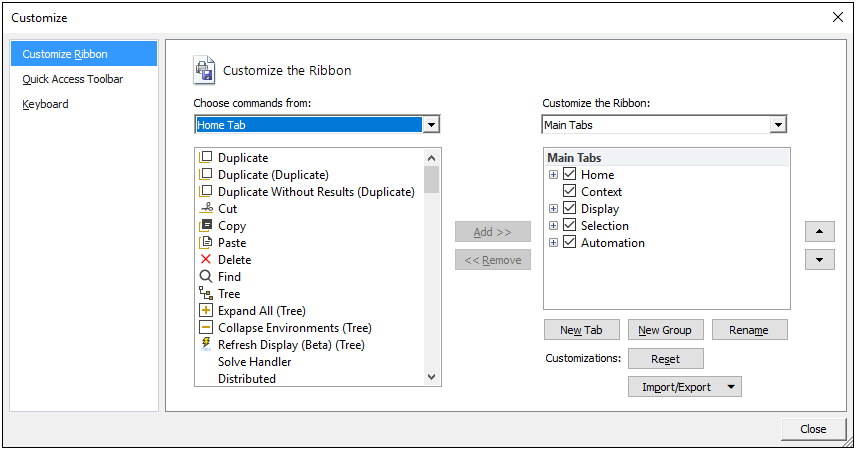
Customize the Ribbon
When you select the option, the following dialog appears. A drop-down menu of tabs is available for your selection and the corresponding commands.
You can add existing options to the Groups of the Main Tabs or you can create a new customized Tab with custom Groups. Based on the Main Tab that you select in the right-side pane, if you create a New Tab, it is placed immediately after the currently selected option.
Note:
You cannot remove system default tabs.
If you deselected an ACT Extension in the Extension Manager or if the version of an extension is updated, any customization of the extension’s Tab is automatically removed.
Customizing Toolbars
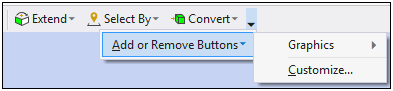
The various toolbars of the application, such as the Graphics Toolbar or the Manage Views window, offer an option to . You access this option using the down-arrow drop-down menu at the far end of the toolbar. An example of the Graphics Toolbar is illustrated below. When you select the option, an additional fly-out menu displays. Depending upon the toolbar or window that you have selected, the first option varies, but the common option is .

Selecting the option displays the following dialog.
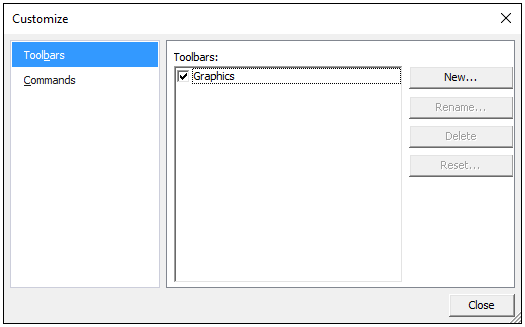
From this dialog, you create new toolbars or add options to the currently selected toolbar.
- Add Options
In order to add options to the currently selected toolbar, you must first close the Customize dialog and detach the desired toolbar from the interface so that it is floating (as shown below). Then redisplay the Customize dialog, and 1) select the Commands option, 2) select from the available Categories, 3) drag-and-drop from the Commands pane to the toolbar.
Activating the Show All Categories setting of the Options dialog (UI Options > Toolbar Customization), you can display all options available in the application. This includes options from all toolbars from all panes, all commands from all Ribbon tabs, User Buttons, External ACT Extensions, etc. This gives you maximum flexibility for toolbar customization. This feature is set by default. And, when turned off, any additions you make to a toolbar are cleared – the toolbar resets.
- Create New Toolbar
To create a new toolbar, select the New button on the above dialog. An entry pane displays for you define a name for your toolbar.
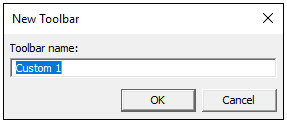
Once you define the name and click , a blank toolbar displays (and includes down-arrow option), as illustrated bellow.

At this point you must close the Customize dialog and detach the new toolbar from the interface so that it is floating. Then, redisplay the Customize dialog, select the Commands option, and drag-and-drop Commands from the desired Categories. You can further build your new toolbar using the New Menu option that enables you to create a drop-down menu on the toolbar.