


Inserts a screen shot of your model, as shown in the Geometry window, and places it underneath the currently selected object.
The Images drop-down menu also contains the following image insertion options:
: Import an existing image and place it under the currently selected object. This option supports multiple file formats.png (default), .jpg, etc.
: Import an image and place it on or around your model based on the XY-plane of the selected coordinate system. The image object for this option is always placed as a child object of the Model object.
The option is used primarily with the Construction Line feature to overlay and accurately sketch line segments. However, it has many applications. For example, you can place logos on your model, specify a background, set up physical rulers to help measure deformations, incorporate image planes into custom ACT extensions, etc.
See below for a description of the properties associated with the Image object created using this option.
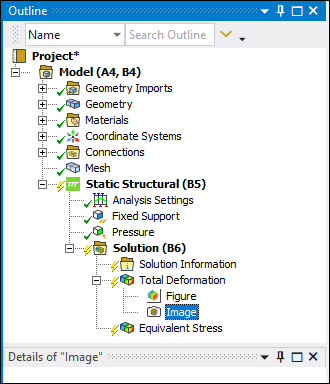
Inserted images also appear in Reports. The Image object is a static picture of the current model view. It differs from the Figure object in that it cannot be manipulated (rotated for example).
Note: Duplicating an image in the tree will result in both the original object and the copied object using the same image file on disk. Altering or deleting either the original or the copied object will result in modification and/or deletion of the image file on disk. Both items in the tree will be affected by the change to one of the objects.
 |
Object Properties
Objects created using the and options do not include details properties. For the option, the Details pane properties are listed below.
| Category | Properties/Options/Descriptions |
|---|---|
|
Image Plane Properties |
Image File: References the file path of the imported image. Once the image is read-in, the file does not need to remain in the same location on disk since its data will be embedded in the project upon saving. Image Pixel Width: Read-only field of the image's width dimension. Image Pixel Height: Read-only field of the image's height dimension. Coordinate System: Specify where to place your image based on a Coordinate System. Show Coordinate System: Show the selected Coordinate System triad on the model. Options include or (default). Width: Specify the physical width of your image. For the best results, it is recommended that the ratio of physical width to physical height matches the aspect ratio of your image. Height: Specify the physical height of your image. For the best results, it is recommended that the ratio of physical width to physical height matches the aspect ratio of your image. Translucency: Increasing the value makes your image more and more transparent which may help you sketch a more accurate line. Horizontal Flip: Reverse your image horizontally. Vertical Flip: Reverse your image vertically. Show Always: Options include (default) and . For the setting, the plane image displays regardless of which object you have selected. When set to , the plane image is only displayed when you select the object. |
Tree Dependencies
Insertion Methods
Open the Images drop-down menu from the Insert group on the Home tab and select .
To import an image, select either or and then select your desired image file.
Note: The Insert group is available from a number of Context tabs.
Right-click Options
In addition to common right-click options, relevant right-click options for this object include:
: Only available for option.
API Reference
See the Image section of the ACT API Reference Guide for specific scripting information.
Additional Related Information
See the following sections for additional information: