These steps show how to load the mesh from a previously saved file:
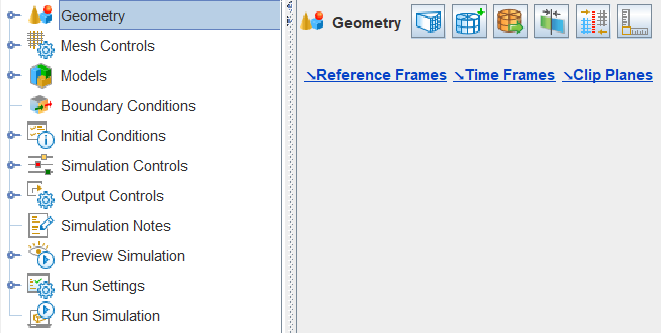
Start with an empty Simulate Interface. Go to the Workflow tree and click Geometry. This opens the Geometry icon bar in the Editor panel, where you see these icons, as shown in Figure 1.6: Geometry icon bar .
To import the Sandia engine mesh, click the Import Geometry
 icon. In the dialog, pull down and select Body-fitted
mesh and then click OK. In the dialog that opens, navigate to
the Sandia.fmsh file in the
Quick-start_SectorMesh folder, in the location where
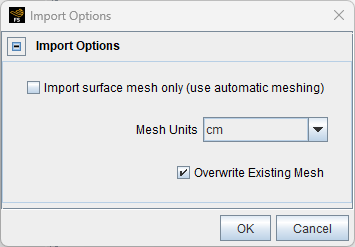
you saved the downloaded sample files. Uncheck Import surface mesh only (use
automatic meshing). Accept defaults.
icon. In the dialog, pull down and select Body-fitted
mesh and then click OK. In the dialog that opens, navigate to
the Sandia.fmsh file in the
Quick-start_SectorMesh folder, in the location where
you saved the downloaded sample files. Uncheck Import surface mesh only (use
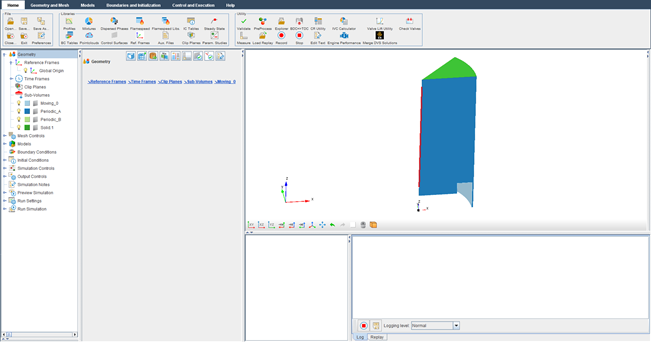
automatic meshing). Accept defaults. The imported file displays in the 3D View area, but may not be ideally zoomed or centered. Click the Refit
 icon to center and resize the mesh, as shown in Figure 1.8: Imported mesh
.
icon to center and resize the mesh, as shown in Figure 1.8: Imported mesh
.Now you can proceed to defining the parameters in Set Up the Case .