


Setting the Layout for Pairwise Comparison
This section shows how to adjust the layout of the test interface and the progression rules for a Pairwise Comparison method used during a listening test session.
To Set the Layout for Pairwise Comparison:
Note:
This task should be conducted by the Project Manager.
-
In the Navigation panel, select
Layout.

-
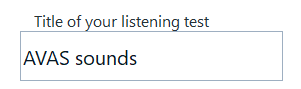
Click the Title area, and in the Settings panel, type a
title.
-
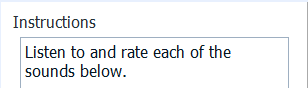
Click the Instructions
area, and in the Settings panel, type a short
reminder of the instructions.
-
For Preference scale:
Select Alternative forced choice to allow the participant to express their preference using a set of buttons.
The Number of buttons can then be selected.
- Choose the number of buttons available for rating the sounds. The most common pairwise comparison method uses 2 buttons: the first one is used if sound A is preferred, the second if sound B is preferred. It is also possible to allow a more detailed response by offering additional buttons to allow the participant to respond that they do not prefer either of the two sounds (using 3 buttons), or to allow two preference levels for each sound (4 buttons), or both (5 buttons).
- Set a custom tooltip for each of the buttons, if required. The actual
button labels cannot be changed.
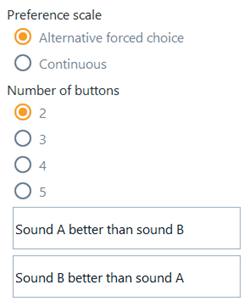
- Select Continuous to present the participant with a slider to rate their preference on a continuous scale.
-
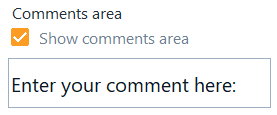
Click the Comments area,
and choose whether you want to show the Comments section or not
through the Settings panel.
-
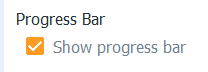
Click the Progress
bar area, and choose whether you want to show the Progression bar or
not through the Settings panel.
-
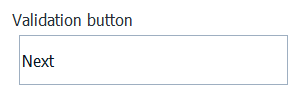
Click the Validation
button area, and in the right panel, type a label for the
button.
The layout and progress rules are defined.