
Drawing a Regular Polyhedron
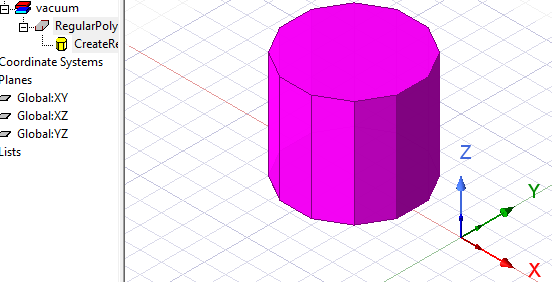
In the modeler, regular polyhedrons are 3D objects with regular polygon faces; each face has three or more equal sides. Regular polyhedrons are useful for drawing faceted 3D objects. Before you draw a regular polyhedron, you can specify the coordinate system, and you can set the drawing plane as Z, Y, or Z, or you can edit the plane in the properties.
- From the menu bar, click Draw>
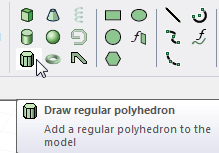
 Regular Polyhedron or, on the Draw ribbon tab, click the Draw regular polyhedron icon:
- Select the center point of the polyhedron in one of the following ways:
- Click the point.
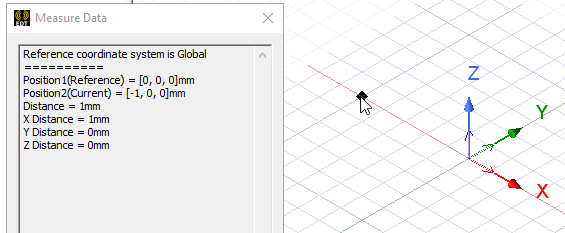
- Type the point's coordinates in the text boxes in the status bar.
The Status bar also includes options to specify the Coordinate System as Absolute or Relative, and drop down menu options to specify the regular polygon in Cartesian, Cylindrical, or Spherical coordinates.
- Click the point.
- Select the radius of the polyhedron, the distance from the center point to one of the polyhedron's vertices, in one of the following ways:
- Click the point.
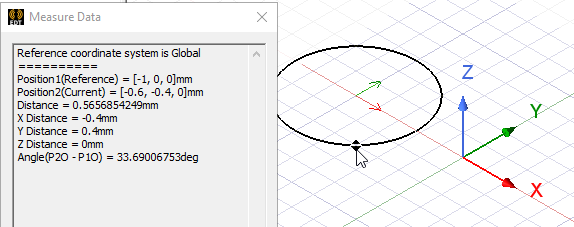
- Type the coordinates of the point relative to the center point in the dX, dY, and dZ boxes, where d is the distance from the previously selected point.
- Click the point.
-
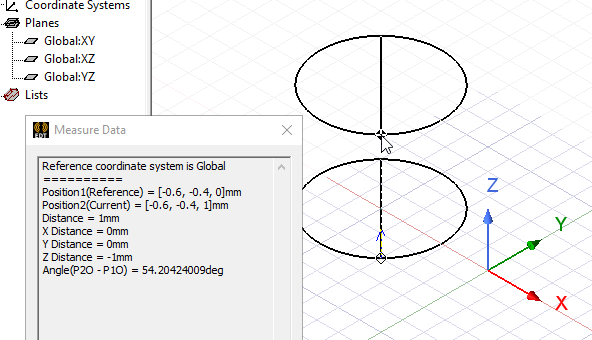
Select the height of the polyhedron, the distance from the origin plane along the normal from the radius point.
- In the Segment number dialog box, enter the Number of segments in the polyhedron, and then click OK.
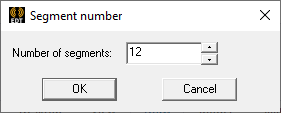
Click OK. The Segment number dialog closes and the regular polyhedron appears in the Modeler window and in the History Tree.
- If the Modeler option for editing properties of new primitives is checked, the Properties dialog box appears, enabling you to modify the object's properties. Click OK.
Note:
The radius is measured from the center point to a corner of the polygon, or the intersection of two edges. It is not measured from the center point to the midpoint of an edge.
If the Automatically cover closed polyline option is selected in the Modeler Options dialog box, the polygon will be covered, resulting in a 2D sheet object. Otherwise it will be a closed 1D polyline object.