Creating Named Selections objects is easy and can be accomplished using different methods, including:
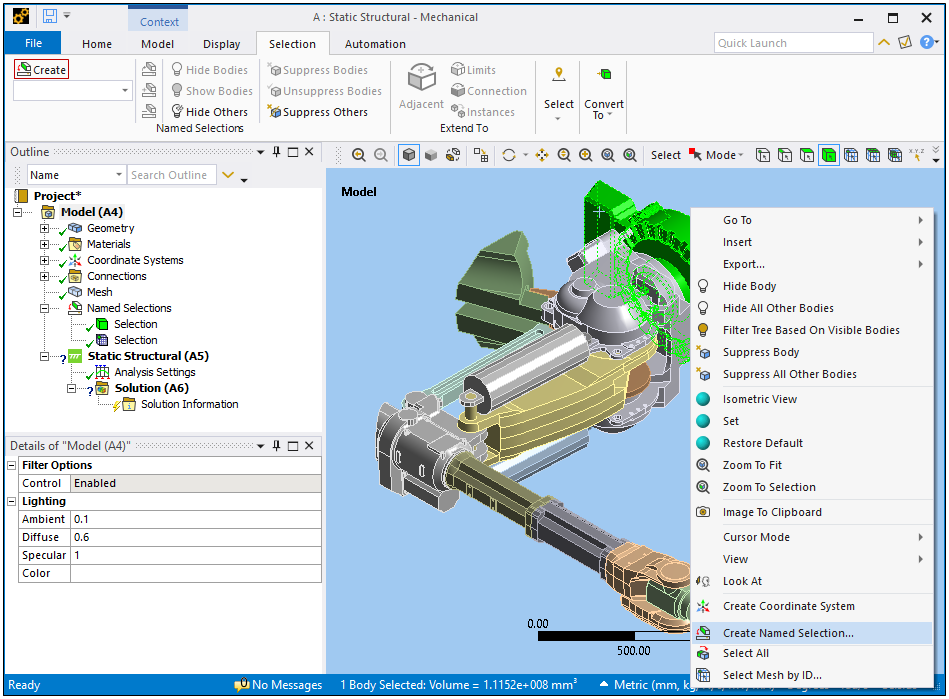
Select desired geometry or mesh entities in the Geometry window (bodies, faces, nodes, etc.), right-click the mouse, and then select . Or you can the select the Create option in the Named Selections group of the Selection tab.

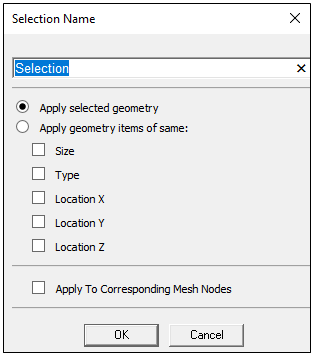
A Selection Name dialog appears so that you can enter a specific name for the Named Selection as well as specify criteria based on the selected geometry.
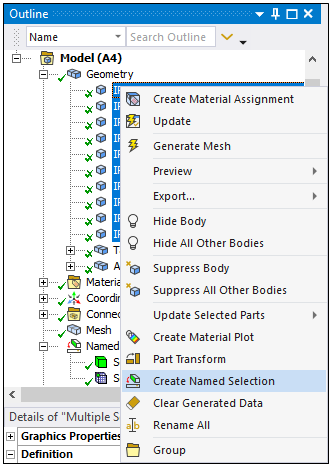
Select desired parts/bodies from the Geometry object, right-click the mouse, and then select . A Selection Name window appears so that you can enter a specific name for the Named Selection.

Once you have created a Named Selection, a Named Selections folder object is placed into the tree and includes your new child object titled Selection or titled with the name you have given it. This new object, and any subsequent Named Selection objects that are inserted into the parent folder, require geometry or mesh entity scoping. If a direct selection method (via Geometry object or graphical selection) was used, the Geometry entities may already be defined.
The Selection objects are the operable "Named Selections" of your analysis. You may find it beneficial to rename these objects based on the entities to which they are scoped or the purpose that they will serve in the analysis. For example, you may wish to rename a Named Selection containing edges to "Edges for Contact Region".
Adding Named Selection Objects
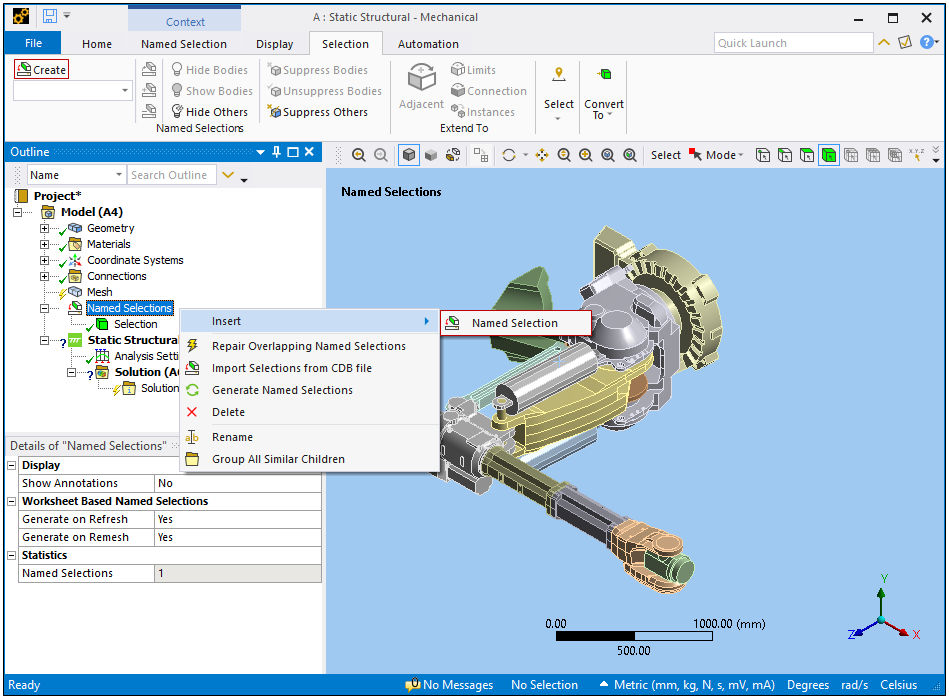
If a Named Selections folder exists in the tree, insert additional Named Selection objects using the same general methods as above: (1) select the Create option in the Named Selections group of the Selection tab (available once the Named Selection folder is generated) or (2) when either the Named Selections parent folder object or another Selection object is highlighted, right-click the mouse and select >Named Selection.


