The Vertex Blend feature allows you to create blends at vertices on Solid, Surface or line bodies. This feature can be executed on both frozen and active bodies. You can pre-select model vertices or use the Apply/Cancel property to make your selections. To blend a vertex, it must satisfy the following conditions:
The vertex must connect to exactly two edges.
The geometry surrounding the vertex must be planar. This means the two adjacent edges must be co-planar and the adjacent face, if there is one, must also be planar.
Sometimes a vertex may fail to blend even though its geometry looks to be planar. In these cases, the underlying curves and surfaces might be defined using Non-Uniform Rational B-Splines (NURBS) geometry instead of analytic geometry. Try using the Simplify option in the Body Operation feature to simplify the model geometry. Doing so may convert the underlying curves and surfaces to an analytic definition which can be blended.
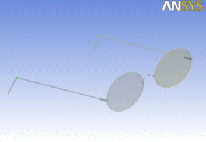
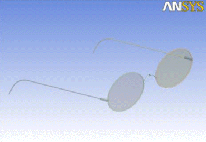
Example 28: Blending Vertices
 |  |
| Select two vertices for blending the corners of the frame where they will rest on a person's ears. | Afterwards the sharp corners are now blended. |
Vertex Blend Limitations
Usage with a solid body — The Vertex Blend feature is permitted on a solid body, but only in the case of imprinted edges on a planar surface.
Other Blend forms:


