Start Ansys Polyman by typing polyman at the command prompt,
as described in Starting Ansys Polyman. Select
File/New/Project to create a new project.
File → New → Project
The Create new project panel (Figure 4.3: Create new project Panel) will open.
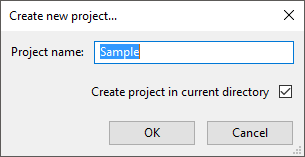
Then perform the following steps:
Enter
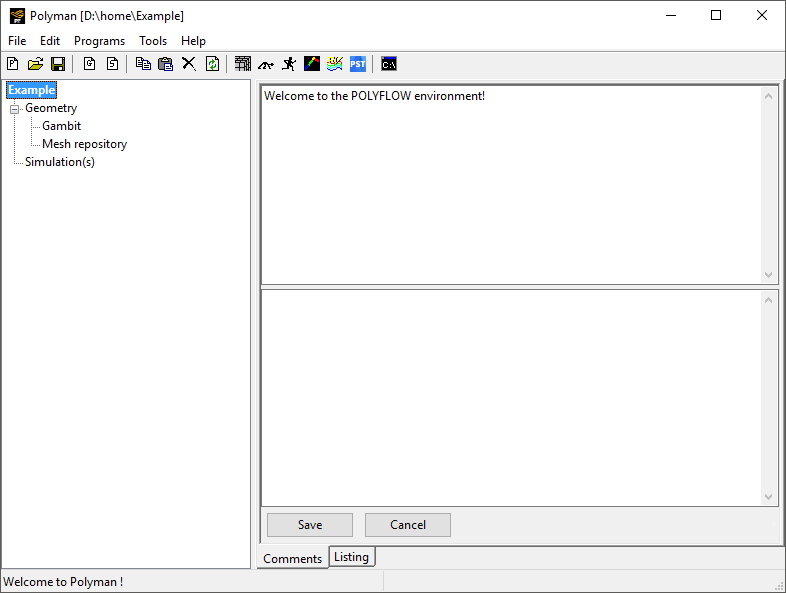
Samplefor the Project name and click .Ansys Polyman creates the project and displays it in the list tree (see Figure 4.4: Initial Project List Tree), showing two branches: Geometry and Simulation(s). It creates a directory called Sample and a file called Sample.prj in your working directory.
Note: To reopen this project in a later Ansys Polyman session, you can use the File/Open... menu item and select the Sample.prj file.
Import the mesh file into the project by selecting the File/Import/Polyflow mesh menu item.
File → Import → Polyflow mesh
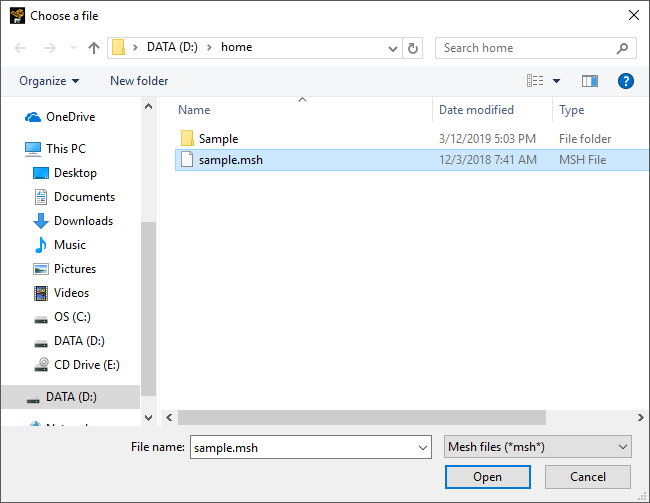
In the Choose a file panel (Figure 4.5: Choose a file Panel), select sample.msh and click .
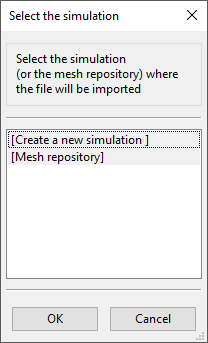
In the Select the simulation panel (Figure 4.6: Select the simulation Panel), select [Create a new simulation] and click to open the Add new item panel (Figure 4.7: Add new item Panel)
Enter
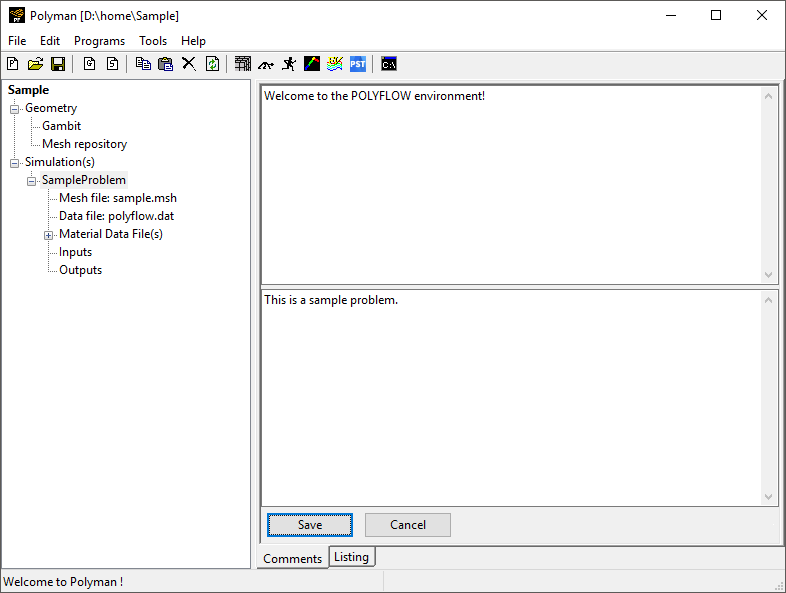
SampleProblemunder Name, and an appropriate comment under Comments, as shown in Figure 4.7: Add new item Panel, and click .The expanded project tree will appear as shown in Figure 4.8: Expanded Project List Tree.