


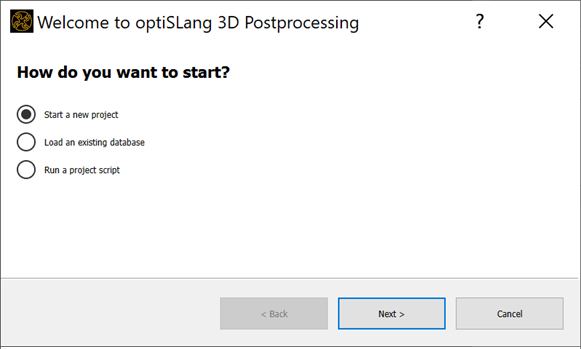
When you start oSP3D, the Welcome to optiSLang 3D Post-Processing wizard provides options for starting a project, loading an existing database, or running a project script.
This section assumes that you have downloaded oSP3D example files and then loaded the database file sos_demo.sdb located in examples/lsdyna/metal_forming_eroded_elements.
oSP3D is initially configured to show the 3D visualization in the main pane and a docked window on either side:
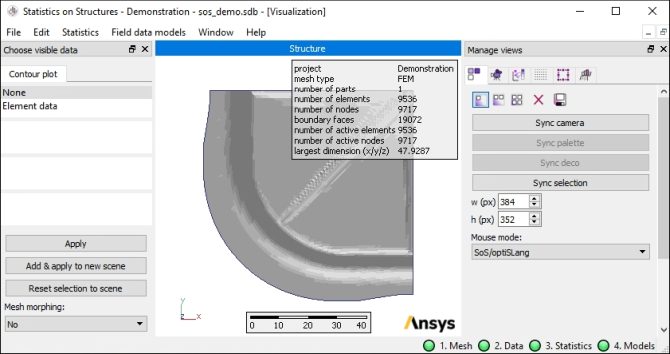
In this simplified configuration, you select an object in the Choose visible data window on the left and then select options from the menu to calculate statistical measures. You use the options in the docked window on the right to manipulate rendering of the 3D visualization.
However, you can easily customize how oSP3D is configured. For example, from options on the menu, you choose whether to display the 3D visualization, data table, or script log in the main pane. You can also choose to tile or cascade all three in separate windows. Similarly, from options on the submenu, you choose to show or hide additional windows, which are docked by default. You can then easily move, resize, and floated these docked windows. In optiSLang 3D Post-Processing Tutorials, many images show customized layouts.
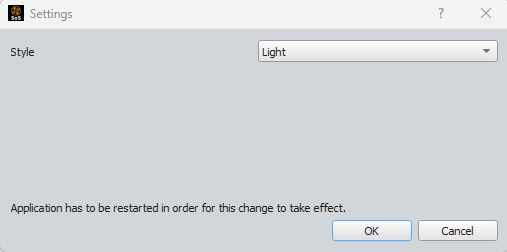
The overall style can be changed by accessing the settings dialog through the Edit < Settings menu. Select the desired style from the drop down field. After changing the style, the software must be restarted for the change to take effect.
These topics describe key components of the oSP3D interface:
Tip: To restore oSP3D to the default layout, click the Windows menu and type
regedit and then open the Registry Editor. Under > > , select and delete all values. Because the (Default)
value specifies the default layout, acknowledge the message indicating that it cannot be
deleted.