


You can make improvements to your surface mesh using the Improve Surface Mesh task. For additional information, see Face Connectivity Issues and Quality Checking.
Provide a value for the Face Quality Limit.
Click Advanced Options to access additional controls prior to performing this task. Options include:
Use the Quality Method option to choose from several different types of mesh quality controls (skewness, aspect ratio, change in size, and so on). Choices include Orthogonal (the default for the workflows), Enhanced Orthogonal, and Skewness. For more information, see Quality Measure. The quality method specified here is derived from the value set in the Generate the Volume Mesh task, however, you are able to make a different selection here if desired.
Use the Quality Improve Max Angle option to set the maximum angle between the normals of adjacent faces during mesh improvements.
Use the Quality Improve Iterations option to specify the number of iterations that will be performed to improve the mesh.
Use the Quality Improve Collapse Skewness Limit option to specify the limiting skewness value when improving the mesh. After quality improvements using the Quality Improve Max Angle are performed, if any remaining triangles are above the Quality Improve Collapse Skewness Limit, these will be aggressively removed using a fixed maximum angle of 120 degrees.
Note: The default value for the Quality Improve Collapse Skewness Limit changes automatically when you increase the value for the Face Quality Limit.
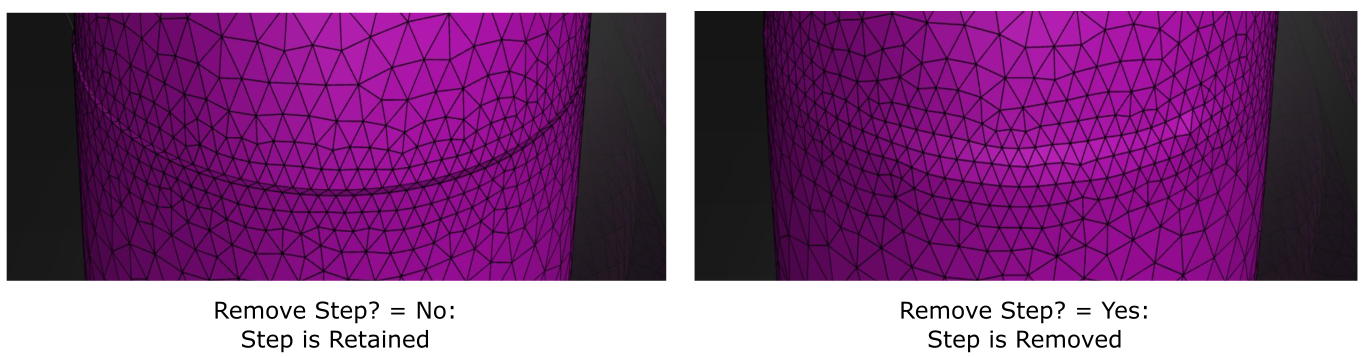
Use the Remove Steps? prompt if there are any small imperfections (ledge or step artifacts from the original CAD geometry) that can be removed as part of the surface meshing improvement task. If you specify yes, then you need to indicate the Max Step Width and a Step Skewness Quality Limit (provided so as not to remove well-refined steps).
For example, a typical 90 degree step artifact can be removed and replaced with a flattened mesh, removing any artificial pressure loss.
Step removal only occurs if the step(s) and the adjacent triangles belong to the same face zone or the same label, therefore, there are ways to protect steps from being removed:
Adding a label to the step itself (or to a face adjacent to the step) will protect the step from being removed.
Zone separation will protect all steps.
Note: All steps within a zone (or within a label) are checked and treated together, therefore it is enough that one step in a zone has a label adjacent to it in order to protect all steps.
In other words, steps can only be removed under the following conditions:
The step, and adjacent faces does not belong to any named selection
The step, and adjacent faces belongs to the same named selection
In some cases, you should consider disabling the quality improvement option in the task so that you obtain a "cleaner" step removal.
Click Improve Surface Mesh.
If you need to make adjustments to any of your settings in this task, click Edit, make your changes and click Update, or click Cancel to cancel your changes.
Once you are satisfied with your changes, proceed to the next step in the workflow.
Note: Changing the Face Quality Limit too extensively can result in aggressive changes to your surface mesh.