


Creating Face Optical Properties
Creating Face Optical Properties (FOP) allows you to isolate certain faces of a geometry to assign specific optical properties to these faces.
To create Face Optical Properties:
-
From the Light Simulation tab, click Material
_Material.png) .
.
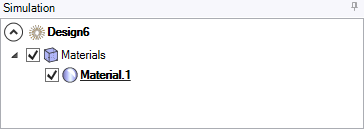
A new material is created in the Simulation panel.
-
In the 3D view, click
_Faces_Selection.png) , select the
faces on which to apply optical properties and click
, select the
faces on which to apply optical properties and click _Validation.png) to validate.
You can apply FOP to faceted geometries:
to validate.
You can apply FOP to faceted geometries:- In case you want to apply the FOP on a full faceted geometry, select the faceted geometry in the Structure tree.
- In case you want to apply the FOP on a region of a faceted geometry, create a Named Selection of facets, then select the Named Selection containing the facets.
Tip: Right-click a Material and click Select associated geometry to highlight in the 3D view the geometries on which the material is applied.Note: The selection of faces from an imported *.obj file is not compatible with the Face Optical Properties.The selection appears in Geometries as linkedobjects. -
If you want to modify the current Surface properties:
_Optical_Properties_Surface_Properties_Definition.png)
- Select Mirror for a perfect specular surface and adjust the Reflectance if needed.
- Select Optical polished for a transparent or perfectly polished material (glass, plastic).
-
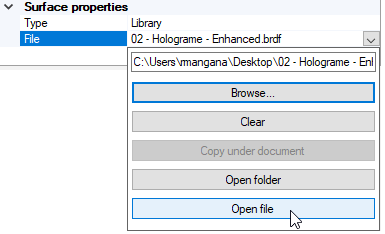
Select Library and click Browse to select and load a SOP file.
If you want to modify the SOP file, click Open file to open the Surface Optical Property Editor.
Tip: To define a surface which is polarized, select a .polarizer file instead of a .coated file as coated surfaces are isotropic. Select Plug-in, and click Browse to select a custom made *.sop plug-in as File and the Parameters file for the plug-in.
Note: Make sure each plug-in created has a different GUID._Optical_Properties_Surface_Properties_Plugin.png)
For more information, refer to Surface State Plugin.