
RSM Integration with Job Management UI
Ansys Electromagnetics supports its own Remote Simulation Management (RSM) software, along with other High Performance Computing (HPC) software management programs (see High Performance Computing (HPC) Integration.).
When do you need RSM?
RSM is required to run remote or distributed simulations. However, if you have a separate scheduling system that Ansys Electromagnetics supports, and you plan to run batchsolve simulations only, then you may not need to install RSM. For details of installation and configuration of RSM, see the Ansys Electromagnetics Installation Guides.
Job Management UI for RSM
You can use the Job Management UI to submit batch jobs to RSM. Access the Job Management UI by running Ansys Electromagnetics Desktop on the designated 'Postprocessing node' of the cluster. The Desktop provides UI commands for Scheduler selection, Job submission, and Job monitoring/control. Select Tools > Job Management > Select Scheduler to access the Scheduler User Interface.
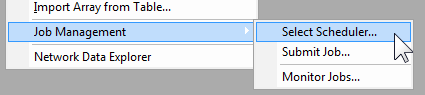
Click Select Scheduler to display the selection dialog box. A drop-down menu lists potential schedulers, (which can include RSM, lsf, Windows HPC, or others, depending on the environment).
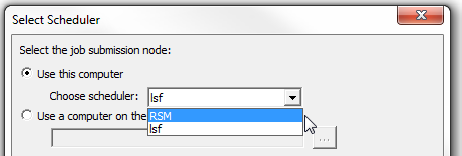
If you select a scheduler that is not supported in your environment, you receive a warning message.
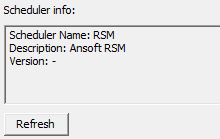
After selecting a scheduler, click Refresh to display information for that scheduler.
Once you have selected a scheduler supported in your environment, follow these steps to submit a batch job.
- Set up and prepare model on local workstation.
- Copy the input project (or folder, if the project references external files) from a personal workstation to a shared drive on cluster (for example, project is copied to /home/projects/spool/test.aedt).
- In the RSM environment, you are required to specify a machine configuration list. (See Setting HPC and Analysis Options and Editing Distributed Machine Configurations) For example, if the machine list is: 3 cores from 'm1' and 3 cores from 'm2', for a total of 6 engines, select the list on the Compute Resources tab of the Submit Job to: RSM dialog box, as described below.
- Open a remote desktop session (or equivalent such as vnc session) on the node corresponding to the first machine of job's machine list, 'm1' in this case. Launch Desktop graphically on 'm1'.
- Run Tools > Job
Management > Submit Job to open the standard Job Submission
dialog box, shown below.
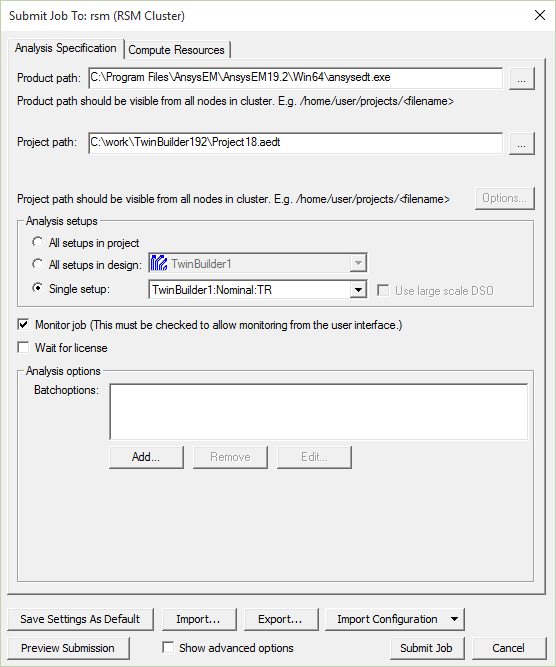
- The Analysis Specification tab has parameters to specify the input project model, the analysis setup and analysis options (including batch options) that affect analysis algorithms.
- The Compute Resources tab specifies the amount of compute resources and how to select specific resources from the available pool.
- Click
 to browse for a project.
- In the Analysis setups area, you can
select option buttons for All setups in the project, All setups in the
design, or a Single setup. For instance, the following example includes
setups for Nominal, Parametric, and Optimization.
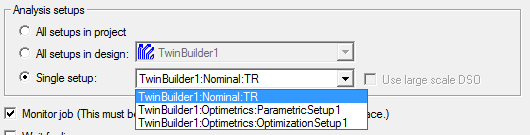
For Parametric setups, you can select Use Large Scale DSO. For details on how and when to use this feature, see Job Management Interface for Large Scale DSO.
- The Analysis options includes check boxes
for monitoring the job, whether to wait for a license, and a field for
adding Batchoptions via a graphical interface, or as text.
- If you intend to monitor the job through a user interface, select Monitor job. You can then monitor this job with Tools > Job Management > Monitor Jobs..., or by selecting the dialog box that opens when you submit the job.
- Use the Batchoptions field to add additional
-batchoptions parameters, either as text, or by using a dialog box with selection
menus. Click Add to view the Add Batchoption
dialog box.
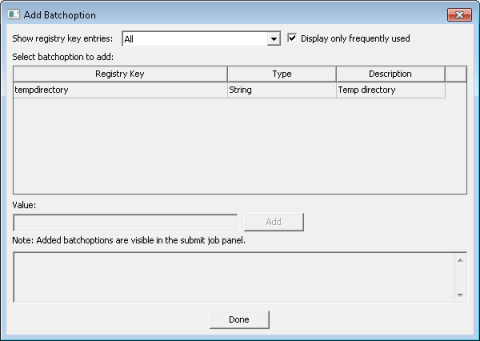
Use the Show registry key entries field to filter the entries displayed, by means of a drop-down menu selection, and a check box to Display only frequently used entries.
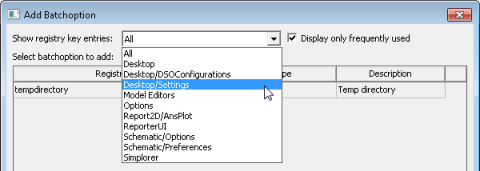
- When you have selected a batch option, type the value in the field and click Add to add the option to the batch command.
- In the Submit Job To: dialog box, select Show advanced options to display the Environment field.
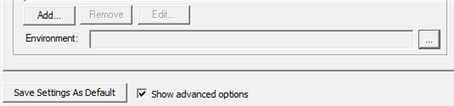
This field is for environment variables, for instance, for debugging features or other variable controlled features. Click
to open the Additional Job
Options dialog box.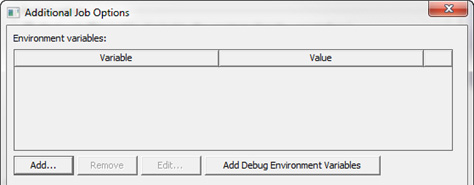
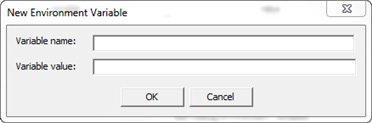
Click Add... to open a New Environment Variable dialog box in which you can include a variable name and value.
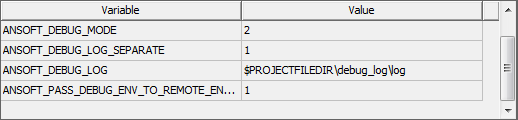
Click Add Debug Environment Variables to add a set of debug variables. This can be useful in working with Ansys Application Engineering support.
Select a variable to enable the Remove and Edit buttons. Click Edit to open a dialog box where you can change the variable and value.
- To see the command line to be submitted
to the scheduler, click Preview Submission. This opens a dialog
box showing the command to be sent to the scheduler.

The text can be copied to the clipboard.
- The Compute Resources tab of the Submit Job To: RSM dialog box displays other parameters. Depending on the resources available for a scheduler environment, some of the fields may be disabled.
- To submit the command with the specified
parameters, click Submit Job.
Note:
The RSM environment does not support queuing, so 'Submit Job' will immediately start running the job.
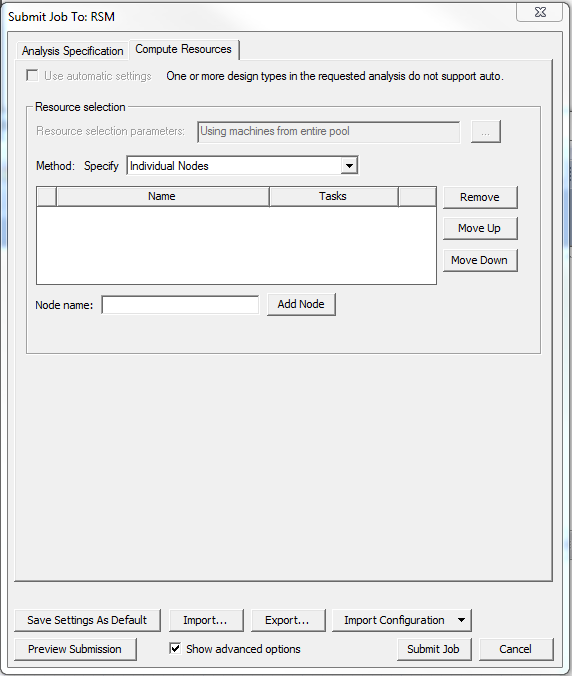
If you select Use automatic settings, the solver does not support automatic distribution of variations. This option does not support Optimetrics variations. It does distribute frequencies, domains, and use of multiple level domains.
You can either select Use automatic settings on the Compute Resources tab, or you can enter individual nodes. For each node, enter the node name and add the node. Click Remove, Move Up, and Move Down to edit and order the list.
A dialog box appears in which you can select Begin monitoring this job now.
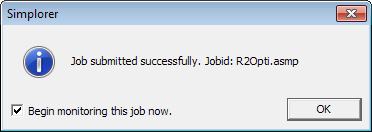
- You can monitor this job either automatically
(by checking the option) or with Tools > Job
Management > Monitor Jobs.
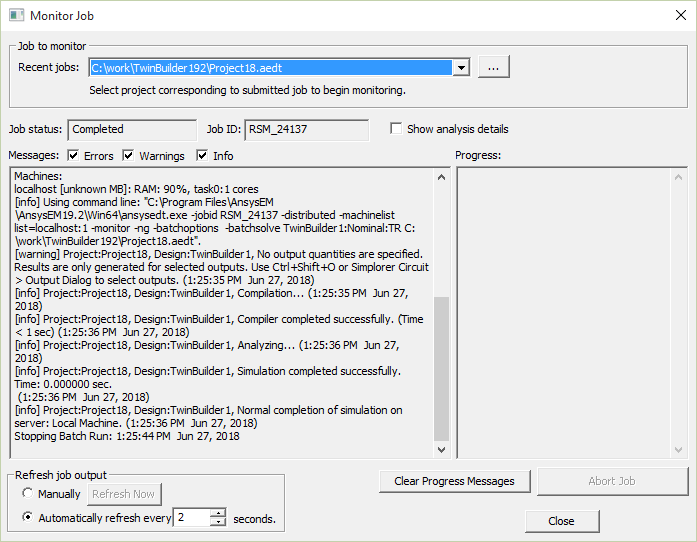
The dialog box contains fields reporting the job status, job ID, messages issues, and progress. You can filter the messages for Errors, Warnings, and Info. By option you refresh the job manually or at specified intervals.