The blocking strategy for the 3D pipe geometry involves creating two blocks from the initial block—one each for each half cylinder, forming an L-shaped configuration. Later, you will create an Ogrid to improve the mesh quality.
The blocking functionality in Ansys ICEM CFD provides a projection based mesh generation environment. All block faces between different materials are projected to the closest CAD surfaces. Block faces within the same material may also be associated to specific CAD surfaces to allow for the definition of internal walls. In general, there is no need to perform any individual face associations to underlying CAD geometry which reduces the time for mesh generation.
Create an initial block.
> Create Block
 > nitialize Blocks
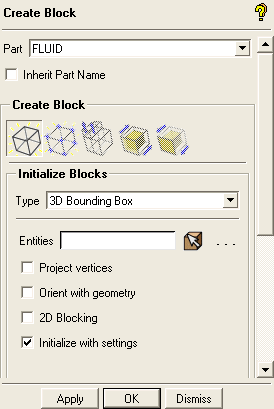
Ensure that Part is set to the correct material (FLUID).
Retain the selection of 3D Bounding Box in the Type drop-down list.
You need not select entities when creating a bounding box around the entire geometry.
Click .
Split the initial block into sub-blocks.
> Split Block
 > Split Block
Enable Curves and Surfaces.
 > >
> > Display the left view for better visualization
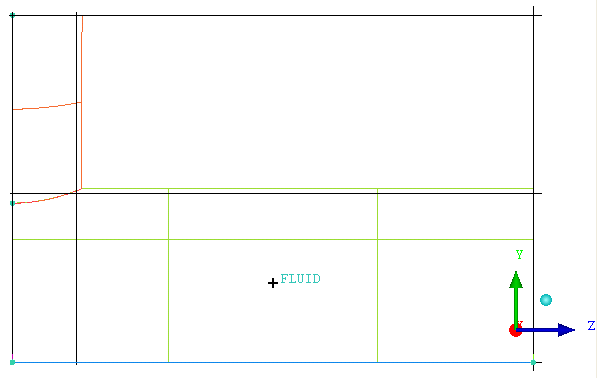
The L-shaped topology is best seen in a side view.
>
You can also select the X-axis in the display triad in the lower right hand corner to reorient the model as it appears in Figure 51: Geometry Showing Split Locations.
Create a vertical split.
Click
 (Select edge(s)) and select one of the horizontal
edges.
(Select edge(s)) and select one of the horizontal
edges.Position the new edge near the front end of the small cylinder (Figure 51: Geometry Showing Split Locations) and click the middle-mouse button to accept the new position.
Create a horizontal split.
Click
(Select edge(s)) and select one of the vertical
edges.Position the new edge near the top of the large cylinder (Figure 51: Geometry Showing Split Locations) and click the middle-mouse button to accept the new position.
Figure 51: Geometry Showing Split Locations shows the split block.
Delete the unnecessary upper block.
> Delete Block

Click
 (Select block(s)) and select the block to be deleted as shown in Figure 52: Block to be Deleted.
Ensure that Delete permanently is disabled.
Click the middle-mouse button and then in the Delete Block DEZ.