


The arcdeploy command provides the same functionality as the ARC Configuration application, but delivers it via the command line for those who require or prefer this type of deployment.
Before using this command, refer to Prerequisites for ARC Configuration to ensure that all nodes are accessible and suitable for ARC configuration.
The information that you enter is captured in a CSV file so that you can quickly and easily deploy the same cluster again in the future.
Running the ARCDEPLOY Command
The arcdeploy command must be run on the machine that will serve as the Master node.
On the Master node, in a command window, run the following command:
%AWP_ROOT242%\RSM\ARC\tools\winx64\arcdeploy.cmd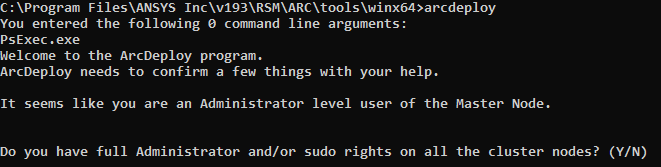
Type y (for yes) to confirm that you have full Administrator and/or sudo rights on all cluster nodes.
Type y to confirm that Ansys software is uniformly installed on the Master node and all Execution nodes.
Type y to confirm that all nodes in the cluster are based on the same Operating System.
Type y to confirm that the current machine will serve as the cluster's Master node.
Information about the current node is displayed:
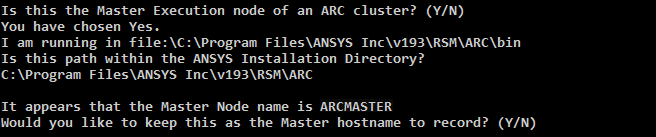
The path shown is the detected directory of the deployment application. This directory must reside within the Ansys installation directory.
The hostname of the current machine is also detected and displayed.
To record the name shown as the Master hostname, type y. Otherwise, to record a different Master hostname type n (for no), then type the desired name. The specified hostname must exist in DNS or other hostname resolution system. The recorded name is the one that will appear in the command's output when performing upcoming steps.
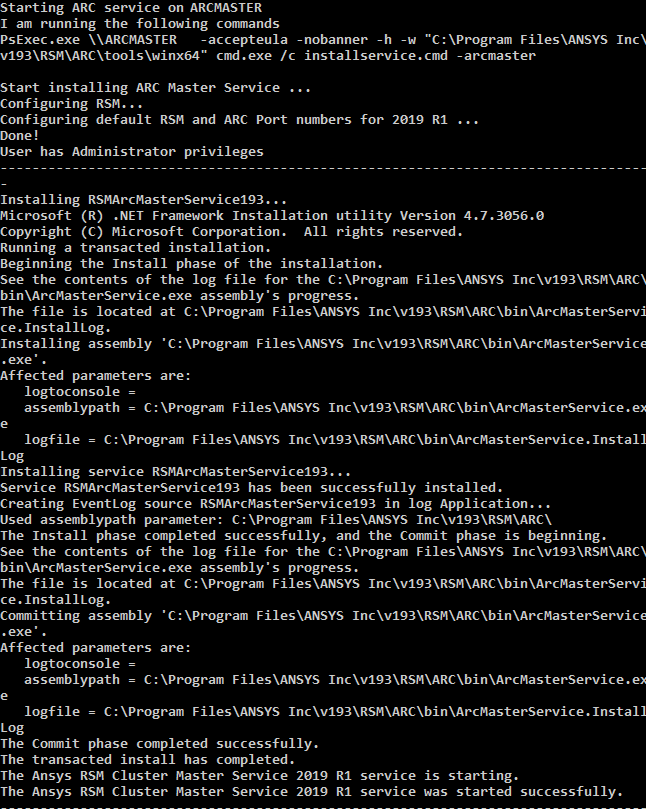
The ARC Master service is installed on the Master node:
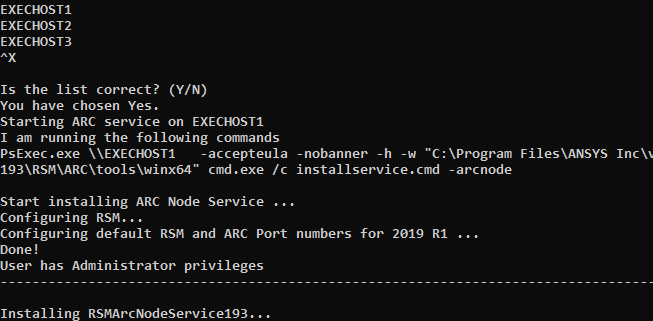
You are then prompted to enter the hostnames of the Execution nodes:

Type the hostname of an Execution node, then press Enter. Repeat this step for each remaining Execution node (including the Master node if it will be used to execute jobs).
When you have completed the list of Execution nodes, press CtrlX and then press Enter.
Review the list for accuracy, then type y to confirm that it is correct.
The ARC Node service is installed on each Execution node:
The ARC will have a built-in
localcluster queue for submitting jobs to the local machine, and adefaultcluster queue that can submit jobs to any of the execution nodes. You can create more queues in the next step.If you wish to create an additional cluster queue, type y.

Type the desired name for the new queue, then press Enter.
Verify the name entered, then type y to confirm it.
Specify which nodes should be assigned to this queue:
To add all Execution nodes to this queue, type y.
All Execution nodes are added to the queue. When prompted, specify whether or not you want to add the Master node to the queue as well, by typing either y or n:

To add only specific Execution nodes to this queue, type n.
The queue will be established, but will not have any nodes assigned to it. You will need to do this using different commands after the cluster has been deployed. See Modifying a Cluster Queue.

When you have finished adding queues, type n and press Enter at the Do you want to add another queue? (Y/N) prompt.
Each queue will be created and enabled, and the appropriate nodes will be assigned to each queue according to the responses that you entered:

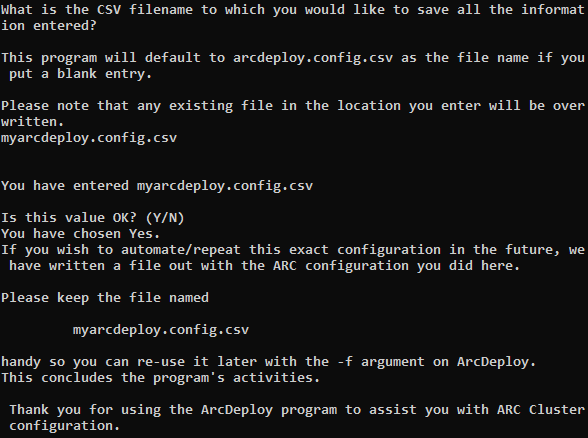
To save all of the information that you have entered to the default CSV file name, arcdeploy.config.csv, simply press Enter. Otherwise, type the desired file name and press Enter.
You can use this file to instantly deploy the same cluster in the future if needed. To do this, you will use the -f argument when issuing the arcdeploy command.
The cluster has been deployed and is ready to use.