Sketching
Sketching is useful if you want to create a region that can be pulled into 3D. If you want to create a 2D layout, and have no immediate need to generate 3D objects from the lines in the layout, then you should create a layout.
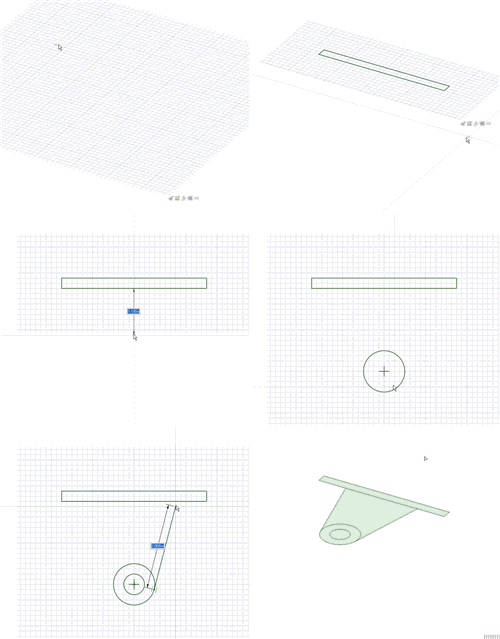
Use the Sketch tools to sketch shapes in 2D. When you exit the sketch, regions are formed by intersecting lines. These regions will become solids and lines become edges when you pull your sketch into 3D with the Pull tool. Even when pulled into 3D, a region can be decomposed back into its sketched lines for further editing as long as any remnant of the lines is still unused in 3D.
To use any of the sketch tools to sketch in 2D, you must first display the sketch grid. If you have a planar surface highlighted, and press a sketch tool shortcut (such as L for the Line tool), you can hover over planar surfaces in the design to highlight surfaces for the sketch grid. (Press Esc while in this state to return to the Select tool in 3D mode.) You can adjust the units and spacing of the grid, you can also fade the scene under the grid to enhance the visibility of your sketch.
You can lock the base dimension base point when sketching multiple objects. Locking a base point enables you to secure the dimensions of an object relative to that point, or, the dimensions of an object relative to any object you previously sketched. As you sketch, you can enter coordinates for each successive point relative to the previous point.
While you are sketching, you may need to orient your design. If you use the Spin, Pan, or Zoom tools to reorient the sketch, click the navigation tool again or press Esc to continue sketching where you left off.
If you select Auto-extrude/revolve sketches in Section mode in the Advanced options, sketching in Section mode will automatically extrude your sketch to 3D. The extrusion depth is set to 10 times the spacing of your sketch grid. You can dimension this depth for any extruded sketch by entering a value in that dimension field. If your are sketching on an already revolved face, the sketch is automatically revolved.
When you copy and paste sketch objects, they are placed in their original location relative to the center of the grid. The objects will be highlighted when you paste, so you can move them to a different position, if required.
Sketched objects are added to the Curves folder in the structure tree as you create them. If the list of sketch curves is long, then you will see More Curves in the list. Click More Curves to display the entire list.
This section contains the following topics:
- Using the Sketch Tools
- Locking a Base Point
- Changing the Location of a Base Point
- Editing a Sketch
- Toggling Between a Curve and a Construction Curve
- Mirroring in Sketch Mode
- Sketch Ribbon
- Sketch Tool Guides and Options
- Sketch Mini-toolbar
- The Sketch Plane
- Move Grid Tool
- Sketching with Constraints
- Sketch Tools
- Working with Sketch Curves in 3D
- Editing Sketches
- Copying a Sketch
- Layout Sketches
- Moving in Two Dimensions
- Dimensional Sketching


