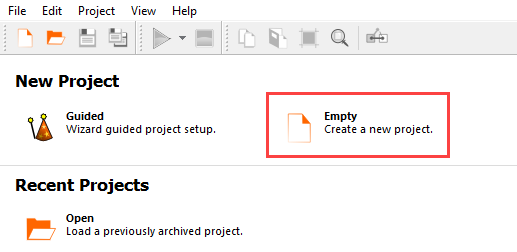
This tutorial shows you how to use the Granta MI to optiSLang connector, to allow material cards from Granta MI to be analysed as designs within the optiSLang environment. It demonstrates how to connect to Granta MI and import the material cards.
Granta MI is the Ansys solution for materials data management. If you have data stored in Granta MI, you can import this data into optiSLang for analysis. For example, you can run multiple simulations to select the best material.
The Granta MI optiSLang connector allows you to access records from any table in any database on your Granta MI server. Each record selected from Granta MI is imported as a material card into the optiSLang library, after selecting the record and material format.
This tutorial demonstrates how to do the following:
Connect to and browse Granta MI databases from optiSLang
Select records
Send this data to optiSLang
Before you start the tutorial, download the MI_optiSLang_connection zip file from here , and extract it to your working directory.
If necessary, unzip the Granta MI folder located inside the MI_optiSLang_connection folder.
Place the Granta MI folder into the optiSLang plm folder (for example C:\Users\Public\Documents\Dynardo\ANSYS optiSLang\2021 R1\scripting\plm\).
Install the Granta MI Python STK on the Python instance in your optiSLang installation. Typically, this is located in C:\Program Files\Dynardo\ANSYS optiSLang\[version]\. From this location, run:
>>>optislang-python -m pip install .....
with the latest version of the Granta MI Python STK.
To set up and run the tutorial, perform the following steps:
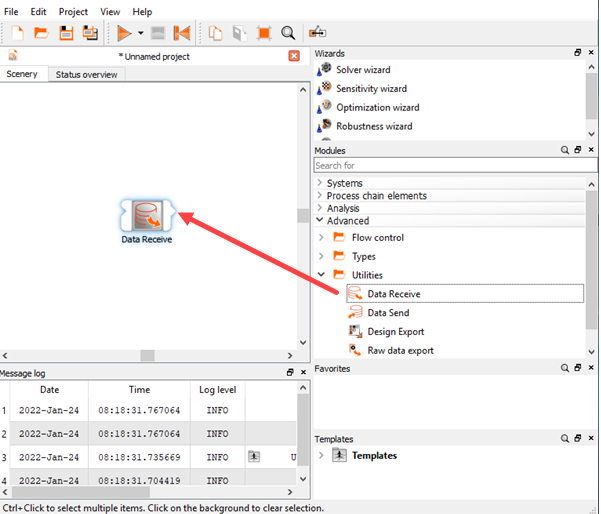
From the Modules pane, drag the Data Receive node to the Scenery pane and let it drop.
Double-click the Data Receive node to open the dialog box.
Click .
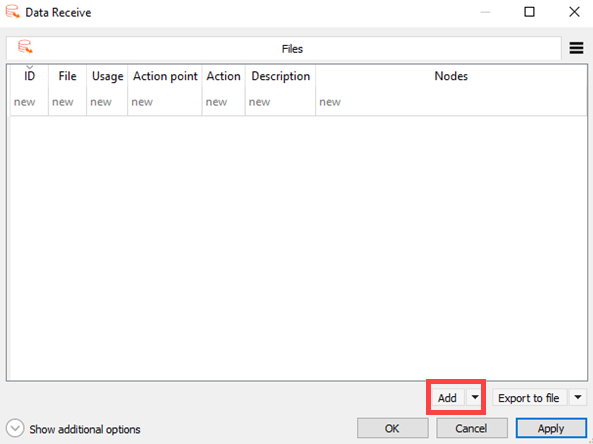
From the Type list, select .
Click .
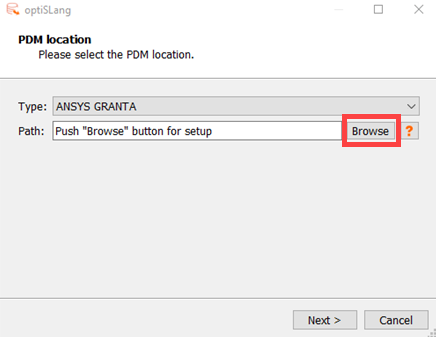
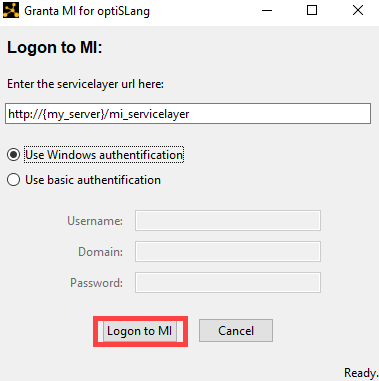
Enter the location of your MI servicelayer.
Tip: Replace {my_server} with the location of your Granta MI server.
Select the authentication method for your Granta MI system.
Click .
Using the drop-down menus, first select a database and then the table that you want to use to select records.
Expand the folders and then select the records to import.

To filter the records list, type the full name of the material into the Search field.
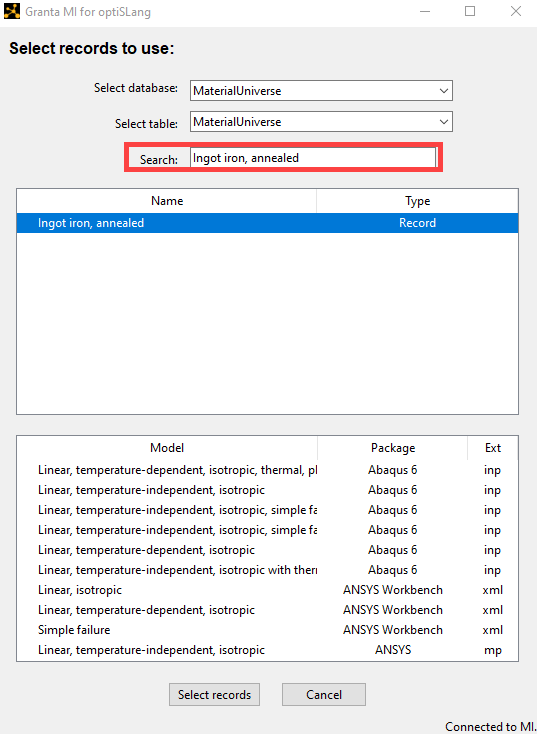
Select a material model.

Once you have made your selection, click .
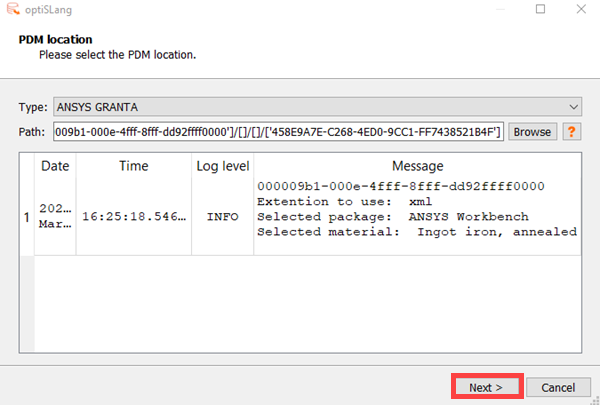
The data import wizard opens. It may take a few moments for the dialog box to appear.
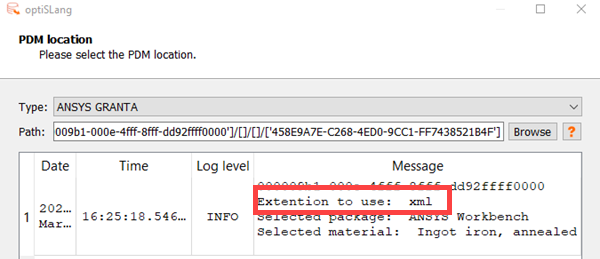
Ensure the PDM location information is correct, then click .
In the Path field, type the path and name of the file to export the data into.
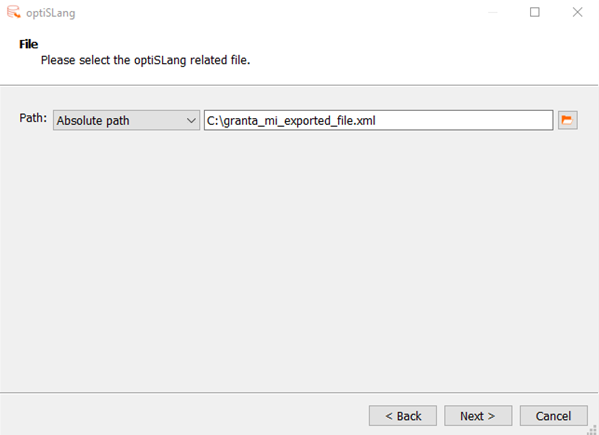
Note:You can also click
 to browse to a file location or an existing file.
The file extension you enter here must match the extension displayed in the message on the previous screen.
Click .
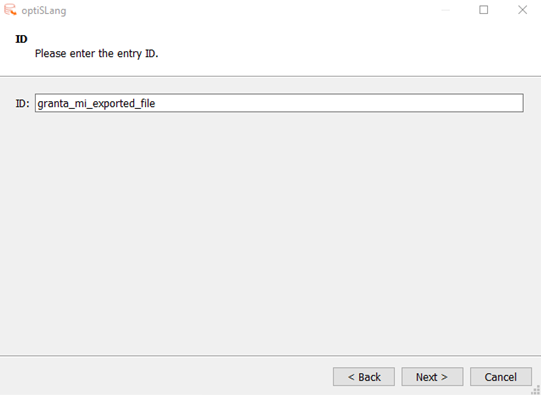
In the ID field, type an entry ID (or use the default).
Click .
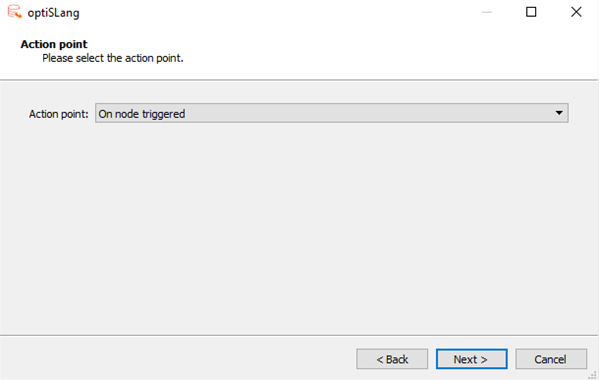
Select an Action point.
Click .
A summary of the data and selections you have made is displayed. It includes the records to be used along with any children (identified by their record GUID), along with the name of the exporter.
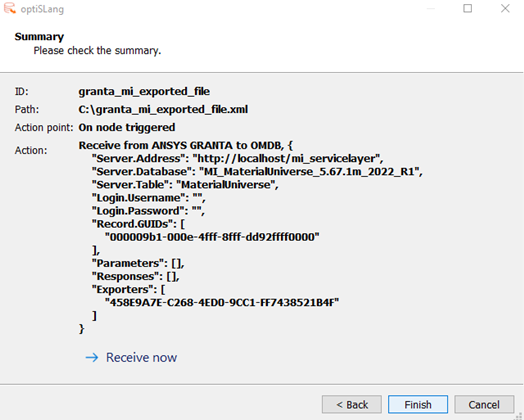
To export the data from Granta MI into the file, click .
A message containing the package name, exporter model, and export file is displayed.
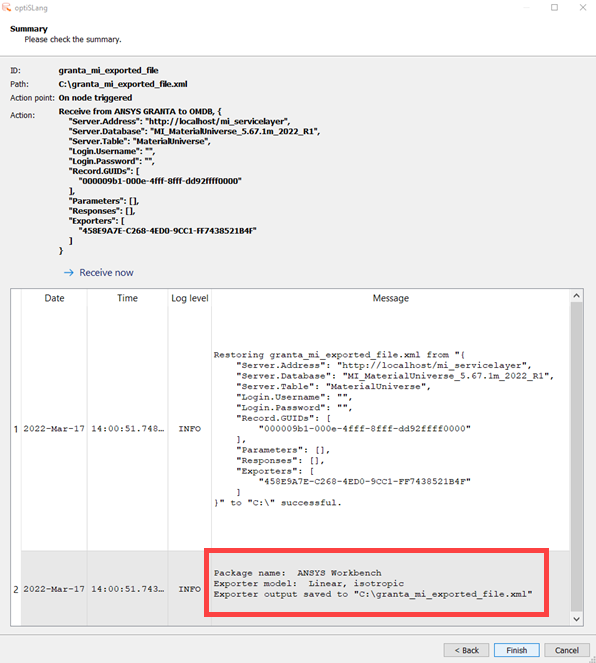
Once the data has been exported successfully, click .
You can now navigate to the location of your exported file to conduct your analysis.


