The following sections will guide you through setting up the project:
The project files are contained in a compressed file and can be downloaded here.
Once the download is complete, extract the compressed file. The folder contains two project archives: a from-start file and a solved file.
Start Ansys Workbench and Open the archive: Solid_Model_with_Cutoff_Rule_FROM_START_<Release>.wbpz.
Save the Workbench project.
Note: To check the result in the solved archive file:
Start Ansys Workbench and Open the solved archive: Solid_Model_with_Cutoff_Rule_SOLVED_<Release>.wbpz.
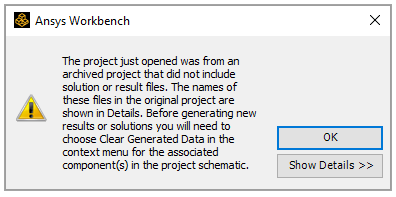
Close the warning dialog if it pops up.
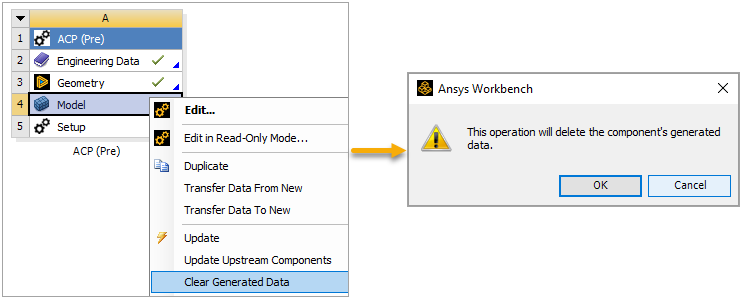
Right-click the Model cell in the ACP (Pre) system, select Clear Generated Data, then click OK when the warning dialog pops up.
Click Update Project on the project toolbar.
Follow these steps to check the predefined properties:
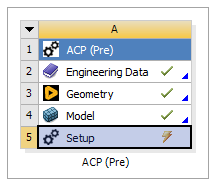
In Workbench, double-click the Setup cell in the ACP (Pre) system to open ACP.
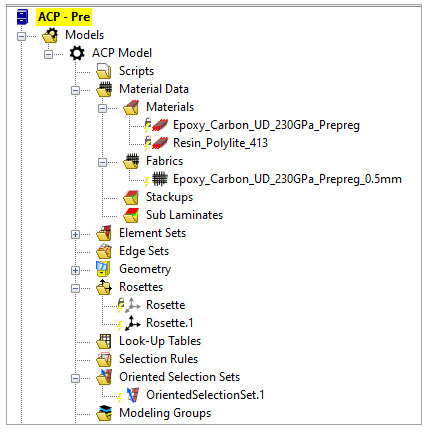
In the ACP's Tree View, expand Material Data to see the predefined materials and fabric. Expand Rosettes and Oriented Selection Sets to check those properties. Double-click each property to see its specifications.
Click the Update icon on the toolbar.
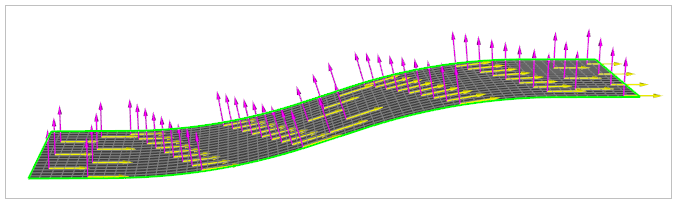
Click Rosette.1 in the Tree View to see its position and direction in the model.
Similarly, click OrientedSelectionSet.1 in the Tree View to see its Orientation and Reference Direction in the model.