


Defining a Model
This page shows how to generate a BSDF from analytical models.
To define a model:
Click BSDF - BRDF - Anisotropic Surface Viewer
 .
.Click File and Define a model...
According to the BSDF you want to generate, select Reflection, Transmission or both.
Set the sampling on the different areas of contribution:
Note: The sampling strongly depends on the material's characteristics (for example a mirror-like surface does not require the same sampling concentration around its specular peak and in its diffuse area).For the Specular Area (area surrounding the specular peak):
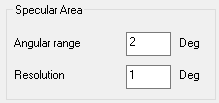
Adjust the angular range to consider.
Adjust the resolution (the step) between two measures.
For the Diffuse Area (broader area around the specular area):
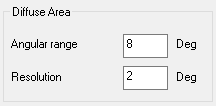
Adjust the angular range to consider.
Adjust the resolution (the step) between two measures.
For the Retro Reflective Area (remaining areas containing scattered values):
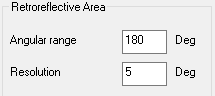
Adjust the angular range to consider
Adjust the resolution (the step) between two measures.
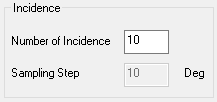
In Incidence, adjust the number of incident rays (also called incident thetas q).
The Sampling Step is automatically computed. The sampling is carried out between 0° and 90°.
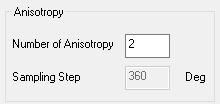
In Anisotropy, adjust the number of anisotropies.
The Sampling Step is automatically computed. The sampling is carried out between 0° and 360°.
In the Formula field, type the string corresponding to the analytical model you are using.

Click Browse and select a directory to use for generated BSDF.
Click Generate.
The BSDF is created and stored in the previously selected directory. You can now open the BSDF with the viewer to verify its characteristics.