This topic explains how to use medini analyze to manage the project team and its responsibilities. For safety planning, you first need to identify the users and groups that will be part of the project team. Then you define project roles and assign them to users.
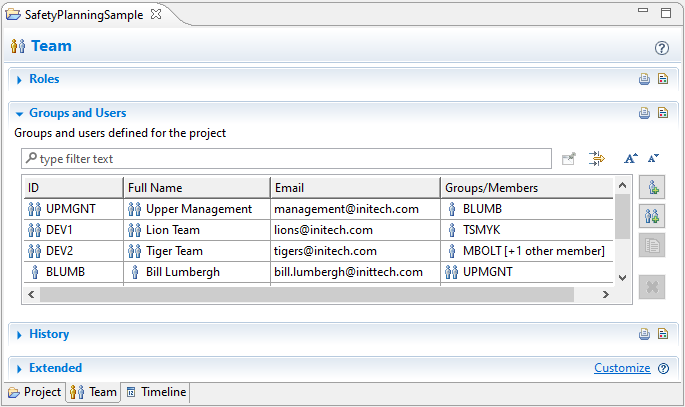
In the Groups and Users section, you set the list of users contributing to the project. Users are identified by an ID, their name, a mail contact, and the group they belong to (if any) within the project. Users can belong to more than one group.
To define groups and users, complete these steps.
In the Model Browser, double-click the project folder you want to open.
At the bottom of the project window, click the Team tab to open the Team editor.
Note that the first time you set up a team in a project, you must first click the button.
Click Groups and Users to expand that section.
To create a group:
To create a group, on the right, click the button.
In the ID column, enter a name for the new group. You can enter a role description in the Full Name column and list the members in the Groups/Members column.
Note that you customize columns by right-clicking in the column header role and selecting .
To add a user:
To add a user, on the right, click the button.
Enter the user's information in the corresponding columns.
Use the additional buttons on the right to edit, delete, or reorder groups and users in the table. You can assign users directly to an activity or to predefined roles.
Note: Connecting to domain service/LDAP is not supported.
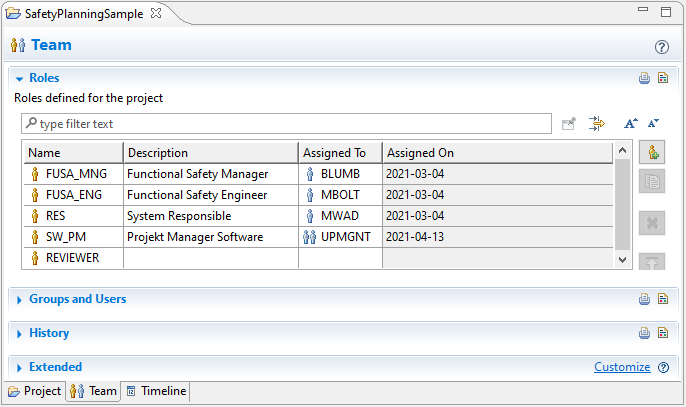
In the Roles section, you can define the roles necessary for the current project. After you have defined users and roles, you can assign roles to available resources. Roles do not have to be assigned immediately. you can assign a user or group later when you have identified a resource. You can also assign roles to specific activities in safety planning.
To define a role, complete these steps.
In the project window, click the Team tab to open the Team editor and expand the Roles section.
Use the buttons on the right to create, edit, delete, or reorder roles in the table.
To display a history of role assignments, expand the History section.