


This tutorial allows you to complete a sensitivity analysis of the Bracket:
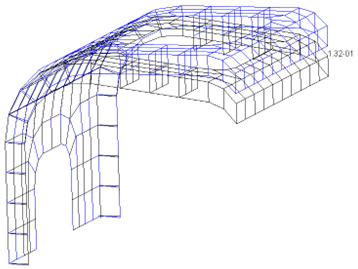
The bracket is parametrized by the material Young's modulus E,
shell thickness T, number of timesteps N, and
time increment DT. The responses are the first Eigenvalue frequency
and the first Eigenvalue generalized stiffness.
This tutorial demonstrates how to do the following:
Generate an optiSLang workflow using NASTRAN integration node
Set up NASTRAN integration node settings
Define and register the parameters and the responses
Before you start the tutorial, download the bd05bkt.dat file from here and add it to your project reference directory *.opr.
To set up and run the tutorial, perform the following steps:
Start optiSLang.
Create a new empty project.

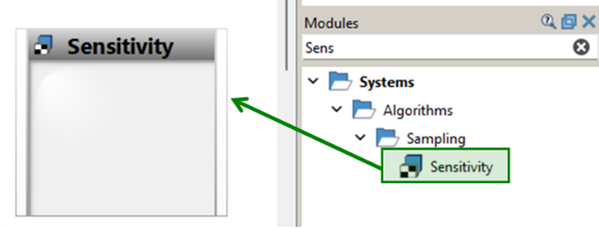
From the Modules > Systems > Algorithms > Sampling folder, drag the Sensitivity system to the Scenery pane and let it drop.
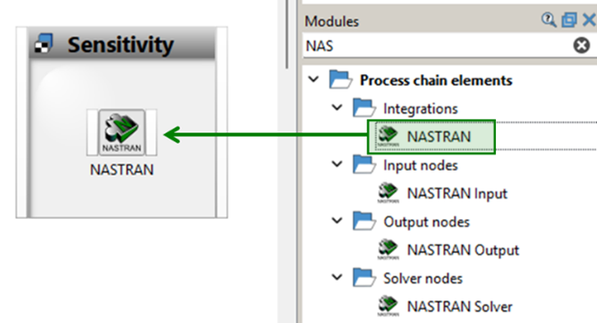
From the Modules > Process chain elements > Integrations folder, drag the NASTRAN node into the Sensitivity system and let it drop.
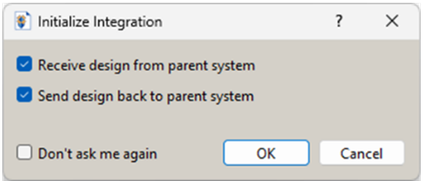
In the Initialize Integration dialog, click the OK button to accept the defaults.
Double-click the NASTRAN integration node (or right-click the NASTRAN node and select Edit).
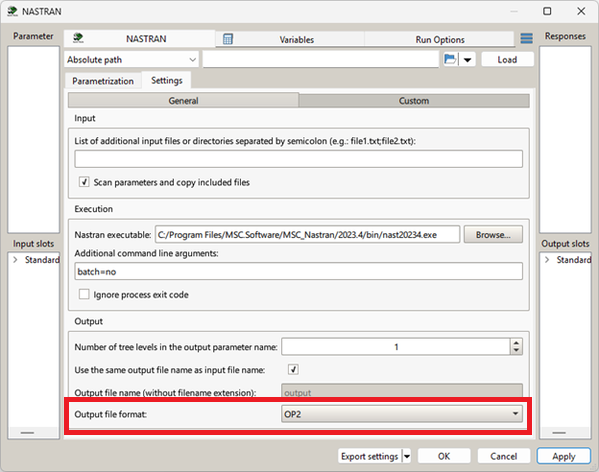
Go to Settings tab > General subtab.
Here you can set custom NASTRAN settings, for example, Nastran executable, additional input files, Output file format, etc.
Select "OP2" as Output file format.
On the Parametrization tab, browse the reference folder *.opr and select the bd05bkt.dat file.
In the Inputs table, select
MAT1_Id_1_EandPSHELL_Id_1_Tand drag them to the Parameter pane to register them as inputs.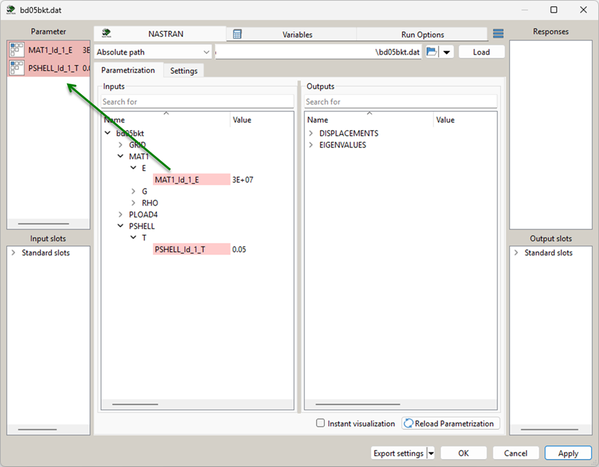
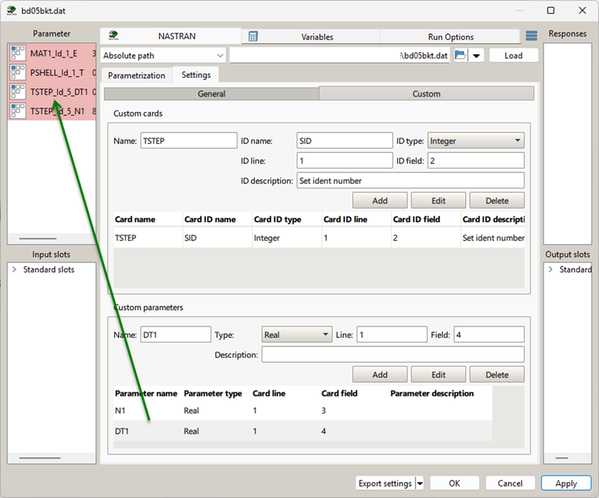
Click the Settings tab, then click the Custom tab.
Select the parameters under Custom parameters and drag them to the Parameter pane to register them as inputs.
Click the Parameterization tab.
On the Outputs pane, right-click
EIGENVALUES__CYCLESand select "Use as internal variable".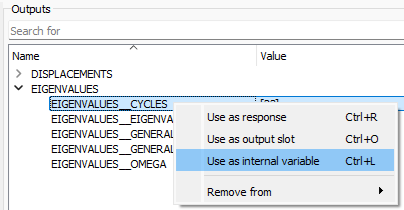
Right-click
EIGENVALUES__GENERALIZED_STIFFNESSand select "Use as internal variable".Click the Variables tab.
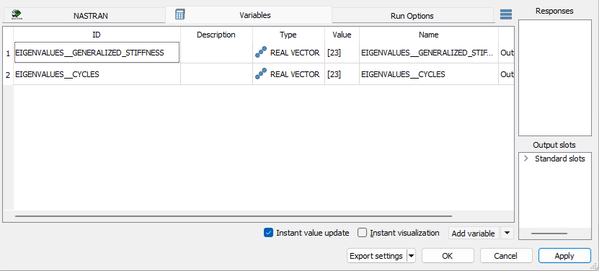
Click Add variable.
Double-click the ID cell for the new variable, type
FREQ_1, and press Enter.Double-click the Expression cell of row 3 (
FREQ_1) and select from the context menu.In the Calculator, enter
EIGENVALUES__CYCLES[0]and click .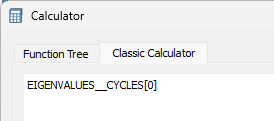
Add another new variable. Rename it
STIFF_1.Update the Expression of
STIFF_1toEIGEVNVALUES_GENERALIZED_STIFFNESS[0].Drag
FREQ_1andSTIFF_1into the Responses pane to register them.
Double-click the Sensitivity system to open the settings.
On the Parameter tab, check registered parameters.
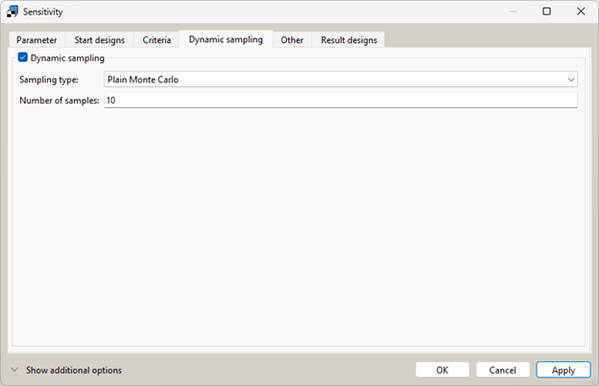
On the Dynamic sampling tab, set dynamic sampling:
Select Dynamic sampling.
Select "Plain Monte Carlo" as the Sampling type.
Set Number of samples to
10.
Click .
To save the project, click
 .
.Right-click the Sensitivity system and select Start from here.
To review the result, double-click the Sensitivity system and switch to the Result designs tab.
To view the optiSLang Postprocessing, right-click the Sensitivity system and select Show Postprocessing.