


To take advantage of the reduced loading of computers during nights or weekends, you can schedule when the simulation will start. To schedule a simulation, select the Tools/Schedule simulations/Add menu item.
Tools → Schedule simulations →
This will open a wizard that guides you through the procedure for scheduling a simulation on the computer running Ansys Polyman or on a remote machine. This wizard also allows you to define a list of simulations that will be run successively on a given machine at a given time.
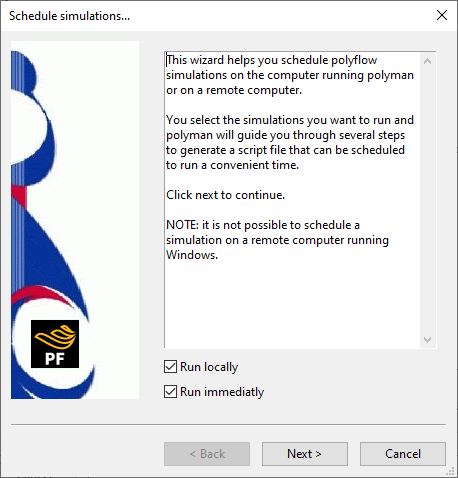
In the first panel of the wizard (shown in Figure 3.13: The First Schedule simulations... Panel, Run locally should be disabled if you want to use a remote computer and Run immediately should be disabled if you want to delay the start of the calculation. Click the button to go to the second panel.
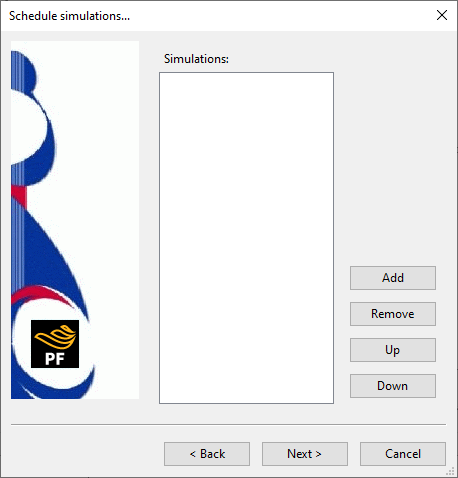
The second panel (Figure 3.14: The Second Schedule simulations... Panel) allows you to specify the simulation(s) that will be launched. To add a simulation to the list, click . The Select simulations dialog box will open.
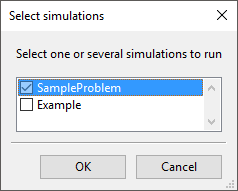
In the Select simulations dialog box (Figure 3.15: The Select simulations... Panel), click the simulation(s) you want to run and click .
The second panel will display the simulations that are scheduled to run. If you want to remove a simulation, select it in the list and click . You can also revise the order in which they are run by selecting a simulation in the list and clicking the or buttons. When you are done revising the simulation list, click the Next button to open the third panel.
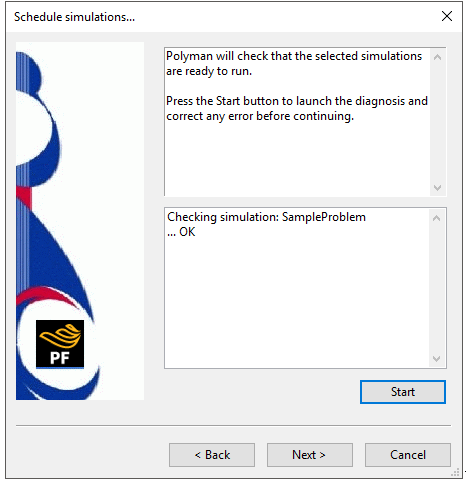
The third panel (Figure 3.16: The Third Schedule simulations... Panel) allows you to verify that the selected simulations are ready to run. Click the Start to run the diagnosis and then correct any errors. If the results of the diagnosis are acceptable (as shown in Figure 3.16: The Third Schedule simulations... Panel), you can click to open the fourth panel.
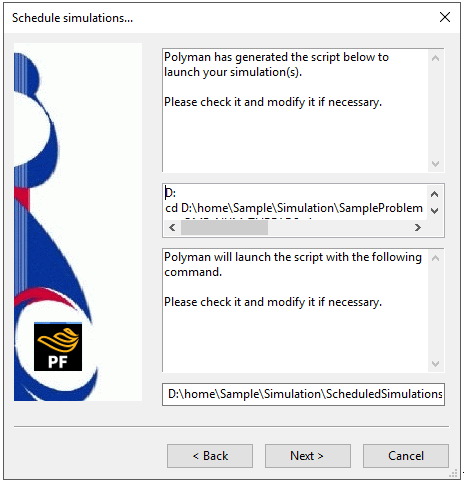
The fourth panel (Figure 3.17: The Fourth Schedule simulations... Panel) displays the script that will launch your simulations, as well as the command that will launch the script. You can edit these as necessary, and then click to open the fifth panel.
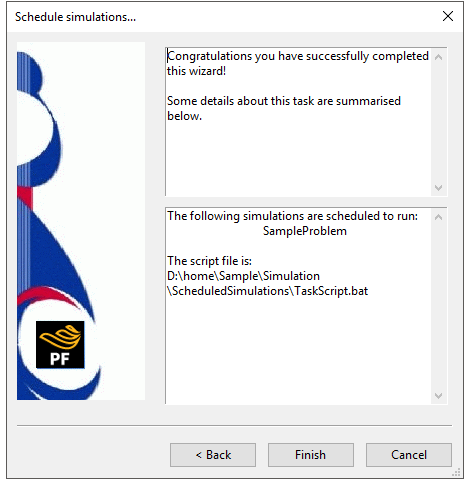
The fifth panel (Figure 3.18: The Fifth Schedule simulations... Panel) summarizes the simulations that are scheduled to run. Note that the path of the generated script file is displayed in this panel, and you will use it in a later step. For your convenience, this path has been copied to your clipboard, so that you can paste it when prompted. Click to close the Schedule simulations... panel. The Task Scheduler window will open.
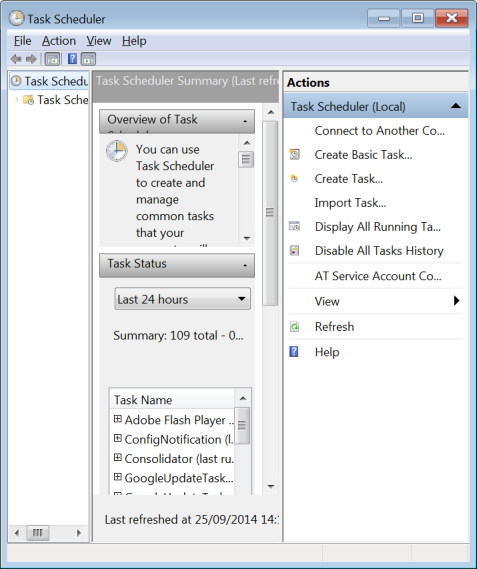
In the Task Scheduler window (Figure 3.19: The Task Scheduler Panel), click Create Basic Task... to open the first Create Basic Task Wizard.
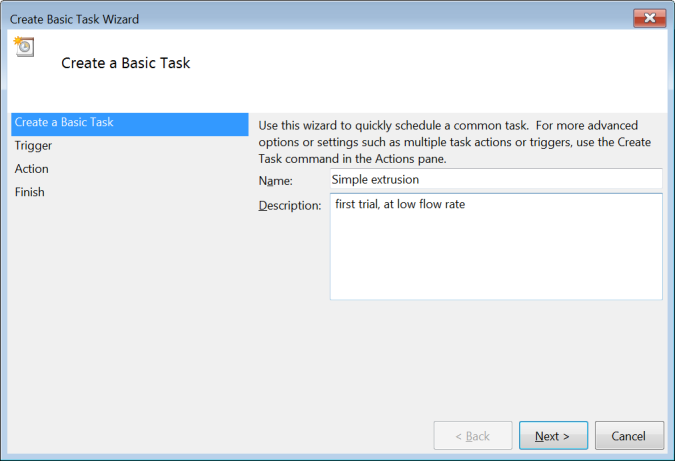
In the first Create Basic Task Wizard (Figure 3.20: The First Create Basic Task Wizard Panel), enter the Name and Description, and then click . The second Create Basic Task Wizard will open.
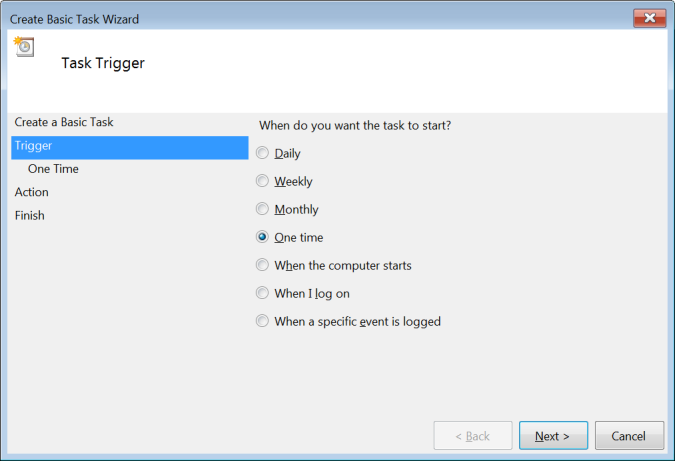
Select One time in the second panel (Figure 3.21: The Second Create Basic Task Wizard Panel), and then click . The third Create Basic Task Wizard will open.
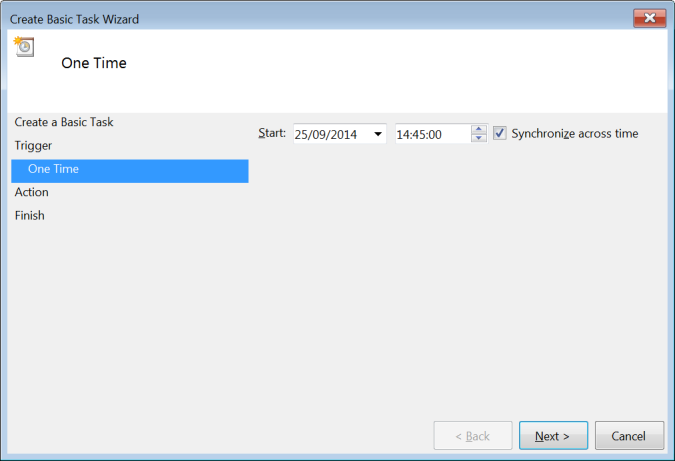
Enter the Start date (day/month/year) and time in the third panel (Figure 3.22: The Third Create Basic Task Wizard Panel), and then click . The fourth Create Basic Task Wizard will open.
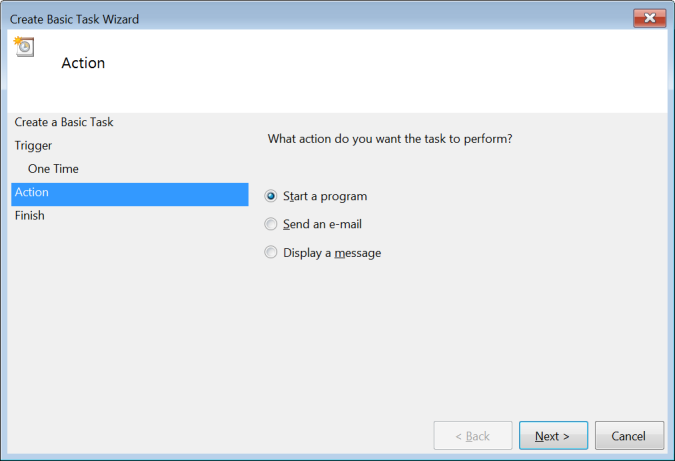
Select Start a program in the fourth panel (Figure 3.23: The Fourth Create Basic Task Wizard Panel), and then click . The fifth Create Basic Task Wizard will open.
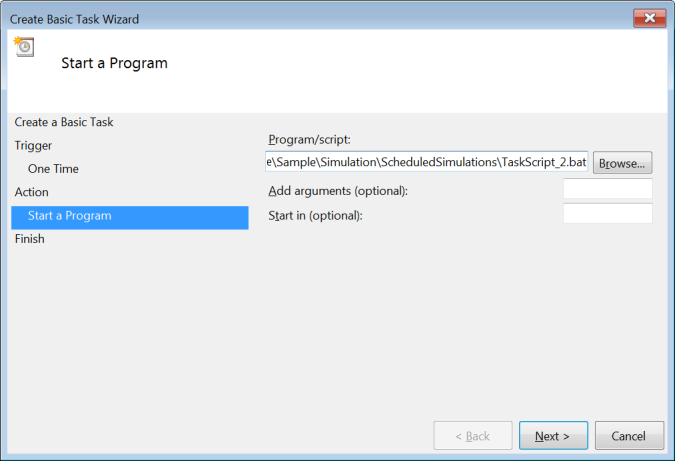
Paste the script path name (copied from Figure 3.18: The Fifth Schedule simulations... Panel) in the Program/script field of the fifth panel (Figure 3.24: The Fifth Create Basic Task Wizard Panel), and click . The sixth Create Basic Task Wizard will open.
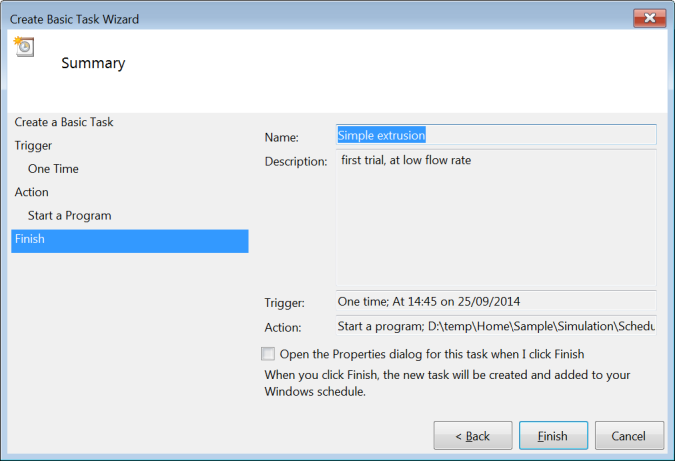
A summary of the task is displayed in the sixth panel (Figure 3.25: The Sixth Create Basic Task Wizard Panel). Click if you are satisfied with the definition; otherwise, click and make revisions.