


The Classic optiSLang App wizard generates a wizard for the optiSLang Web Service or for desktop-local execution using the current project. The project, along with the defined placeholders and centrally registered files is bundled into a Python optiSLang Application (PyOWA) that an administrator can add as a wizard in the optiSLang Web Service.
You can then use this new wizard to provide input files, set placeholder values and submit the project for execution.
From the menu bar, select > > .
If the project has not been saved before, in the File name field, enter a name for the project and click .
Enter a title for the application.
Optionally, you can also enter a description, select a banner image graphic file, and add documentation (in markdown format).
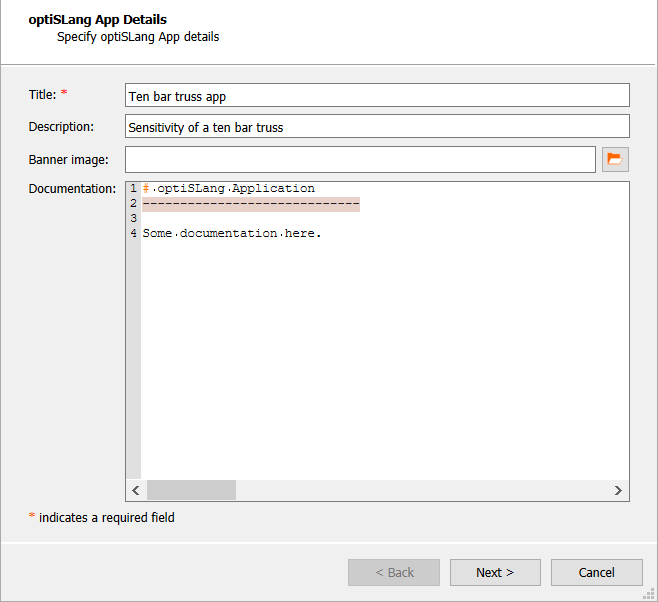
Click .
Review and edit registered files as required.
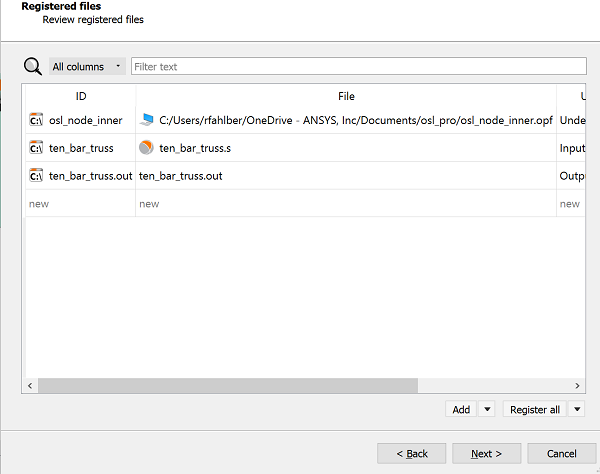
Click .
Review and edit placeholders as required.
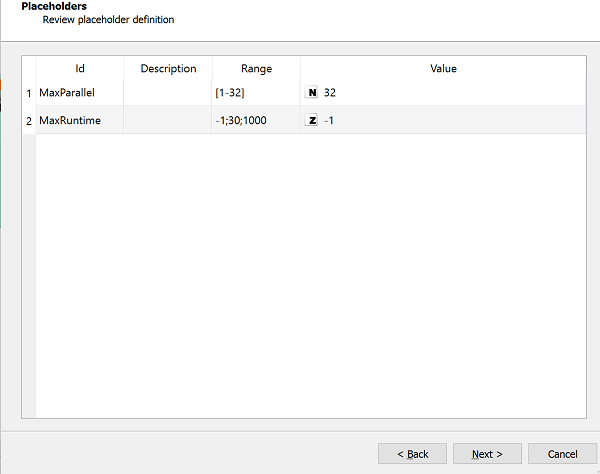
Click .
Review the files referenced in the project to identify potential problems with missing or absolute file paths. You cannot change file paths in this window.
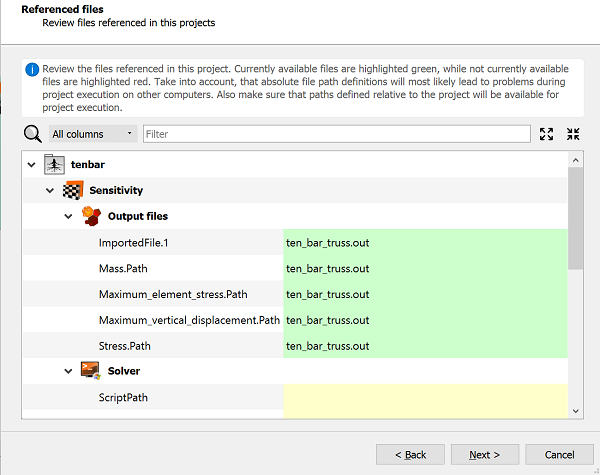
Click .
To test the web application on your local machine, click .
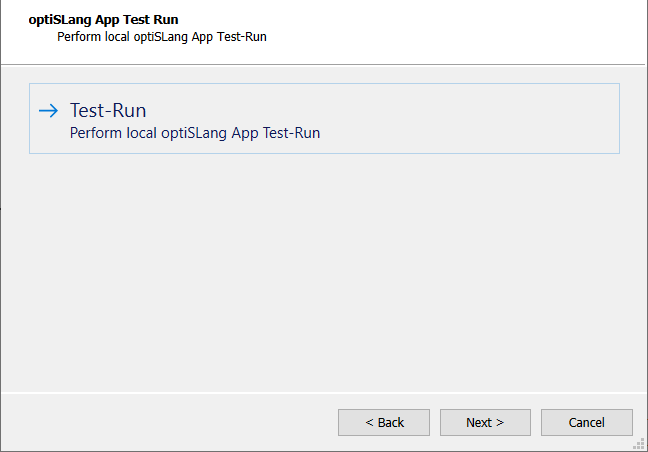
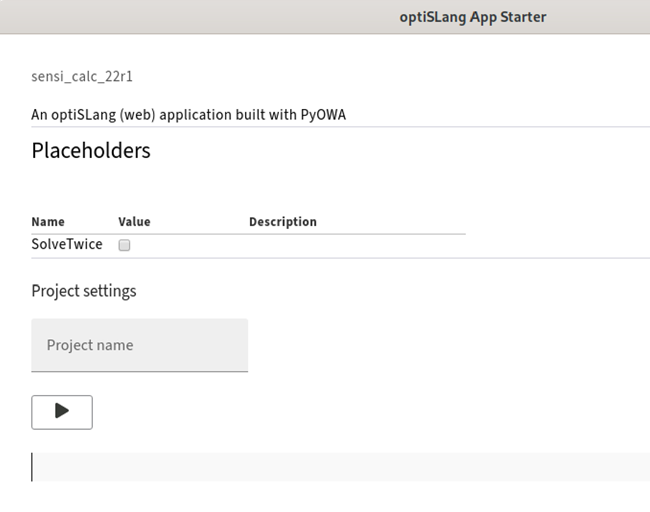
A local optiSLang Web Service instance is started and displayed in a separate window. You can then use this window for testing.
Click .
Select the output location of the application file.
Saves the optiSLang application archive (.owa) file to the local file system. An administrator can add it as a wizard later using the optiSLang Web Service user interface.
Click
 and browse to
an output file location.
and browse to
an output file location.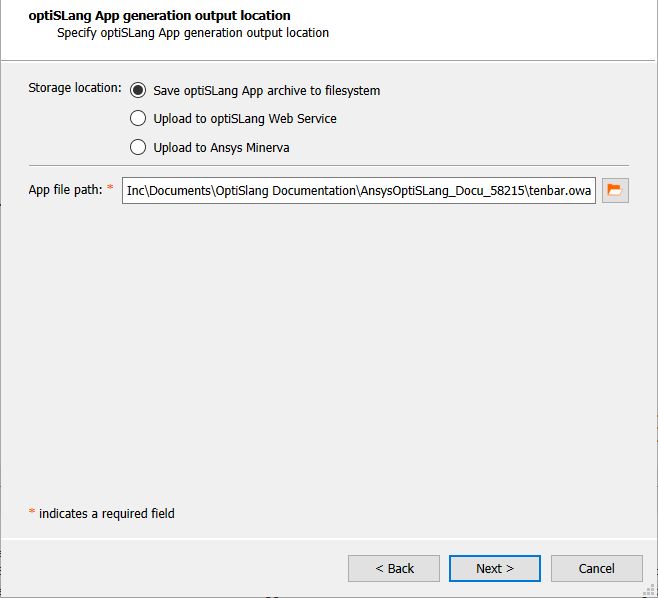
Generates the archive file (temporarily) and directly uploads it to optiSLang Web Service.
Enter the App Name. The name must be unique, any other wizards using this name will be overwritten when the wizard is uploaded.
Click
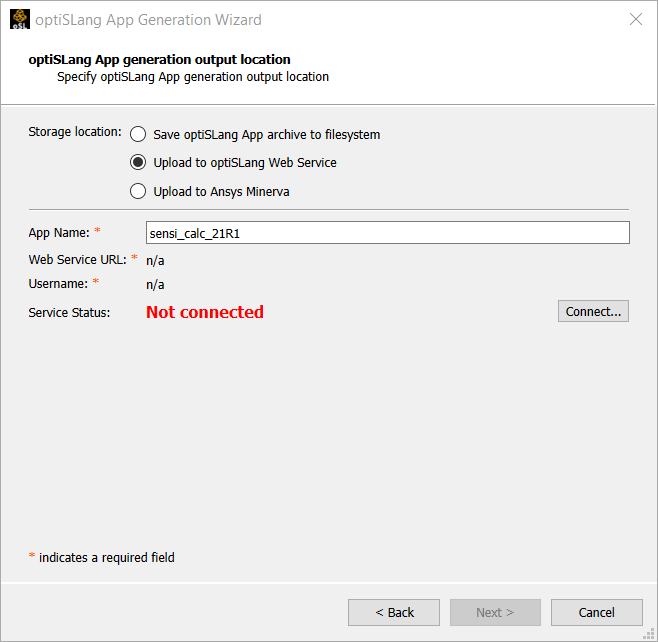
Select an authentication method and enter the following information:
Basic
Basic user name/password based authentication for default deployment/configuration (built-in user management in optiSLang Web Service, no OpenID Connect / OAuth2).
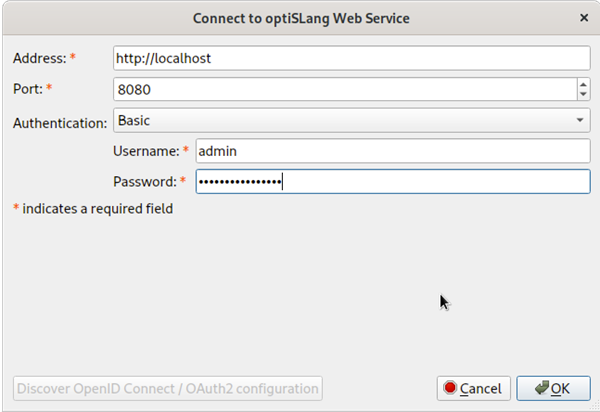
Field Description Address URL of the optiSLang Web Service. Port Port of the optiSLang Web Service. Username User name used for logging into the optiSLang Web Service. Password Password used for logging into the optiSLang Web Service. OpenID Connect / OAuth2: Authorization Code Flow
OpenID Connect/OAuth2 based authentication using the Authorization Code Flow workflow. You are redirected to the login page of the Identity Provider (IDP) for authentication. After successful authentication with the IDP, you are connected to optiSLang Web Service using the provided authentication/authorization.
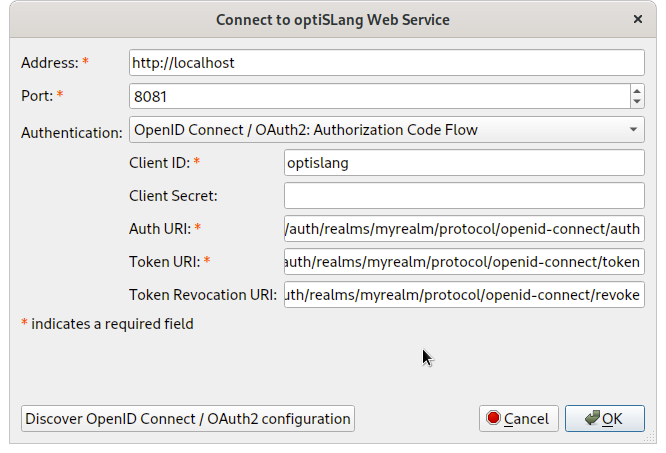
Field Description Address URL of the optiSLang Web Service. Port Port of the optiSLang Web Service. Client ID Client ID for OpenID Connect/OAuth2 based authentication/authorization. Client Secret Client secret (if any) for OpenID Connect/OAuth2 based authentication/authorization. This secret string is known only to the application and the authorization server. Auth URI Authentication endpoint for OpenID Connect/OAuth2 based authentication/authorization. Token URI Token endpoint for OpenID Connect/OAuth2 based authentication/authorization. Token Revocation URI Token revocation endpoint for OpenID Connect/OAuth2 based authentication/authorization. Note: If authentication does not work correctly with the optiSLang built in browser (for example, due to missing capabilities or security policies), you can use the default system browser instead.
To activate this setting:
From the menu bar, select > .
Under optiSLang Web Service select the check box.

OpenID Connect / OAuth2: Resource Owner Password Credentials Grant
OpenID Connect/OAuth2 based authentication using the Resource Owner Password Credentials Grant workflow. You provide a user name and password to the Identity Provider (IDP) for authentication. After successful authentication with the IDP, you are connected to optiSLang Web Service using the provided authentication/authorization.
Important: Passwords are visible to optiSLang when using this workflow.

Field Description Address URL of the optiSLang Web Service. Port Port of the optiSLang Web Service. Client ID Client ID for OpenID Connect/OAuth2 based authentication/authorization. Client Secret Client secret (if any) for OpenID Connect/OAuth2 based authentication/authorization. This secret string is known only to the application and the authorization server. Auth URI Authentication endpoint for OpenID Connect/OAuth2 based authentication/authorization. Token URI Token endpoint for OpenID Connect/OAuth2 based authentication/authorization. Token Revocation URI Token revocation endpoint for OpenID Connect/OAuth2 based authentication/authorization. Username User name used for logging into the optiSLang Web Service. Password Password used for logging into the optiSLang Web Service. Note: You can discover the Auth, Token and Token Revocation URI automatically by clicking . If automatic discovery is unable to detect the configuration, the URIs must be provided manually. Refer to the documentation of the IDP for the corresponding OpenID Connect/OAuth2 authentication/authorization API.
Click .
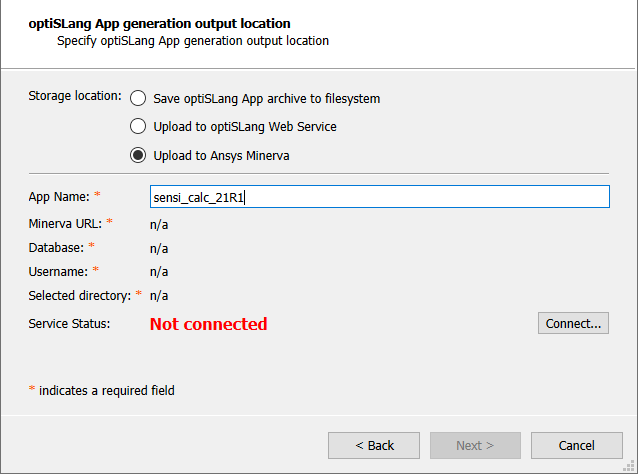
Generates the archive file (temporarily) and directly uploads it to Ansys Minerva.
Enter the App Name. The name must be unique, any other wizards using this name will be overwritten when the wizard is uploaded.
Click
Enter the following connection information.
Field Description Address URL of the Ansys Minerva site. Database Name of the Ansys Minerva database to access. Username Your Ansys Minerva user name. Password Your Ansys Minerva password. 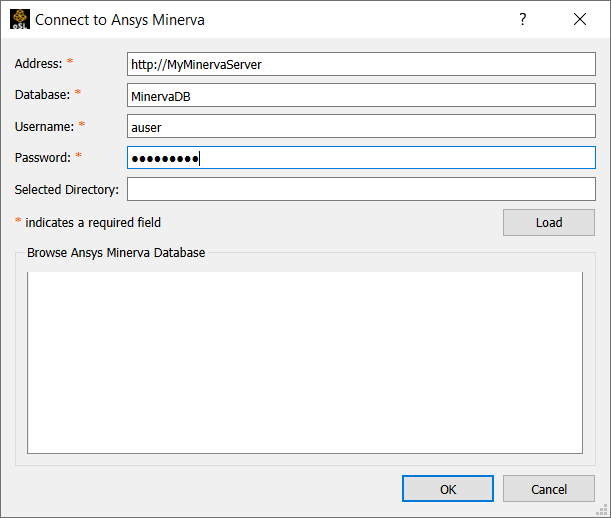
Click .
From the list, select the directory where you want to save the archive file.
Click .
Click .
Check the summary to ensure you have selected the appropriate preparation settings.
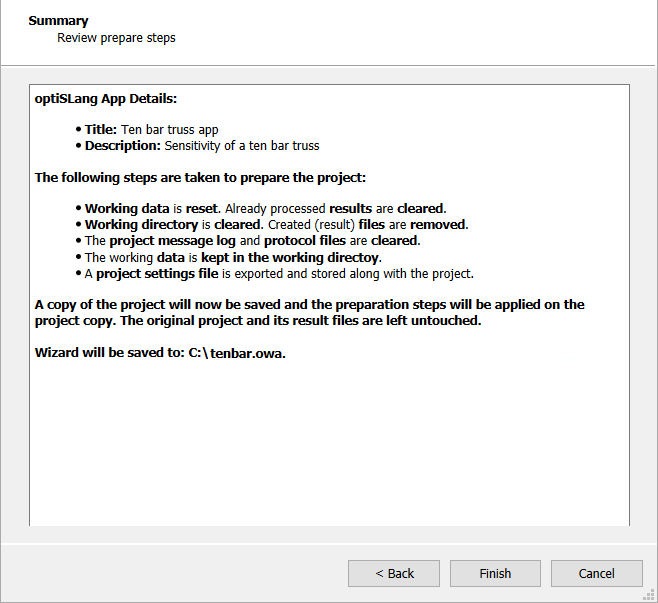
The generated/uploaded application archive (.owa) will contain everything required for the wizard:
optiSLang project file
Centrally registered files definition
Placeholders definition
Title, description, banner image and documentation
Template files
Along with the specified preparation steps, several implicit steps are applied:
The project is reset
The project is set to keep the working files in the working directory
Click .