


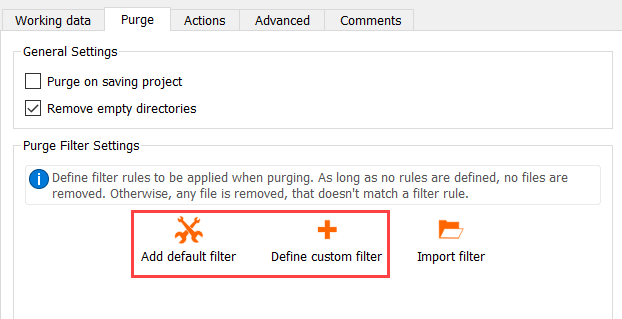
You can create a new default or customized filter for the project. If there are no rules defined, files will not be removed when you purge the project. Otherwise, any file that does not match a filter rule is removed.
To create a filter:
Under Purge Filter Settings, click or .
Define filter settings. These settings filters the files that are retained in the project directory.
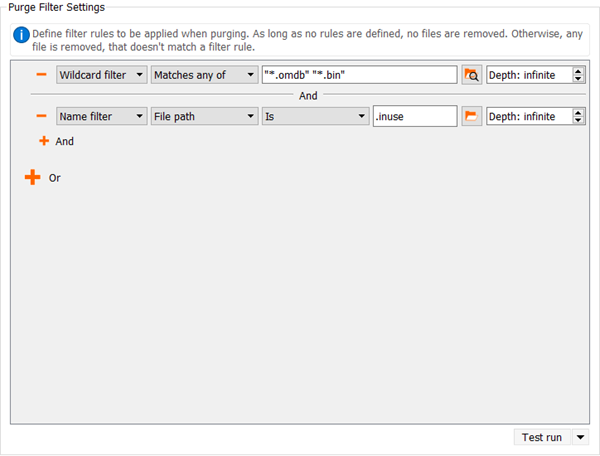
Multiple filters can be combined using and or or relationships.
If not otherwise stated, purge also removes all empty sub-directories from the working directory.
A maximum depth can be defined separately for each filter. This defines how many directory levels below the working directory the filter will try to match files. For example, with a depth of zero, only files in the working directory itself will be taken into account. Any file below the maximum depth will be removed. By default, the filter depth is set to infinite.
The following filter types are available:
Name filter
Performs a literal comparison of the given file (or parts of it), according to the specified constraints.
Different context modes can be selected. The context mode specifies if the whole path is to be compared or only parts of it. The possible context modes are:
Provide extension with dot (for example, ".txt" or ".log") to be handled correctly.
The following comparison modes can be selected:
Wildcard filter
Highly customizable filter that accepts a list of regular expressions.
Multiple expressions can be used in a single filter. Every expression must be enclosed by quotes and separated by a whitespace.
An example filter definition:
“*.omdb” “*_for_MOP.bin”
                                    “ten_bar*.out”
To perform a test run of the purge, in the multi-action button, click .
This action prints out a list with all files in the *.opd directory and the information if the file will be deleted or retained by purging the project. The files are not actually deleted.
To save the changes and close the dialog box, click .