For a mesh to be valid for the solver, there should be no negative or zero volume elements in the mesh. It is therefore recommended to check the minimum element volumes in your mesh. Although this situation should and can be avoided in most models, if your mesh contain elements with volume smaller than 1.0e-21 , use the double precision version of the solver (see Selecting the Version of the Solver).
The procedure for checking the element volume is as follows:
Open the Mesh control panel by selecting Generate mesh in the Model menu, or by clicking the
 button in the Model and solve toolbar.
 Model
 Generate mesh
 Click on the Quality tab to show the mesh diagnostic tools.
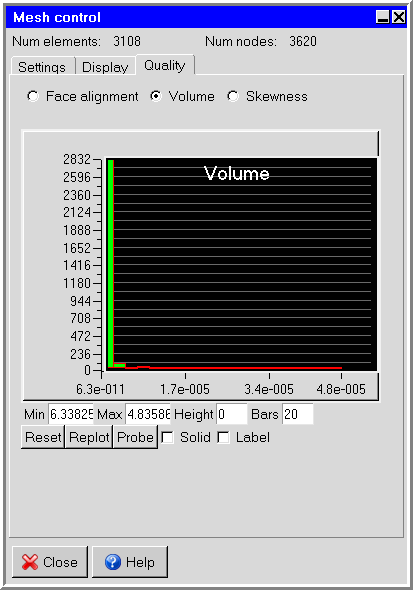
Select the Volume option. Ansys Icepak will show a histogram of the element volume, as shown in Figure 35.32: The Volume Histogram in the Mesh control Panel.
If you want to modify the range of volumes viewed, enter a new value in the Min or Max field and then press the Enter key on your keyboard or click Replot to update the histogram. To modify the maximum height of the bars or the number of bars in the histogram, enter a new value in the Height and/or Bars fields and click Replot. (Note that a Height of
0instructs Ansys Icepak to display the bars of the histogram at their full height.) To return to the default ranges, click the Reset button.To view the elements of the mesh within a particular range of element volume, click on a bar in the histogram, Ansys Icepak will display the elements in the selected range in the graphics window. Select the Solid option if you want to view these elements with solid shading. Select the Label option to show the corresponding element volume values.
If you want to find out which object the element belongs to, click on Probe. Use the left-mouse button to select any element in the graphics window. The corresponding object name will be shown in the graphics window momentarily as well as printed to the text window. To exit the probe mode, click middle or right mouse button.