


The following topics are included in this section:
EnSight supports several formats for image output. In this example, both .png and .jpeg files will be saved.
For Quick output
Right-click on the graphics window background and select Send Image To and choose File. Name the file and pick a location. The image is saved in PNG format, the size of the graphics window, with all the default image settings.

Detailed output options
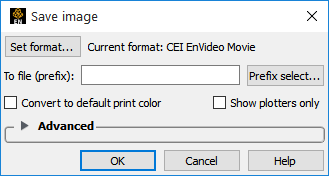
Select → → to open the Save Image dialog. By default, EnVideo is selected.
Click on Set Format...
Select JPEG image file.
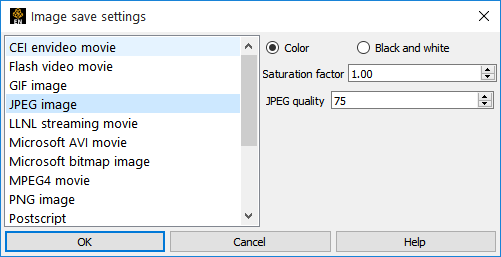
Click to close the format dialog.
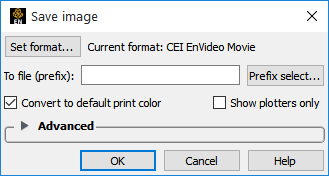
Enter a file prefix in the To File field, and hit Return.
Note: By default, EnSight will save images in the directory from which the Client is started. Since this directory is part of the EnSight distribution, it is probably write protected. To save the image in your home directory instead, on a Linux system prefix the filename with ~/. On a Windows system, use ~\. Note on Windows, ~ = C:\Documents and Settings\username
Click on Convert to Default Print Colors (changes background to white and white objects to black).
Click OK.
See How To Print/Save an Image (Help → How to manual...) for more information on image formats and options.