


This section walks through an example of using Ansys CFX in Ansys Workbench to perform a fluid-flow analysis. This walkthrough assumes familiarity with the basic Ansys Workbench and Ansys CFX applications and does not discuss the details of the steps within each application.
The data flow between cells (and systems) drives the workflow.
You begin by launching Ansys Workbench, which opens as an unsaved project and displays the available Analysis Systems.
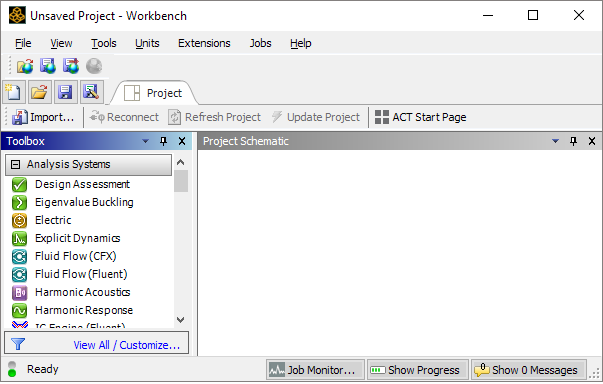
In your file system you create a directory in which to store your project files. You then select File > Save As and save your new project to that directory. This automatically sets your working directory for this project.
In the Analysis Systems toolbox, double-click Fluid Flow (CFX) to create a fluid-analysis system in the Project Schematic. (Notice that if you "hover" over systems in the Toolbox, a tooltip appears.)

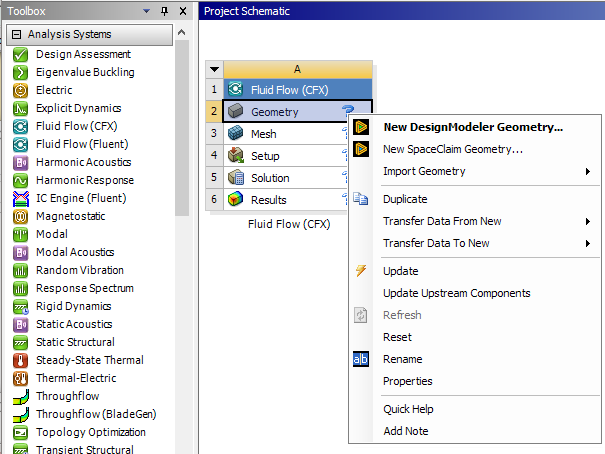
The fluid-analysis system in the Project Schematic shows the steps in performing a fluid analysis:
Create or import a geometry.
Create a mesh for the geometry.
Set up the analysis that will be sent to the solver.
Control and monitor the solver to achieve a solution.
Visualize the results in a post-processor and create a report.
In addition to showing those steps in appropriately named cells, each cell can launch a tool that will enable you to perform the task it names. Right-click the Geometry cell to see your options for adding a geometry to your project:
As you move through the cells from Geometry to Results, you can choose to launch the tool that will enable you to complete the cell's step:
Create a new geometry with the DesignModeler application (Geometry cell).
Create a new mesh with the Meshing application (Mesh cell).
Edit the case with CFX-Pre (Setup cell).
Run the solver by updating the Solution cell, or optionally edit the Solution cell and use the Define Run dialog box from CFX-Solver Manager.
Note: The Custom Solver Options (Custom Executable and Solver Arguments), which are available in the CFX-Solver Manager in stand-alone mode, are not available in CFX-Solver Manager launched from Ansys Workbench.
Display of the results with CFD-Post (Results cell).
Note: You could open a Fluid Flow (CFX) system and go immediately to the Setup cell to import an existing case. When the case is loaded, the now-unnecessary Geometry and Mesh cells disappear.
When the analysis is complete and the project is finished, you save the project (and therefore the associated files). Once a project has been saved, it can be re-opened at a later date for review or modification of any aspect of the simulation.
Important: Saving a project enables you to re-open the project on the machine that originally created it. To make the project available on another machine, you need to use File > Archive to create a project archive. To open the project on a different machine, run File > Restore Archive on that machine.