


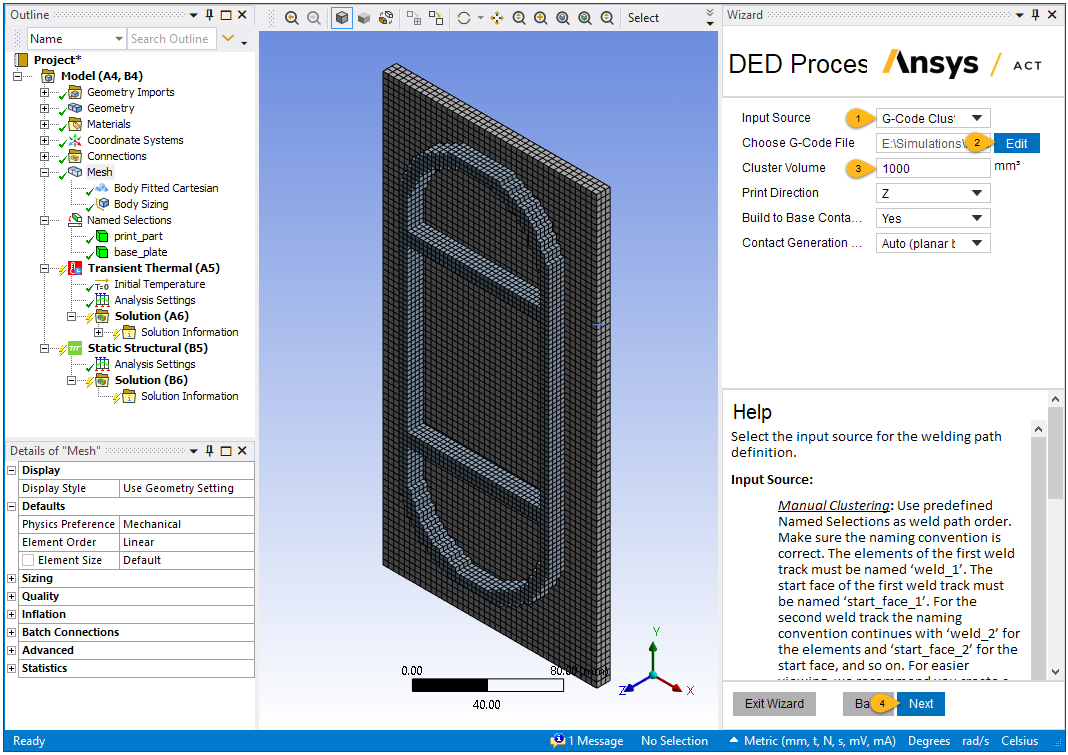
In this step, we will set up for element clustering. Note that the actual generation of element clusters is not performed in the wizard; we will generate clusters after we finish the wizard.
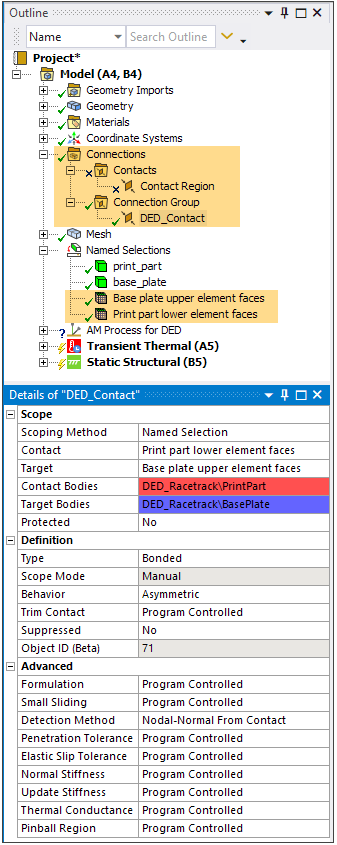
Also in this step, the contact connection between the part and the base plate is made automatically. Connections ensure that the part and base bodies in the simulation are aware of each other and are able to share data (temperatures and displacements) across boundaries.
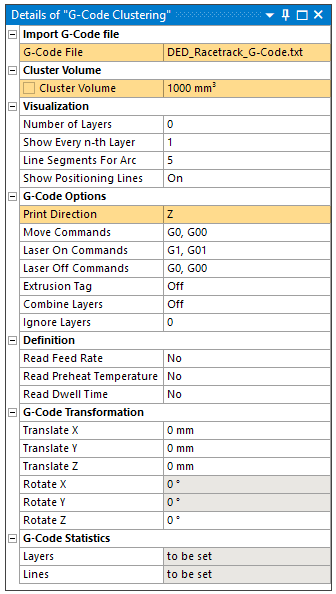
Choose G-Code Clustering for Input Source because we have a G-Code file defining the tool path.
Click Edit and browse to the DED_Racetrack_G-Code.txt file. Click Open.
Enter 1000 for Cluster Volume. This value determines how many elements are activated per load step. The time for this load step is then determined by volume/deposition rate. A smaller cluster volume tends to provide a more accurate result. Based on the overall dimension of the build geometry, this value should be determined by balancing the computational cost and desired accuracy.
Keep Z (default) for Print Direction.
Keep Yes (default) for Build to Base Contact Generation.
Keep Auto (default) for Contact Generation Method. This assumes a planar baseplate, which we have for this model.
Click Next to move to the next step.
In this step, the AM Process for DED object and its child objects are added to the project tree. AM Process for DED establishes the options and assumptions appropriate for a DED simulation.
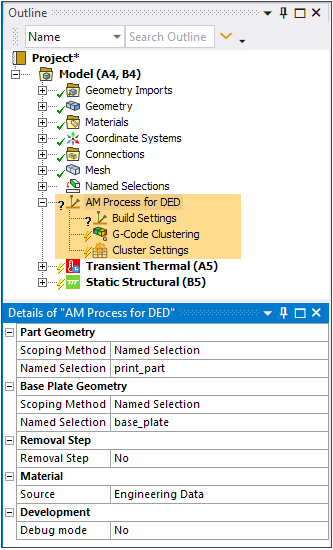
Also, two new Named Selections have been added defining the element faces required for contact generation. Finally, a DED_Contact object has been added to establish the contact connection between the part and the base plate. It uses the element faces Named Selections.
See the following topics in the DED Simulation Guide for additional information: