


At most points while using Additive, you have opportunities to Export, Save, Start/Restart, Duplicate, Cancel, and/or Delete a simulation, depending on where you are in the program. The operations are designed to work within a database paradigm, as described below.
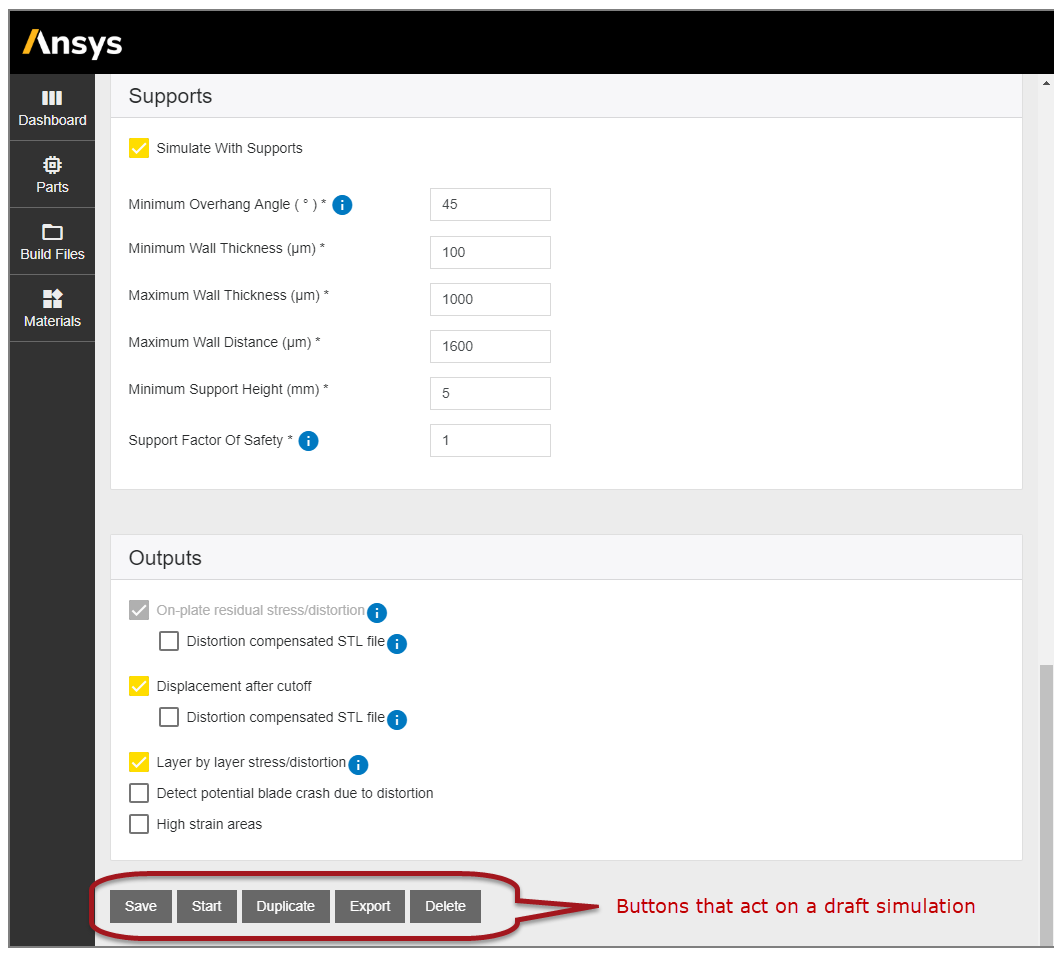


Save: Clicking the Save button under Draft Simulations saves your simulation form internally (but not as a file on your computer) and you will see it listed under Draft Simulations. It is removed from Draft Simulations when you start a simulation (that is, when it is no longer a “draft”). All your input options are stored when you run a simulation so that you may see your options at any time when you click on a simulation in the Running Simulations and Completed Simulation areas of the dashboard. Use Export to save your simulation form to a file.
Start: Click Start under Draft Simulations to start execution of a simulation. At this point, the simulation is removed from Draft Simulations and is shown under Running Simulations.
Cancel: Clicking the Cancel button under Running Simulations stops the simulation. (It takes a moment for the processes to stop.) After canceling a simulation, you’ll see it as canceled under the Completed Simulations list and you can Restart the simulation again with the Restart button.
Restart: Click Restart under Completed Simulations to restart a canceled or interrupted simulation. (If you need to change an input value, click on Duplicate, at which point you will need to start the simulation from the beginning again.)
Duplicate: Clicking Duplicate from any point in the application makes a copy of the inputs of that simulation and creates a Draft simulation of the same name with those inputs. If you are working in Draft Simulations, a Save is required before you can Duplicate.
Export Simulation: Clicking Export Simulation brings up your file manager so you can save simulation form inputs to an .aasp file. This proprietary file format contains simulation input data that can be imported into Additive. Your geometry selection (that is, the part, supports, and/or build file) and simulation results are not included on the .aasp file. If you are working in Draft Simulations, a Save is required before you can Export.
Import: Click Import on the dashboard to bring up the file manager and load an .aasp file. This action will populate a new simulation form with saved inputs. Note that the part is not included in saved inputs and will need to be added to the simulation form.
Delete: Clicking the Delete button from either Draft Simulations or Completed Simulations removes the simulation from the application. The operation will delete all metadata and output files. Data will be permanently deleted and is not recoverable.
Save Logs: The Save Logs button under Completed Simulations is needed only if you have a problem with your simulation and you need to contact customer support for a resolution. Clicking Save Logs brings up your file manager and allows you to write a zipped file containing files used for diagnostic purposes. Contact us at the Ansys Customer Portal.
Customize: Clicking Customize under the details of a material page will allow you to edit properties to define your own custom material to store in the Materials Library. Your custom material will then appear as an option when selecting a material for a simulation.
Archive: Clicking Archive under the custom material page will remove a customized material from the Materials Library. Simulations using these materials will remain in your stored application data.