


To view or modify extension elements and attributes that do not display in the
ACT App Builder, you click the second to last toolbar button
 to switch to the XML editor. While you are using the XML editor, this button
is replaced with the button for switching back to the ACT App Builder
to switch to the XML editor. While you are using the XML editor, this button
is replaced with the button for switching back to the ACT App Builder .
.
The following figure demonstrates how the XML editor shows not only the basic wizard attributes that are visible in the ACT App Builder but also many more.
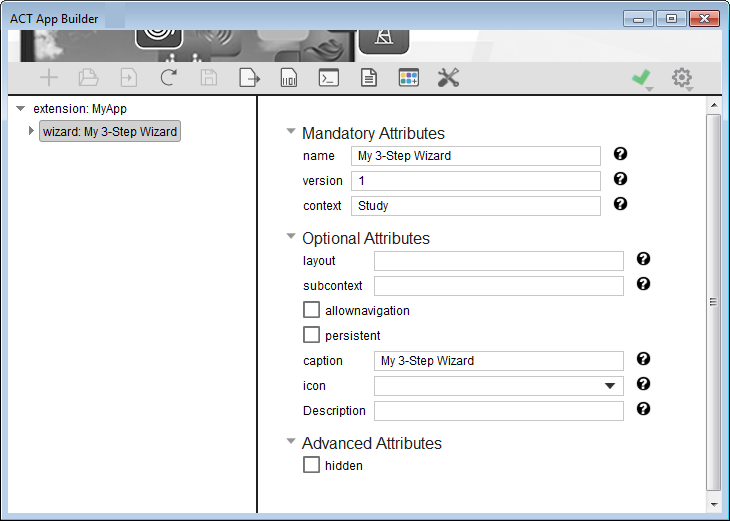
Tip: You turn on and off the display of additional non-published attributes in the XML
editor by clicking the settings icon  in the upper right corner of
the ACT App Builder and selecting and clearing the Advanced XML Editor check box. This figure displays the advanced
attribute
in the upper right corner of
the ACT App Builder and selecting and clearing the Advanced XML Editor check box. This figure displays the advanced
attribute hidden.
If you have imported the extension WizardDemos into the
ACT App Builder, you can use the XML editor to view and modify all of
its many elements, including <simdata>,
<interface>, and <uidefintion>. The
following figure shows the attributes for the Workbench wizard named
ProjectWizard.

For example, if you expand the callback onupdate for the step
Geometry in this wizard, you can view and modify the attributes for
this step.

When a callback for a wizard step is active in the XML editor, buttons in the lower portion of the window provide for editing, creating, and deleting attributes for the callback. Clicking Delete removes the selected attribute. Clicking Edit or New opens the Callback Editor, where you can view and modify the code.
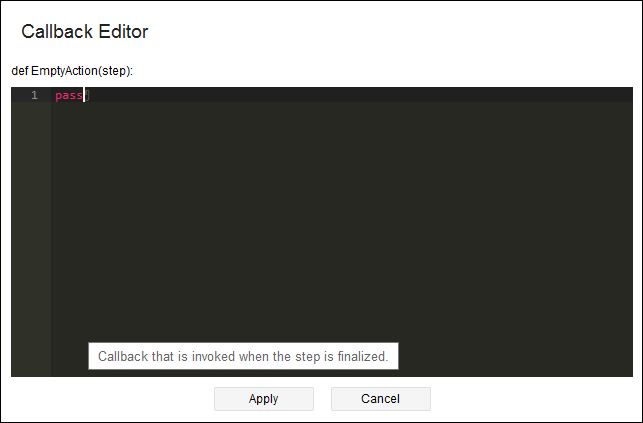
When finished, you click either Apply to save your changes or
Cancel to discard them. You are then returned to the XML editor. When
finished, you click the second to last toolbar button to switch back
to the ACT App Builder.