


The following sections will guide you through setting up the project:
The project files are contained in a compressed file and can be downloaded here.
Once the download is complete, extract the compressed file. The folder contains two project archives: a from-start file and a solved file.
Start Ansys Workbench and Open the archive: Solid_Modeling_FROM_START_<Release>.wbpz.
Save the Workbench project.
Note: To check the result in the solved archive file:
Start Ansys Workbench and Open the solved archive: Solid_Modeling_SOLVED_<Release>.wbpz.
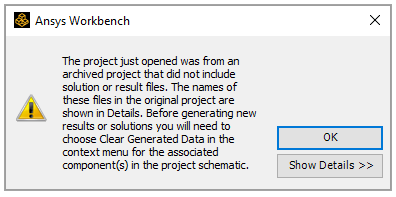
Close the warning dialog if it pops up.
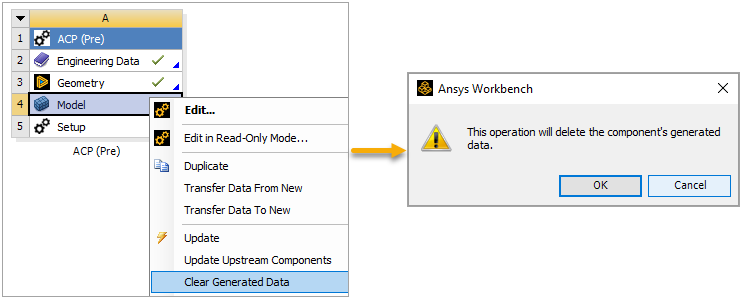
Right-click the Model cell in the ACP (Pre) system, select Clear Generated Data, then click OK when the warning dialog pops up.
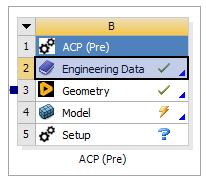
Click Update Project on the project toolbar.
The engineering data includes two materials defined for this tutorial. Follow these steps to check the data in Workbench:
Double click the Engineering Data cell in the ACP (Pre) system.
You will use Epoxy Carbon UD (395 GPa) Prepreg (A, below) to define the composite model's fabric in later steps. Structural Steel (B) is the material of the metal parts.

When you finish reviewing, close the Engineering Data tab to go back to the Project tab.