This procedure shows how to create a Sharp Cutoff beam in Standard mode.
To create a Sharp Cutoff beam:
Prerequisites: Make sure to use an extended source.
-
From the Groups panel, click Add
_Add.png) to add as many groups as needed.
to add as many groups as needed.
-
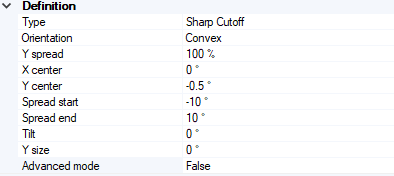
Select a Group and from the Type drop-down list, select Sharp Cutoff.
-
Make sure the Advanced mode is set to False.
-
In Orientation, select Concave or Convex to determine the behavior of the rays on the target.
-
Define the cutoff line points coordinates:
- In X center, define the middle point's position of the specification line along X target axis.
- In Y center, define the position of the specification line along Y target axis.
-
Define the cut-off line's amplitude:
- In Spread start, define the length between the X center of the specification line and its left extremity.
- In Spread end, define the length between the middle point of the specification line and its right extremity.
-
In Tilt, define the cut-off line's orientation by specifying the degree angle between X Target axis and the specification line.
-
Define the light distribution under the cut-off line:
- In Y size, define the beam spread along Y Target axis.
-
In Y spread, specify the ratio (in %) driving the beam spread along Y Target axis.
Note: When the ratio equals 100%, the light distribution inside the specification line tends to be uniform. The less the ratio is, the more concentrated the beam light will be under the specification line.