
Additional Plotting Actions
For certain SIwave plots, such as S-, Y-, and Z-parameter magnitude plots and IL/RL/NEXT/FEXT plots, right-clicking enables additional plotting actions.
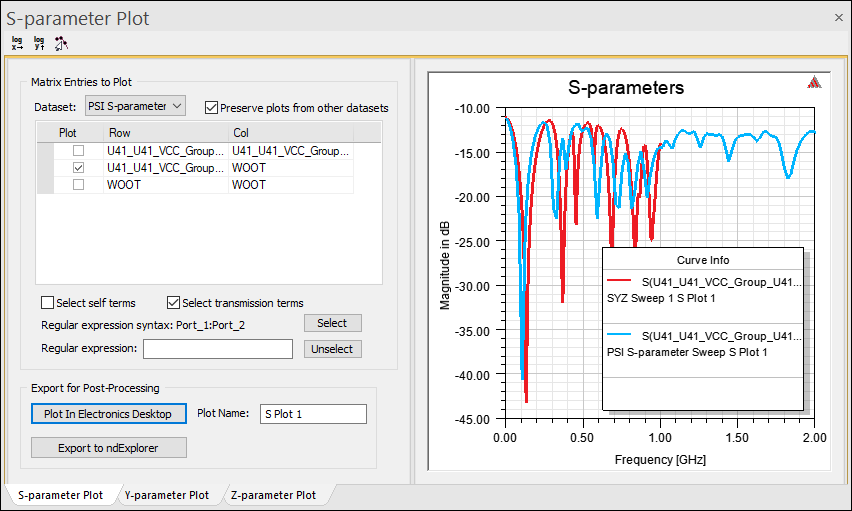
Right-clicking within the plot enables options for adding markers and notes, changing the display, and editing settings.

Menu options include:
- Marker – Submenu containing marker options.
- Add Marker – transforms the cursor into a crosshair, allowing you to click and place a marker at an appropriate point. When you are finished placing markers, right-click and select End Marker Mode. Markers appear on the plot and in a table showing their coordinates.

- Add Delta Marker – transforms the cursor into a crosshair, allowing you to click and place a marker at an appropriate point. You must then click a second point, and a table appears showing deltas and slopes. When you are finished placing markers, right-click and select End Marker Mode.

- Export Marker Table – exports the marker coordinate table in *.csv or *.tab format.
- Export Delta Marker Table – exports the delta marker table in *.csv or *.tab format.
- Add Maximum – places a marker at the maximum value along the X-axis.
- Add Minimum – places a marker at the minimum value along the X-axis.
- Add X Marker – adds up to 10 movable markers as vertical lines rising from the X axis. Each added marker has its own color and editable properties. To move an X marker, click on the X label and drag it to an appropriate location. The label at the bottom of the line gives the X coordinate, and flag on the vertical line identifies the Y coordinate.
- Bring X Marker Into View – when one or more X markers is not visible, this option allows you to bring them into view.
- Add Y Marker – adds up to 10 movable markers as horizontal lines extending from the Y axis. Each added marker has its own color and editable properties. To move a Y marker, click on the Y label and drag it to an appropriate location. The label at the bottom of the line gives the Y coordinate, and flag on the vertical line identifies the X coordinate.
- Bring Y Marker Into View – when one or more Y markers is not visible, this option allows you to bring them into view.
- Next Peak – selects the next high point along the X-axis, before the next dip.
- Next Minimum – selects the next lowest point along the X-axis, after the next high point.
- Previous Peak – selects previous next high point along the X-axis, before the previous dip.
- Previous Minimum – selects the previous lowest point along the X-axis, after the previous high point.
- Go to Start – selects the first marker on the plot, along the X-axis.
- Go to Previous – selects the previous marker on the plot, along the X-axis.
- Go to End – selects the last marker on the plot, along the X-axis.
- Next Curve – selects the next curve on the plot, based on the order in the legend.
- Previous Curve – selects the previous curve on the plot, based on the order in the legend.
- Clear All – removes all markers from the plot.
- Add Marker – transforms the cursor into a crosshair, allowing you to click and place a marker at an appropriate point. When you are finished placing markers, right-click and select End Marker Mode. Markers appear on the plot and in a table showing their coordinates.
- Add Note – Allows you to add a note to the plotting area. You can click and drag the note to your appropriate location.

Select the note and press the Delete key to remove it.
- View – Submenu containing view options.
- Pan – Changes the cursor to move the plot within the window. Right-click and deselect Pan to exit this mode.
- Zoom – Changes the cursor to zoom the entire plot in or out within the window. Right-click and deselect Zoom to exit this mode.
- Zoom In / Zoom Out – Changes the cursor to a crosshair. Click a point in the plot to zoom in to it or out from it. Right-click and deselect Zoom In or Zoom Out again to exit this mode.
- Fit All / Fit X Window / Fit Selection / Best Vertical Fit – Automatically scales the plot to an appropriate size.
- Show / Hide Selection / Show All – When a dataset is selected on the plot, Show / Hide Selection allows you to hide or show that dataset. Select Show All to return to the original plot displaying all datasets.
- Visibility – Opens a window where you can set the visibility of traces, notes, and legends.
- Animate – This functionality is not yet present in the plot window.
- Edit – Submenu containing edit options.
- Copy Settings – Copies the display settings in text format for use in scripts.
- Reset Settings – Resets the plot window to its original view, including scale, colors, etc.
- Delete – Allows you to delete a marker.
- Properties – Opens the Properties window, where you can change display options.
- Copy Bitmap Image – Copies a bitmap image of the plot to the clipboard for pasting into a graphics editor or other compatible software.