Editing an Existing Material
You can modify any material.
To modify material properties:
- Click Home.
- From the Edit Tools area, click Edit Materials.
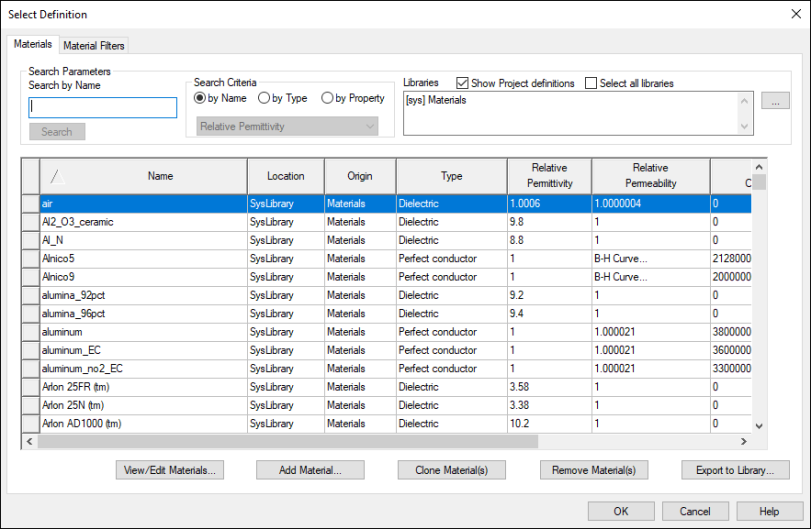
- Under Libraries, click the ellipsis (...) button to select the library in which the material resides.
The materials list updates.
- From the materials list, select the material you want to modify and click View/Edit Materials.
The View/Edit Material window appears.

- If appropriate, enter a new Material Name.
- Under View/Edit Material for, select either Active Project or All Properties. See: Material Properties.
- From the Properties of the Material area, enter values as applicable. See: Material Properties.
- If appropriate, select Use Material Appearance to specify a material color and transparency.
- Click Validate Material. If the material contains valid parameters, a green check mark appears. If the material is invalid, a red X appears.
- If appropriate, click Set Frequency Dependency for frequency-dependent material options. See: Technical Notes.
- If appropriate, use the Calculate Properties for drop-down menu to calculate properties for a permanent magnet or permanent electric polarization.
- Click OK.
The Select Definition window appears.