
Applying a New View Orientation
To create and apply a new viewing direction to the active view window:
- Access the Update View Orientation dialog box using one of the following two methods:
- From the View ribbon tab, click List.
- From the menu bar, click View > Modify Attributes > Orientation List.
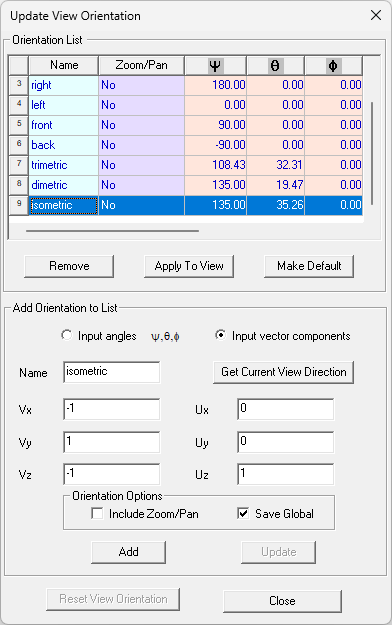
- To create a viewing direction that is based on a default viewing direction, click the existing orientation name in the viewing directions list.
- To modify the selected orientation's vector components, select Input vector components under Add Orientation to List and then modify the values in the Vx, Vy, or Vz text boxes, and the Up vector boxes for Ux, Uy, and Uz.
- To modify the selected orientation's input angles, select Input angles under Add Orientation to List and then modify the values in the psi, phi and theta text boxes.
- Type a name for the new orientation in the Name text box.
- Click Add/Edit.
- Click Make Default if you want the new viewing direction to be the initial viewing direction when a 3D Modeler window is opened in the current project or future projects.
- Click Close.
No icon is associated with this command.
To create a viewing direction based on the current view in the Modeler window, click Get Current View Direction.
The new orientation is added to the list of viewing directions.