To create the neck of the bottle, you made a solid cylinder. Now, create the profile of threading on the neck.
Choose > > from the menus, or click Curve > Helix in the right toolbar.
In the dialog box:
Choose Height and Loop as the method.
Select one cylinder face into the Coordinate System list.
Define the Radius as
7.9, Height as7.0, Loop Number as3.Click Apply.
Perform the same operations, but set Radius as
7.2to create another helix curve.Tip: During the second helix creation, don't forget to select the cylinder face again into the Coordinate System list.
.
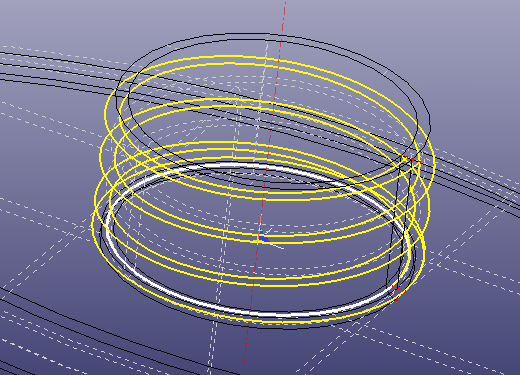
You have two helix curves. To create a solid threading shape, create a loft surface between these two helix curves:
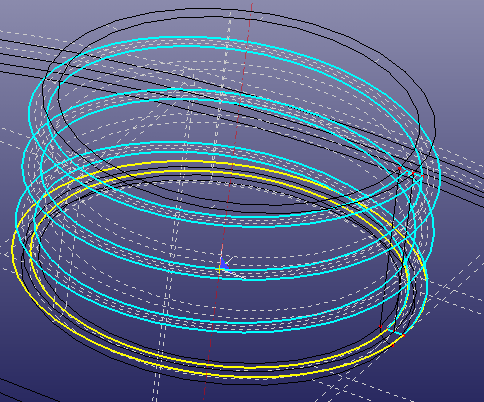
Choose > > from the menus, or click Surface > Loft in the right toolbar.
In the dialog box:
Select the two helix curves into the Profile Shapes listbox.
Click Apply.
Note: It will be easier to select the two curves if you select the ends of the curves where they are close together.
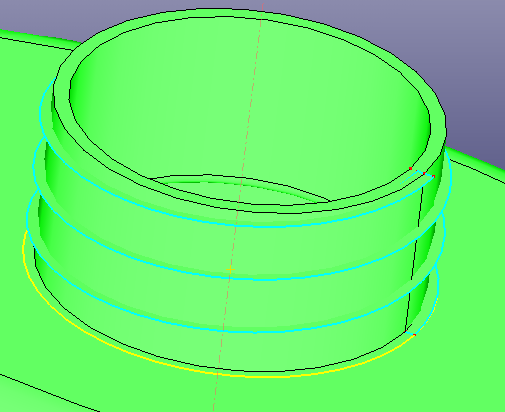
Now, use the loft surface to build a solid:
Choose > > from the menus, or click Solid > Extrude in the right toolbar.
In the dialog box:
Select the loft surface into the Face List listbox.
Select the axis which normal to the top face of the neck as the Direction List.
Define the End Pos. as
0.4.Click Apply.
Now, remove all shapes except the two solid shapes.
Choose > > from the menus, or click Geometry Tools > Management in the right toolbar.
In the dialog box:
Select all shapes in the listbox except the two solid shapes.
Click Delete.
Click bottom toolbar AutoCenter.
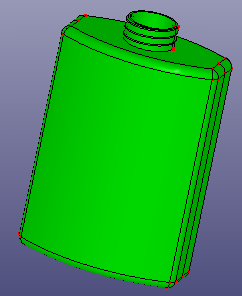
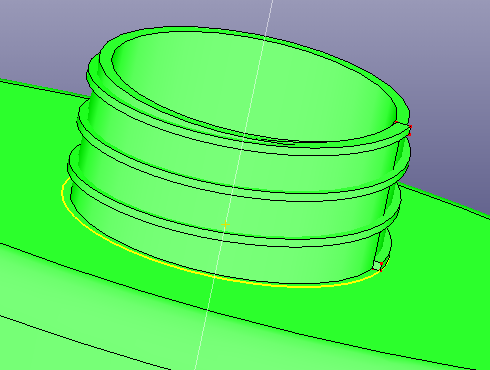
The final result is shown below.
You can also perform a similar operation in the Delete Entity dialog:
Choose > > from the menus, or click Geometry Tools > Delete Entity in the right toolbar.
In this dialog:
Check RefGeom, Vertex, Edge, Wire, and Face .
Click Clear.
All shapes except the two solids will be removed from model.