


Start Workbench.
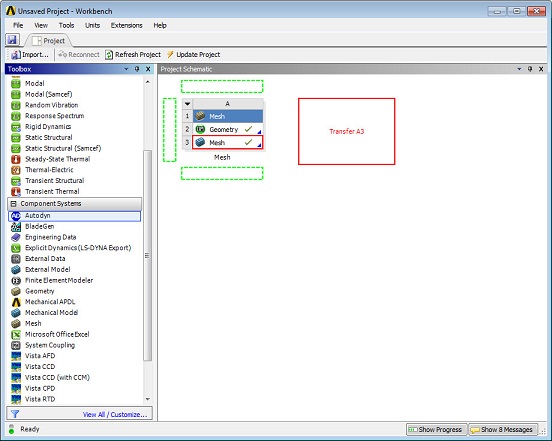
Insert a Mesh system from the Component Systems toolbox.

Right-click the Geometry cell (A2), Import a Geometry.
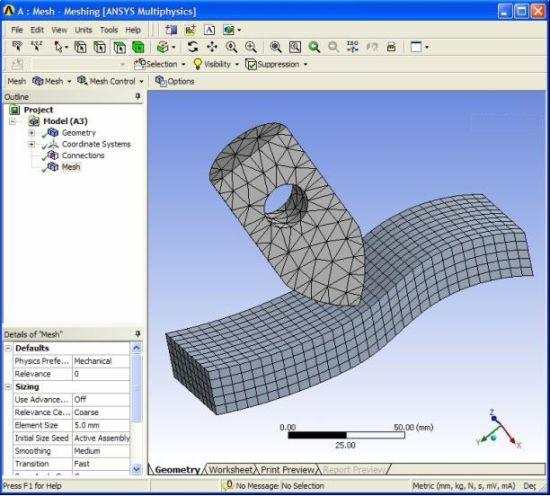
Double-click the Mesh cell (A3), to open up the Meshing application editor.
Define the Mesh.
Go to the Project Schematic, drag an Autodyn Component System onto cell A3, to generate the link between the Mesh cell (A3) of the Mesh system and the Setup cell (B2) of the Autodyn Component System.
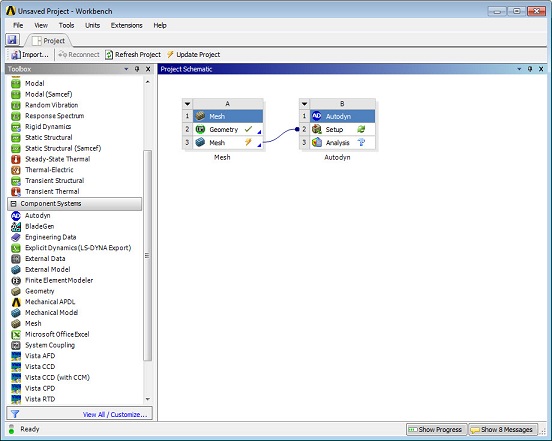
Double-click the Setup cell (B2) of the Autodyn system to open the Autodyn application.
The model definition in the Mesh system will be transferred into the Autodyn application Mesh Named Selections.
Complete the model set up in Autodyn.
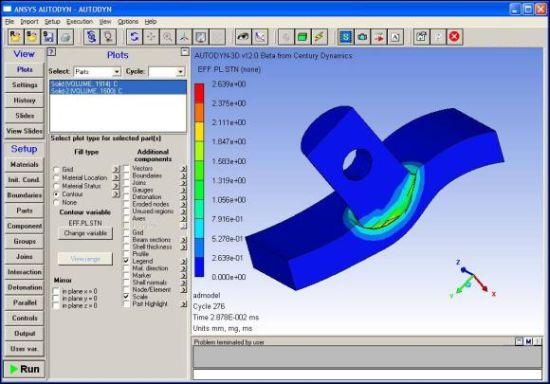
Execute the Simulation.
Post-process results.
Note: Changes to material assignment, loads and initial conditions made in Autodyn will be lost after an update of geometry or mesh. It is recommended that you link the Autodyn system to an Explicit Dynamics system rather than to a Meshing system. Materials, loads, and so on may then be applied in the Explicit Dynamics system and will be retained after a geometry or mesh update.