


Start Workbench.
Insert an Explicit Dynamics system from the Analysis Systems toolbox.
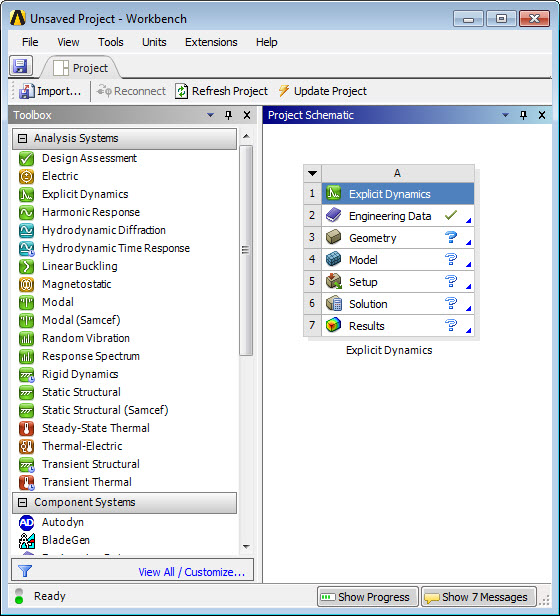
Right-click the Geometry cell (A3), and select Import a Geometry.
Double-click the Model cell (A4) to open up the Mechanical application editor.
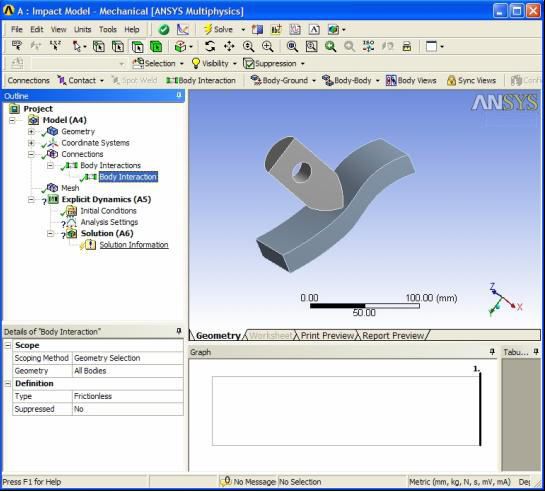
Define the Body Interactions.
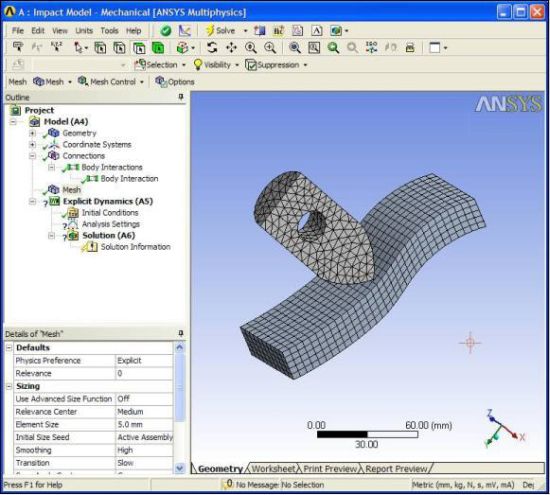
Define the Mesh.
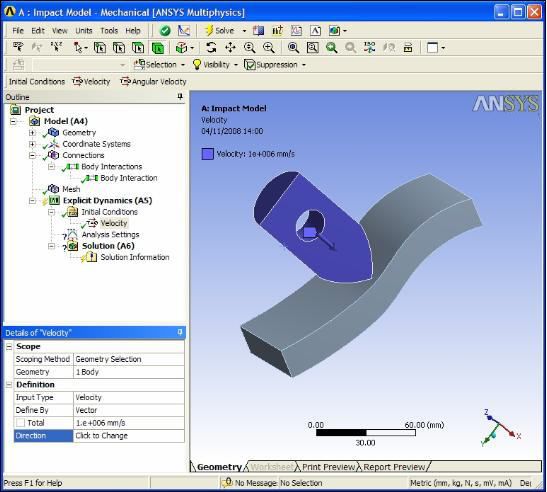
Define Initial Conditions.
Define Boundary Conditions.
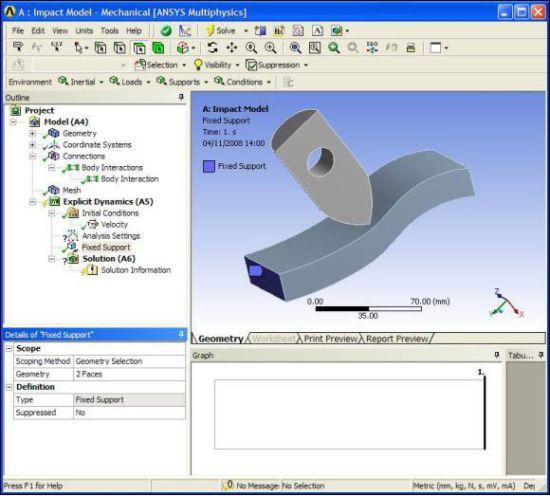
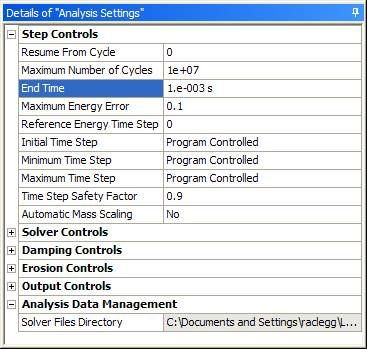
Define Analysis Settings.
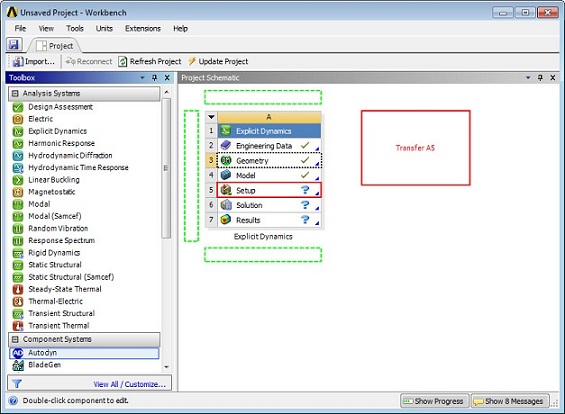
Go to the Project Schematic and drag an Autodyn Component System onto cell A5 to generate the link between the Setup cell (A5) of the Explicit Dynamics system and the Setup cell (B2) of the Autodyn Component System.
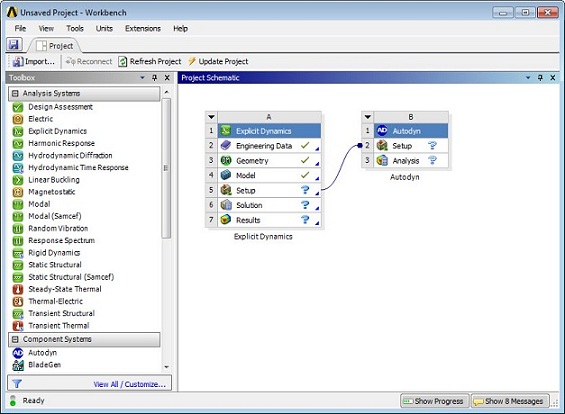
Transfer the Explicit Dynamics Setup to Autodyn.
Right-click Explicit Dynamics system Setup cell (A5), Select Update.
The model definition in the Explicit Dynamics system will be transferred into the Autodyn application.
Double-click the Setup cell (B2) of the Autodyn system to open the Autodyn application.
Materials
Mesh
Initial Conditions
Boundary Conditions
Interactions
Controls
Output
Complete the model set up in Autodyn.
Execute the Simulation.
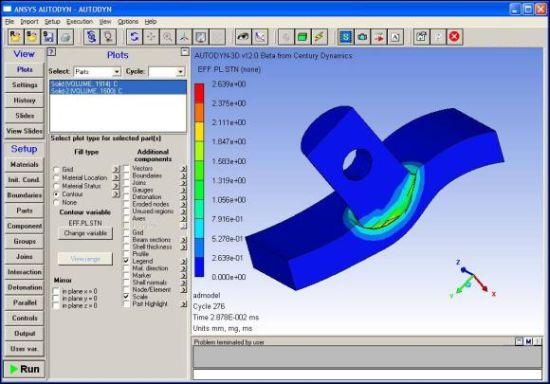
Postprocess results.
Explicit Dynamics-Autodyn Data Transfer
From this version, selecting Update or Refresh on an Autodyn system that is linked to an Explicit Dynamics system will result in all the existing data being overwritten by the latest data from the Explicit Dynamics system. This new behavior means that any intermediate modifications made in Autodyn will not be preserved after the update, i.e. the data from Autodyn and Explicit Dynamics is no longer merged.
To continue modifying the Autodyn system and preserve those changes, delete the link between the systems once all the desired data has been transferred from Explicit Dynamics to Autodyn.
Note: When running Workbench in scripted or background mode, be aware that pop-up messages about this new behavior must be blocked to successfully run the program. To block them, activate the Autodyn.NoPrompts flag either by running Workbench from the command line C:\Program Files\ANSYS Inc\v232\Framework\bin\Win64\RunWB2.exe" -k Autodyn.NoPrompts or by adding the value Autodyn.NoPrompts to the ANSYS_DEVELOPMENT_FEATURES environment variable. This ensures no pop-up messages are generated, and the Update or Refresh action proceeds.