


Material Properties
You can set the gage for a material used in a sheet metal part. Assigning a gage enables you to control the thickness of a sheet metal part at a more granular level. Gage, or, ‘gauge', is the thickness of the metal organized by numbers: the smaller the number the thinner the metal. A sheet metal design or component of a design must be assigned a material in order for the gage drop-down to display. You cannot select a gage for designs or components that are assigned the ‘Unknown Material' option.
To assign a material, from the Structure tree select the design at the top level, or select the component for which you want to assign a material, and then click the Material Name drop-down from the Material group in the Properties panel. From the Thickness group in the Properties panel, click the gage drop-down, and select a gage.
You can specify material properties for a component in several ways:
| Selecting a Material from the Materials Library |
|
| Selecting a Material from the Local Library |
|
| Creating a Material |
|
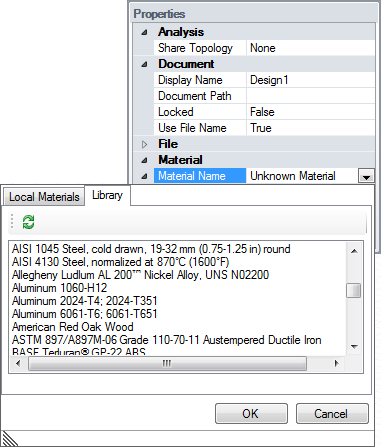
 in the Material Name field
to display the Materials Library.
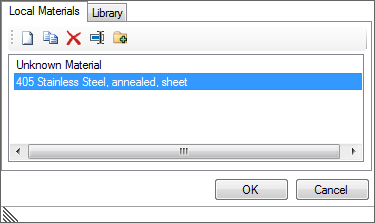
in the Material Name field
to display the Materials Library.To remove a material from a component, select Unknown Material from the Local Library.
You can only change the Density value for material properties. All other values are determined by the material you select.
In the Local Materials tab, you can also do the following:
- Select a material and click the Copy button. A new material is created with the original name and "Copy 1" appended
- Delete selected materials
- Rename selected materials
- Select a material and click the Add to Library button to add that material to the Library.