


Using an Excel Spreadsheet to Drive Dimensions
As with all spreadsheet calculations, you should avoid circular calculations.
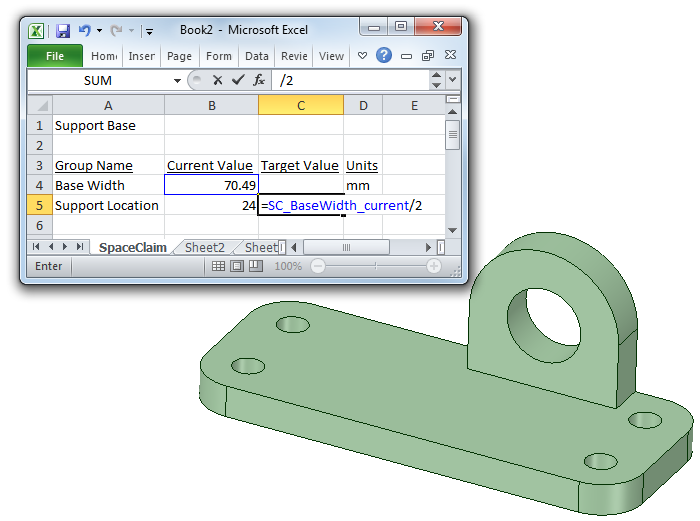
Values are applied sequentially, so order your groups in the sequence that you want to perform the operations.
As with all spreadsheet calculations, you should avoid circular calculations.
Values are applied sequentially, so order your groups in the sequence that you want to perform the operations.