


You can group together available dimensions using the Dimension Groups dialog box. These groups are then displayed on the following plots:
Correlation matrix
Parallel coordinates
Spider
Box whisker
Design comparison
From the menu bar, select > .
The Dimension Groups dialog box opens. The Parameter, Responses and Criteria dimensions groups are included by default.
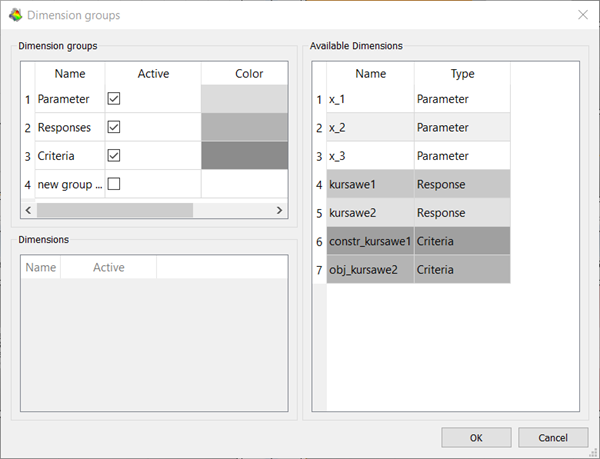
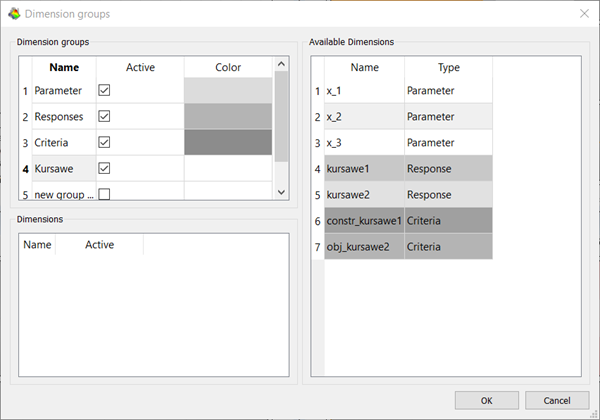
To create a new group, in the Dimension groups table, double-click in the Name cell of a blank row and enter the group name.
The Active check box is selected automatically.
To set the color that is displayed in the plot for the dimension group, double-click the Color cell.
In the Group color dialog box, select a basic color or create a custom color and click .
The color is displayed in the Dimension groups table.

To add dimensions to the group, select the group then drag dimensions from the Available Dimensions table and drop them into the Dimensions table.
The following Show-Me animation is presented as an animated GIF in the online help. If you are reading the PDF version of the help and want to see the animated GIF, access this section in the online help. The interface shown may differ slightly from that in your installed product.
To remove dimensions from the group, select one or more dimensions in the Dimensions table. Right-click the dimensions and select from the context menu.
To remove a dimension group, in the Dimension groups table, right-click the group and select from the context menu.
Note: The Parameter, Responses and Criteria dimensions groups cannot be removed.
To save the changes and close the dialog box, click OK.