


Multiple types of sources are available to capture different items for the report. You can access any of them by right-clicking the baseline state and selecting . Any number of sources and types can be associated to a state.
To modify the attributes of each source, right-click anywhere within the States panel and select
For more details on each source, see Sources.
Multi Image Source
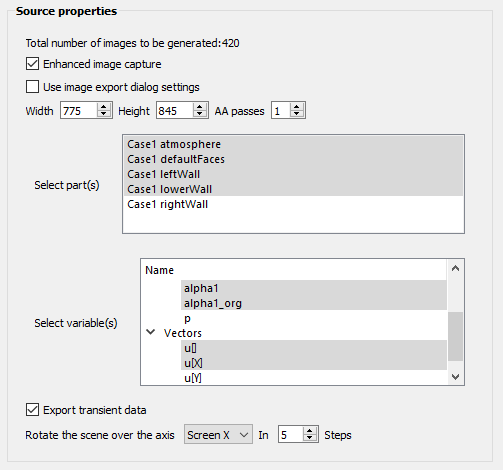
Toggle based on the type of image capture you want added to the report.
Set the image Width, Height, AA passes via the corresponding dialog entries. To use default values, toggle .
Select one or more parts under Select part(s) to color them by variables.
Select one or more variables to color by under Select variable(s).
Toggle to add static or transient information to the report.
Select or under Rotate the scene over the axis to generate images that mimic a 3D scene in the report.
Note: If you use this option, you need to enter a number of Steps larger than one. This will automatically disable .
Image Source
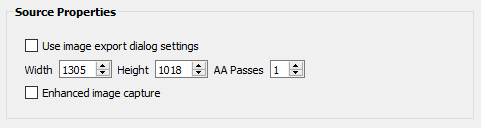
Set the image Width, Height, AA passes via the corresponding dialog entries. To use default values, toggle .
Toggle based on the type of image capture you want added to the report.
Movie Source

Set the type of animation to export in the Type of animation field.
If Type of animation is set to , enter a Number of frames.
Set the animation Width, Height, AA passes via the corresponding dialog entries. To use default values, toggle on .
Set the Frames per second.
Scene Geometry Source

Toggle based on the type of 3D scene you want added to the report (transient or static).
Variable Info Source
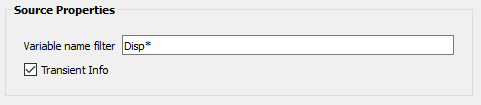
Set the Variable name filter. Comma separated variable names are supported.
Toggle based on the type of variable information you want added to the report (for all timesteps or only the current one).
Query Source
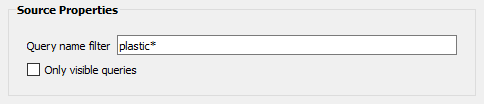
Set the Query name filter. Comma separated query names are supported.
Toggle to restrict the queries resulting from the above filter to only ones that are visible.
Plotter Source
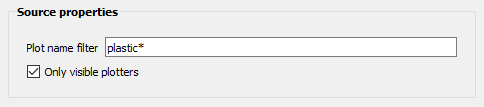
Set the Plot name filter. Comma separated plot names are supported.
Toggle to restrict the plots resulting from the above filter to only ones that are visible.
Probe Source
No options are available for this source.
Text / HTML Source
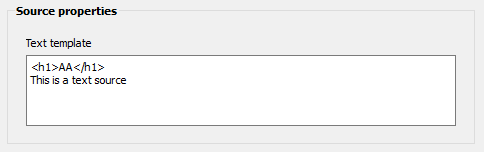
Enter, under Text template, text you would like displayed in the Report. The HTML source supports HTML formatting.
Session/Command File Source
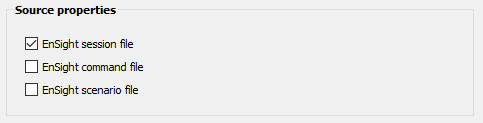
Toggle to send an .ens file to the report.
Toggle to send an .enc file to the report.
Toggle to send an .evsn file to the report.
Part Element Details Source
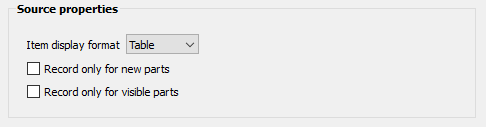
Under Item display format, set the data display format.
Toggle to only send data for the created parts.
Toggle to only send data for the visible parts.
Session Info Source

Toggle to extract only data related to the active case. If toggled off, data for all loaded cases will be sent to the report.
Sweep Source
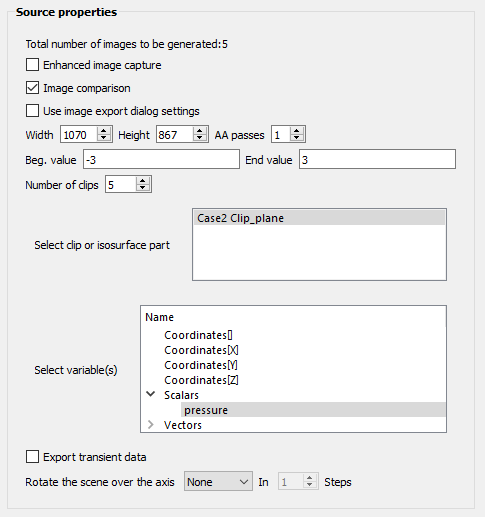
Toggle based on the type of image capture you want added to the report.
Toggle to have the report display two sets of images side by side for easier comparison.
Set the image Width, Height, AA passes via the corresponding dialog entries. To use default values, toggle .
Select one isosurface or clip part from the Select clip or isosurface part section to set which part will sweep.
Select one or more variables from the Select variable(s) section to color the sweeping part by that specific variable.
Toggle on/off to add static or transient information to the report.
Select or under Rotate the scene over the axis to generate images that mimic a 3D scene in the report.
Note: If you use this option, you need to enter a number of Steps larger than one. This will automatically disable .