


The following topics are included in this section:
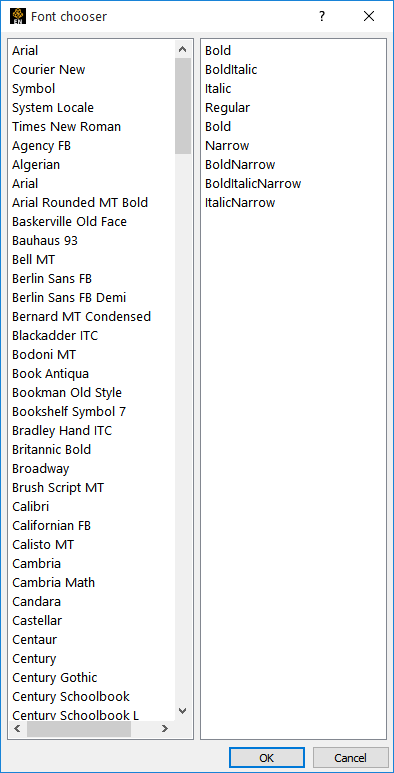
In nearly every location where EnSight allows the user to enter a text string to be used for display (for example, text annotations, plot titles, axis titles, etc), it is possible to change the font. It is also possible to change the font repeatedly in a string. This is done by inserting a special code into the string that contains the font name (See Text formatting codes for details). In several locations in the EnSight graphical user interface, this operation is simplified via the font selection dialog which lists all the available font family/style combinations and allows the user to change fonts in the text field currently being edited
The current font (possibly the default) is selected in the list when the dialog is opened. The user may change this font to any other by selecting from this list and clicking or . The button will insert a new font tag and all text from the current insertion point to the next font string (or the end of the string) will be displayed in the selected font. The button will replace the current font tag (or the first one to the left of the insertion point) with the selected font. If no font tags are in the string to the left of the insertion point, it inserts one at the start of the string.
To illustrate font capabilities, Text Annotation will be used:
Double-click, or right-click and select Edit... to open the Create/edit Annotation (Text) dialog.
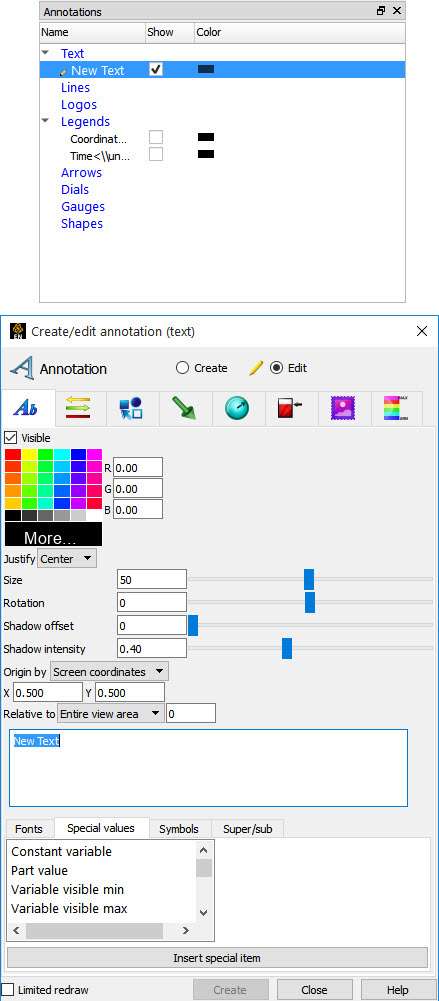
The text can be modified in the text box.
The text to be edited is typed into the scrolling text field.
Note: Pressing Enter inserts a new line into the annotation.
The results of the edit are dynamically redrawn in the graphics window as you make changes.
Their Fonts and their weights can be inserted by selecting them under the Fonts tab.
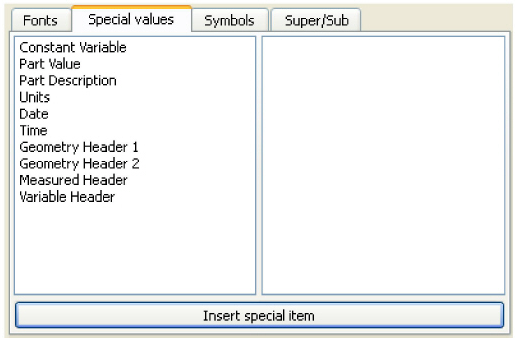
Special EnSight values can be inserted under the Special values tab.
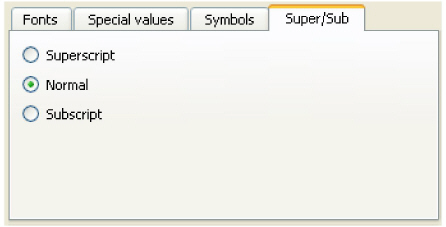
Under the Super/Sub tab, the ,
and radio buttons
allow the user to mark sections of the text to be in the super or subscript form by
inserting the special codes <no>
<up> and <dn> into the text stream.
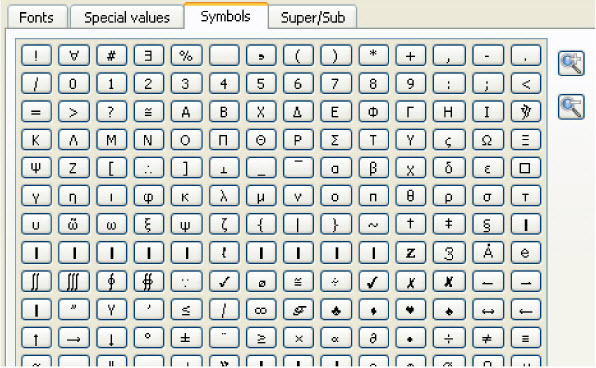
Symbols can be selected under the Symbols tab.
Any of the codes (shown in the Font Formatting Codes on the next page) can be typed in manually as well, if desired.
The TrueType rendering system supports a number of special embedded codes. These can generally be placed in most any string displayed in the EnSight graphics window (for example, plot titles, axis titles, etc). When the text string is drawn, these special codes are parsed out of the string and they affect any text to the right of the code. In general, the effects are additive and to turn an effect off, insert another code that sets the feature back to its default value. The codes are:
<no> |
The text is drawn in "normal" mode. |
<up> |
The text is drawn in superscript mode. |
<dn> |
The text is drawn in subscript mode. |
<fo=[family|*][:style]> |
Change the current font family and/or style. To change just the font family, use <fo=newfamily> To change the style only, use <fo=*:newstyle> The special case of <fo=> resets the text family and style to the default. |
<so=[scale][:voff]> |
Change the current scaling and/or vertical line offset. To change only the relative fontsize, use <so=scale> where 1.0 is the default size of the text. To change only the vertical offset of the next text, use <so=:offset> For example, <so=0.5:0.5> simulates superscript. The special case of <so=> resets the scale and vertical offset to 1.0 and 0.0 respectively. |
<st=X> |
Store the current text position into slot X (x is an integer from 1 to 9). |
<re=X> |
Recall the current text position from slot X (x is an integer from 1 to 9). The store/recall mechanism in conjunction with <so=> allows for accurate repositioning of text. For example, it allows overstrike of text and for the generation of simultaneous super and subscripts as well as formatted fractions. Note that slot 0 is reserved for the first character in the current line of text. |
<sy>XXX |
Insert a single glyph from the Symbol font at this position. Note that 3 decimal digits must follow the <sy> text. |
<uc=num> |
An arbitrary glyph from a font using its Unicode number. The number must be specified as four hexadecimal digits. For example, <uc=00A9> will produce the copyright symbol (©) if it is available in the current font. |
<co=R[:G:B[:A]]> |
Set the color of the subsequent text. You may supply up to 4 floating point values in the range [0.0,1.0] for the Red, Green, Blue and Alpha (opacity) of the text. The alpha value defaults to 1.0, while other values default to the value to their left. Note: <co=:::0.5> changes just the opacity of the text. |
<cr> |
Explicitly move to the next line. This is the same as pressing Enter in the textfield. Note: Text shown in the Annotation dialog list for text annotations is displayed with <cr> in place of all new lines. |
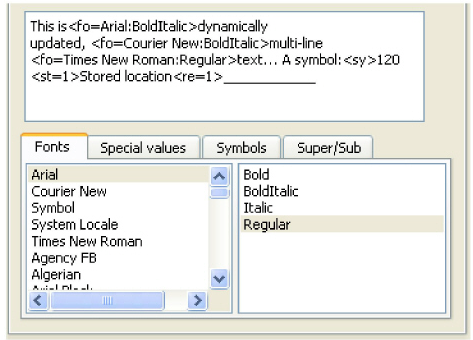
The following is an example of a text annotation that utilizes multiple fonts, multiple lines of text, symbols and the store/recall feature.
The string entered into the Text Annotation Editing dialog to create this annotation is:
This is <fo=Arial:BoldItalic>dynamically
updated, <fo=Courier New:BoldItalic>multi-line
<fo=>text... A symbol:<sy>120
<st=1>Stored location<re=1>____________
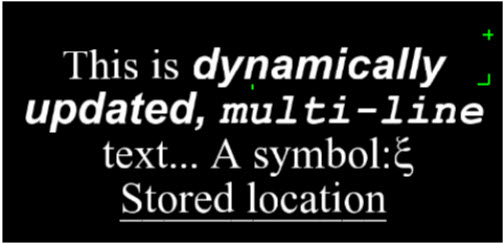
The first few words are in normal text, followed by a font change and
a new line. Midway through the second line, the font changes again and at the end of that
line, it changes back to the default font and style. The third line ends with a glyph from
the symbol font. The last line starts by storing the location of the
S character in slot 1. It then draws
Stored location before the <re=1> command recalls current output to the 'S' location. Finally, a row
of underscores are drawn that overstrike the words Stored
location.
The following text annotation example illustrates the use of text colors and some scaling and offset options.
The string entered into the Text Annotation Editing dialog to create this annotation is shown below (note that this is actually three lines of text, the first is a single, very long line):
A<so=2:-0.25><sy>091<st=1><so=1:0.5><co=1:0:0> more<re=1><so=:-
0.25><co=0:1:0>complex<so=2:-0.25><co=><sy>093<so=> <co=0:0:1>example

<co=1:1:1:0.5>A transparent example
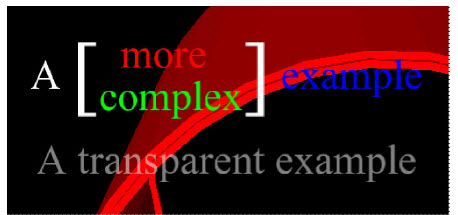
This example begins by drawing an A, then scaling up the text while dropping it a bit below the line before drawing a left brace [. It then stores off that location and sets up drawing at the original size, but above the baseline. The color is changed to red and the word 'more' is drawn. The stored location is recalled and a similar operation is done for the word complex below the baseline. The scale is set to the same as the first brace, the color is reset to white and the right brace ] is drawn. To end the line, the scale and offset are reset and example is drawn in blue. The second line is a blank line. The final line is a simple example of how to make a piece of text partially transparent.
Note: The red object behind the text can been seen through the text.