


For each page of the flipbook, a delta value will be applied to all active clip parts and isosurfaces. For clips, the delta represents a translation vector; for isosurfaces it is an increment to the isovalue. There are two ways to specify these delta values: either through interactive manipulation or via the applicable Feature Panel for the part. The former method is discussed below, the latter in Other Notes at the end.
Prior to loading the flipbook, you should create all parts that you wish to animate (clips and/or isosurfaces) and manipulate the part so that it is in the desired location for the start of the flipbook. To load the flipbook:
Click the Flipbook Animation icon.
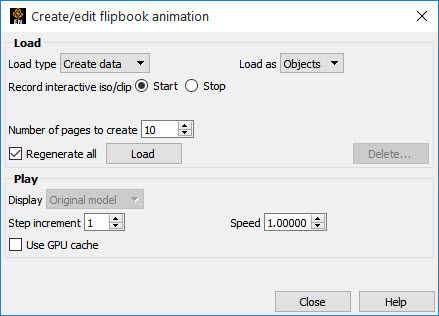
Which will open the Flipbook Animation Feature Panel.

Under the Load settings, be sure the Load Type is set to Create data.
Select the desired page type (Objects or Images).
Set the desired number of pages.
The delta value will be added to the appropriate entities for each page.
Click to begin recording interactive part manipulations.

For clipping plane parts, return to the Create/edit Parts dialog for clips (double-click on the part in the main Parts list).
Toggle on Interactive Tool, move the mouse into the Graphics Window and interactively position the tool to the desired location for the end of the flipbook.
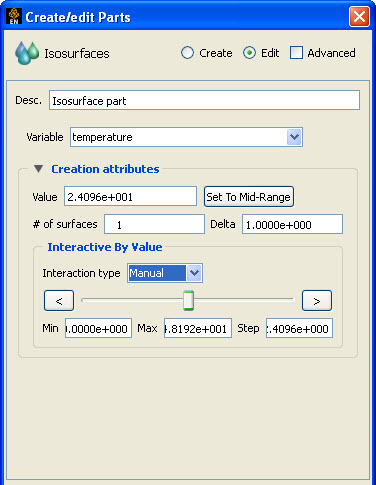
For isosurface parts, return to the Create/edit Parts dialog for isosurfaces (double-click on the part in the main Parts list).
Change the Interaction type pulldown to Manual and adjust the slider until the isovalue is as desired for the end of the flipbook.
Return to the Create/edit Flipbook Animation dialog (i.e. perform step 1 again).
Click to end recording interactive Iso/Clip.
Click Load.
Save playing animation to file (must be playing to save).
The Load Flipbook Status dialog will open and show the progress of the load. You can cancel the load by clicking the button and retain all the pages loaded to that point. Once the load is complete, you can run the flipbook using playback controls:
After a flipbook load, the Player (Flipbook Animation) will open, and the next steps will generally be the default already.
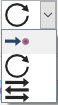
Click the run forward or backward button.
The flipbook will begin to run.
OR
You can also step through the pages manually:
Click the forward/backward single step buttons (once for each page).
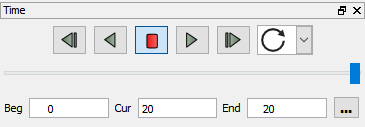
You can also enter values in the Current Page field (and press Return) to jump to a specific page.
Choose Once, Cycle or Bounce for playback.
To change the range of displayed pages, enter new values in the Begin Page and/ or End Page fields (and press Return) or move the slider range markers.
To change the display speed, enter a new value in the Speed field (and press Return).
A speed of 1.00 represents “full” hardware speed with no delays; a value of 0.5 is half of full speed.
To cycle the page display, click Cycle. Cycle will replay the pages in reverse order when the last page is reached.

To stop the animation, click the button.
When done, delete the “flipbook pages” and click on the Time tab to view the original data.
Note: The EnSight client retains the memory allocated to the flipbook in case it is needed later.

Additional speedup is possible using the GPU as discussed in Flipbook Animation.
Once a flipbook is loaded, it can be recorded.
The Record current graphics window animation icon will be on. Click it to open the Save Animation dialog.
This is explained in Print/Save an Image.