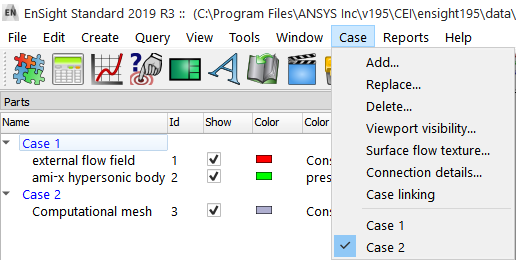
Once an existing case has been loaded in the normal manner, further case operations can be accessed through:
→ 
or through:
→ , ,
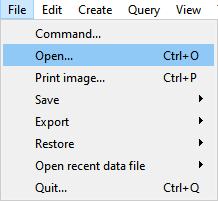
To add a case to a running EnSight session
Do → , or →
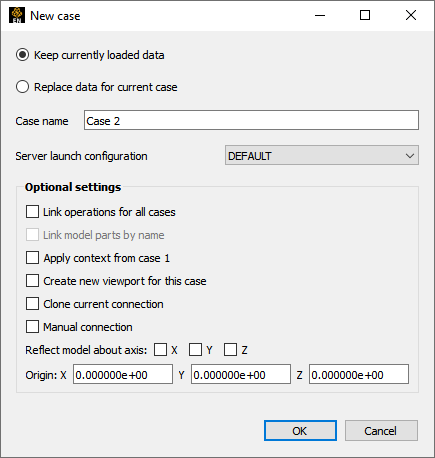
Select Keep currently loaded data This will add, rather than replace, the case.
If desired, enter a name for the case (other than the default). The name will be displayed in the Case menu.
Set other optional settings.
Select Server launch configuration if you have a predefined configuration.
Link operations for all cases see Compare Cases.
Apply context from case 1 will cause the new case to inherit positioning etc. from case 1.
Create new viewport for this case will place the new case in a new viewport.
Clone current connection will cause the same connection method as current one.
Manual connection will cause a manual connection to be used - even if current connection(s) were automatic.
Reflect model about axis allows the model to be reflected as it is read in. Pick the axis and specify the origin location.
Click .
See Compare Cases.
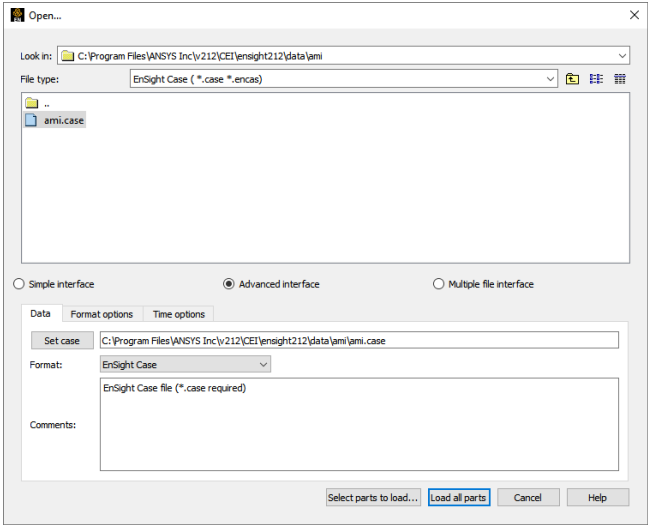
You will then be presented with the Open... dialog. Navigate to and select your data, and use the Simple interface to load all parts.
Note: The file type must be recognized for this method to work.
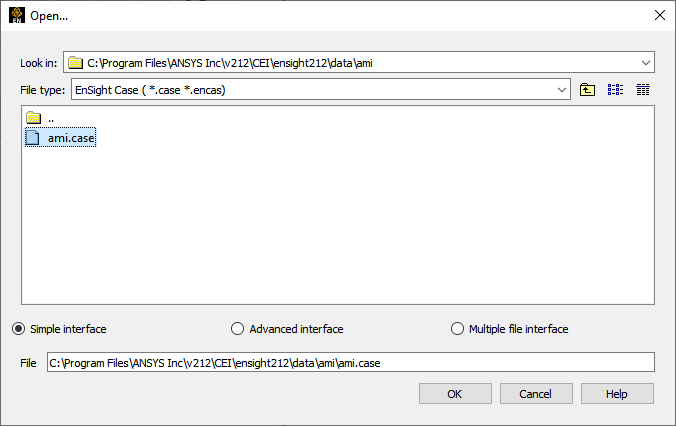
Or, use the Advanced interface, and control the Format and other options. As well as being able to Select parts to load, etc.
The EnSight client will now start the connection process for the new server. Depending on the launch or connection settings chosen, the new server will be started automatically or you will have to manually start another server. The default is to start a new server automatically if your original connection was automatic, or to cause you to start another server manually if your original connection was manual. You can follow the progress of the connection in the Message area. See the Getting Started with Ansys EnSight or Connect EnSight Client & Server for more information. Once connected, EnSight will also load all parts of this new case if you use this method.
You can replace an existing case. This is most useful when you wish to load a new dataset without having to stop and re-start the client. To replace a case:
Do → and select Replace currently loaded data, or →
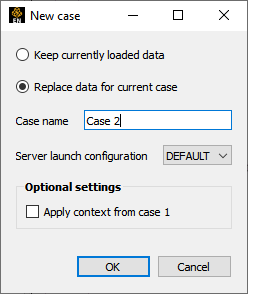
This will open the dialog shown. You can optionally set a case name or choose a predefined launch configuration, or just use the default.
Click .
You will now be presented with the Open... dialog, just as shown in Add Case above. You can use the Simple Interface and load all parts, or control the options and part loading by using the Advanced interface. The server associated with the selected case is terminated and the EnSight client will now start the connection process for the new server. Again, depending on the launch configuration chosen, the new server will be started automatically or you will have to manually start another server. The default is to start a new server automatically if your original connection was automatic, or to cause you to start another server manually if your original connection was manual. You can follow the progress of the connection in the Message area. See Connect EnSight Client & Server for more information.
To delete a case:
Select the case you wish to delete in the Case menu ( → ).
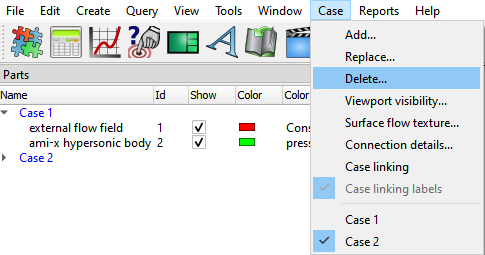
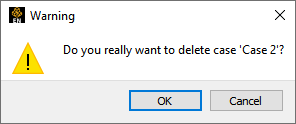
Select → You will be asked to confirm the deletion. If confirmed, the server associated with the selected case is terminated.
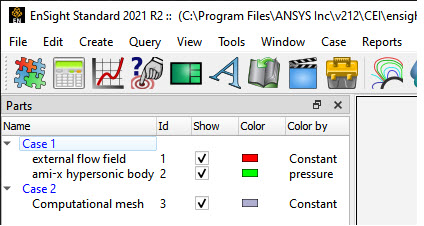
By default all parts from all cases are displayed in the main Parts list and they are displayed in a hierarchical manner by case. See Introduction to Part Creation for more details on viewing the Parts list.
One of the chief advantages of the case feature is the ability to perform side-by-side comparisons of different datasets. One way to do this is to display each case in a separate viewport.
To do this:
Create as many additional viewports as you need to display your cases. See Define and Change Viewports.
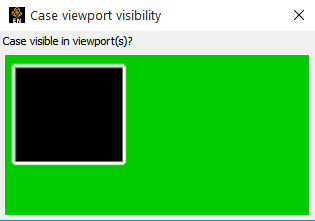
Select the case whose parts you wish to display only in certain viewports in the Case menu ( → ).
Select →
Click in the desired viewport to enable or disable display of the selected case. Black means the selected case is not displayed in the viewport, green means that it is displayed.