

History Tracking Options
To work with an individual step in the History Tracking window, expand and edit individual step properties for changing options, parameters etc., and apply the changes to the overall design of the model. You can also change the parameters in the source CAD system.
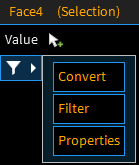
View and edit the options for the operation by clicking the Options dropdown in the step.
 |
Edit and track the changes to the sketch. Click Complete to update the step with the sketch changes or click Cancel to retain the previous sketch. |
 |
|
 |
Create a variable or add a parameter with a unique label. You can also click the dropdown menu and select Create Variable or Add Parameter to create a variable or add an existing parameter.
|
 |
Click the Output Options dropdown to create output parameters.
|
 |
View and/or edit the block script in the Script Editor. Note: You can only view a single block script at a
time.
Choose to cancel or accept the script changes when you exit the Script Editor. Refer to Scripting for detailed descriptions of the Script Editor functions. |
 |
Move to the next Step in the workflow. |
 |
Click Continue to play through all the steps to bring you to the last step in the workflow. |
| Options |
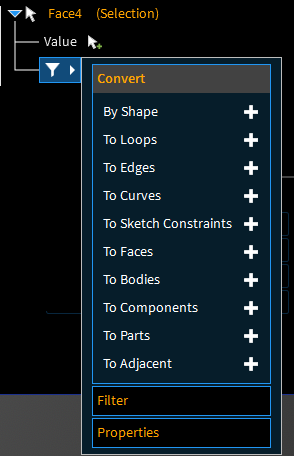
Right-click a step and select from these options:
|
 icon next to the appropriate
selection.
icon next to the appropriate
selection.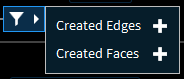
 to have the debugger execute the function
call and then pause after the function returns.
to have the debugger execute the function
call and then pause after the function returns.