


This script exports several binary .stl files representing the Particle Bed and Geometries that are active in the simulation at a particular output time. This can be useful for fixed bed scenarios where it is desired to create a bed of particles that do not move. For example, the exported .stl files (bed and geometries) can be used as boundaries in a CFD simulation.
The files that are exported include the following:
One .stl file for each single-element (rigid) Particle shape used in the simulation (one file per Particle group).
One .stl file that represents the full particle bed. This file contains the location, size, and orientation of each particle in the simulation (all Particle groups).
One .stl file for each Geometry component that is active in the simulation. This file contains the rendered geometry information. (A rendered geometry refers to an imported or default geometry component that has been saved, displayed, and/or modified–via wear or parameterization–within the confines of the Rocky project. These actions can render the original geometry differently and can therefore affect the results that are exported.)
This script will not run if any Particle group in the simulation contains multi-element (flexible) particles. This script must only be run in simulations containing only single-element particle shapes.
Script Details
This script enables you to do all the following:
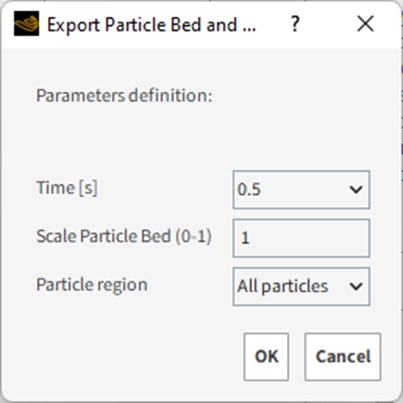
Time [s]: Set the output time (in seconds) for the export.
Scale Particle Bed (0-1): For the stl file that represents the full particle bed, this enables you to define the size scale for the particles while keeping their same position and orientation. Reducing the size scale can be useful for creating more space between the particles, which might be needed for CFD meshes, for example. The scale can be any value between 0, which exports particles at size 0 (no size), and 1, which exports particles at their actual size.
Particle region: Enables you to determine whether to export All particles in the simulation domain, or only those contained within a User Process shape (Cube, Property, Cylinder, or Polyhedron (Envelope)) you defined beforehand.
To export Particle Beds and Geometries as binary STL files, do the following:
Ensure your case has been processed (contains only results), has only single-element (rigid) particle shapes, and contains any User Processes by which you want to limit your export region.
Using the Time toolbar, take note of the output time (in seconds) for which you want .stl files exported.
Run the script.
A new Export details window appears (as shown below).
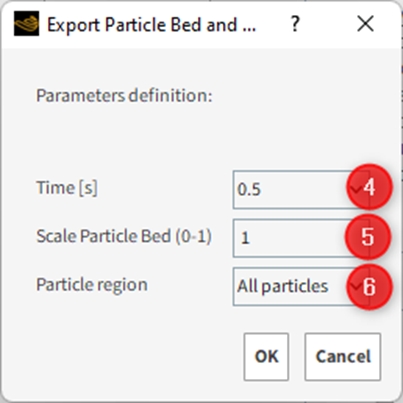
From the Time [s] drop-down list, select the output time for which you want the .stl files exported.
From the Scale Particle Bed (0-1) field, enter a value between 0 and 1 that represents your desired size scale.
From the Particle region drop-down list, select which region of the domain you want particles exported.
Click OK.
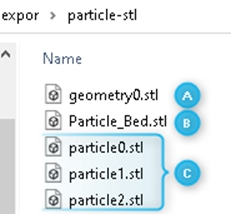
The .stl files created after running this script will be saved in the same location as your project folder, inside another folder named particle-stl. This folder will contain .stl files for each of the following components:
A. One file for each Geometry component involved in the simulation at the selected output time.
B. One file representing the full Particle Bed of all particles in the simulation at the selected output time.
C. One file for each Particle group in the simulation at the selected output time.
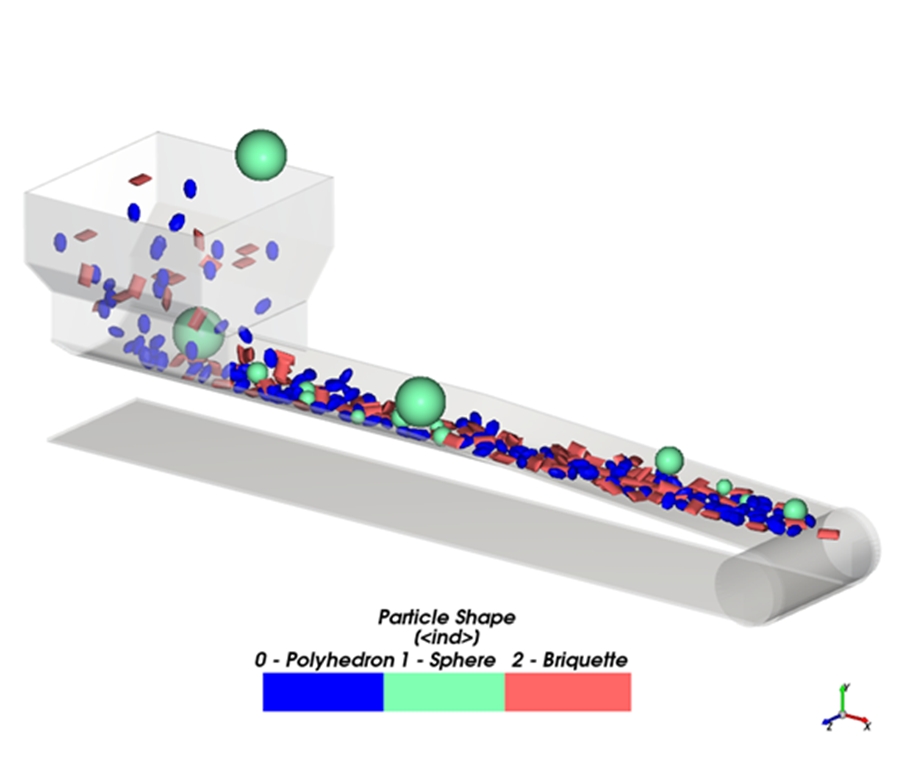
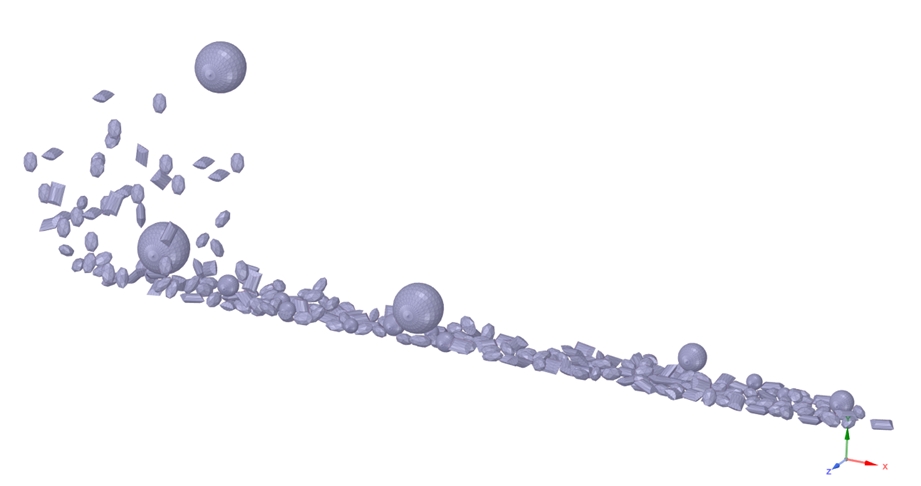
The two figures below show a particle bed before and after the script was run. In the first, the simulation shows the original particle bed made of actual particles. In the second, the particles that made up the bed are re-imported into Rocky as a geometry.
Figure 6.19: Example simulation containing several particle groups with different particle size distributions.
Script prerequisites
This script must run only on current release.
After downloading and extracting the attached .zip file, the included .py file must be saved to your Scripts folder, which is inside your Rocky folder.
On Windows, this folder is located at C:\Users\YOURUSERNAME\Documents\Rocky\Scripts.
On Linux, this folder is located at /home/YOURUSERNAME/.Rocky/scripts.
This script requires that at least one single-element particle exists at the desired output time.
This script does not work if you simulation contains multi-element particles, such as fibers composed of several segments or flexible solids. If you try to run this script in a case that has multiple elements, the following message will be shown:

Tip: To modify this script to better match your own project needs, open the .py file in a Python Editor, such as Visual Studio Code, and then use the information in the PrePost Scripting Manual to adjust the parameters and settings to your needs.